Supplies
- White cotton napkins
- All-Purpose Liquid Dye (Cherry Red and Emerald used here)
- ColorStay Dye Fixative
- (2) 32oz Mason jars or small containers
- Rubber gloves
- Large metal spoon
- Paper towels
- Plastic table cover
- Salt
Time
Total: {{ partial.tYZC.total }}
Difficulty
Beginner Total: {{ partial.tLR7.total }}
Instructions
- Prewash the napkins to remove any finishes that may interfere with dye absorption.
- Cover work area with plastic table cover and have paper towels handy to protect against any possible spills.
- Wear rubber gloves to protect hands from getting stained and to insulate them when working with hot water.
- If using 32oz mason jars, use 3-5 tablespoons of well-shaken dye to each jar depending on how dark you want the color. Read & follow dye package instructions based on size of container you are using to dye.
- Heat water to boiling and fill each jar ¾ of the way up and stir well. Add about one tablespoon of salt to each dye bath and stir until totally dissolved.
- Test the color of dye on a scrap fabric or piece of paper towel to ensure desired color. If color is too light, add more dye; if color is too dark, add more water. Items will look darker when wet and prior to washing.
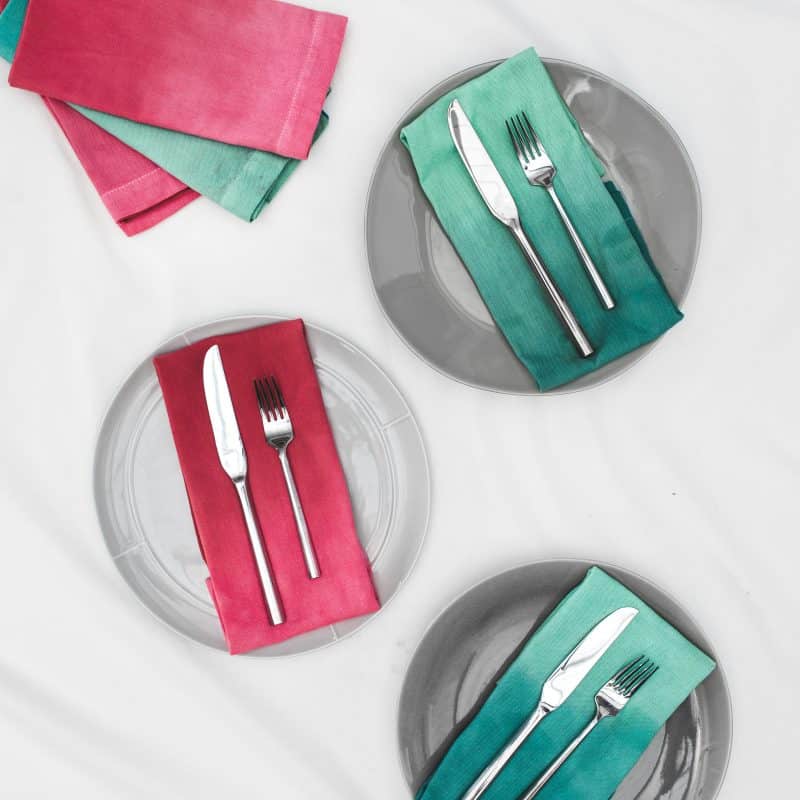
- Next, roll the wet napkin. Put on your rubber gloves, and then dip the entire napkin into the dye bath and quickly pull out partially, keeping one end submerged in the dye for longer. The dye will creep up a bit to create a ombre wash.
- Once desired color is achieved, remove napkin and squeeze out excess dye and set aside. Continue dip dying each napkin in the dye bath.
- Recommended: To enhance the color and reduce color bleeding, use Rit ColorStay Dye Fixative immediately after dyeing and before washing, following package instructions. Let set for 20 minutes.
- Wash, dry, and use!

Posts You May Like
