Dyed Table Runner, Napkins and Menu Cards
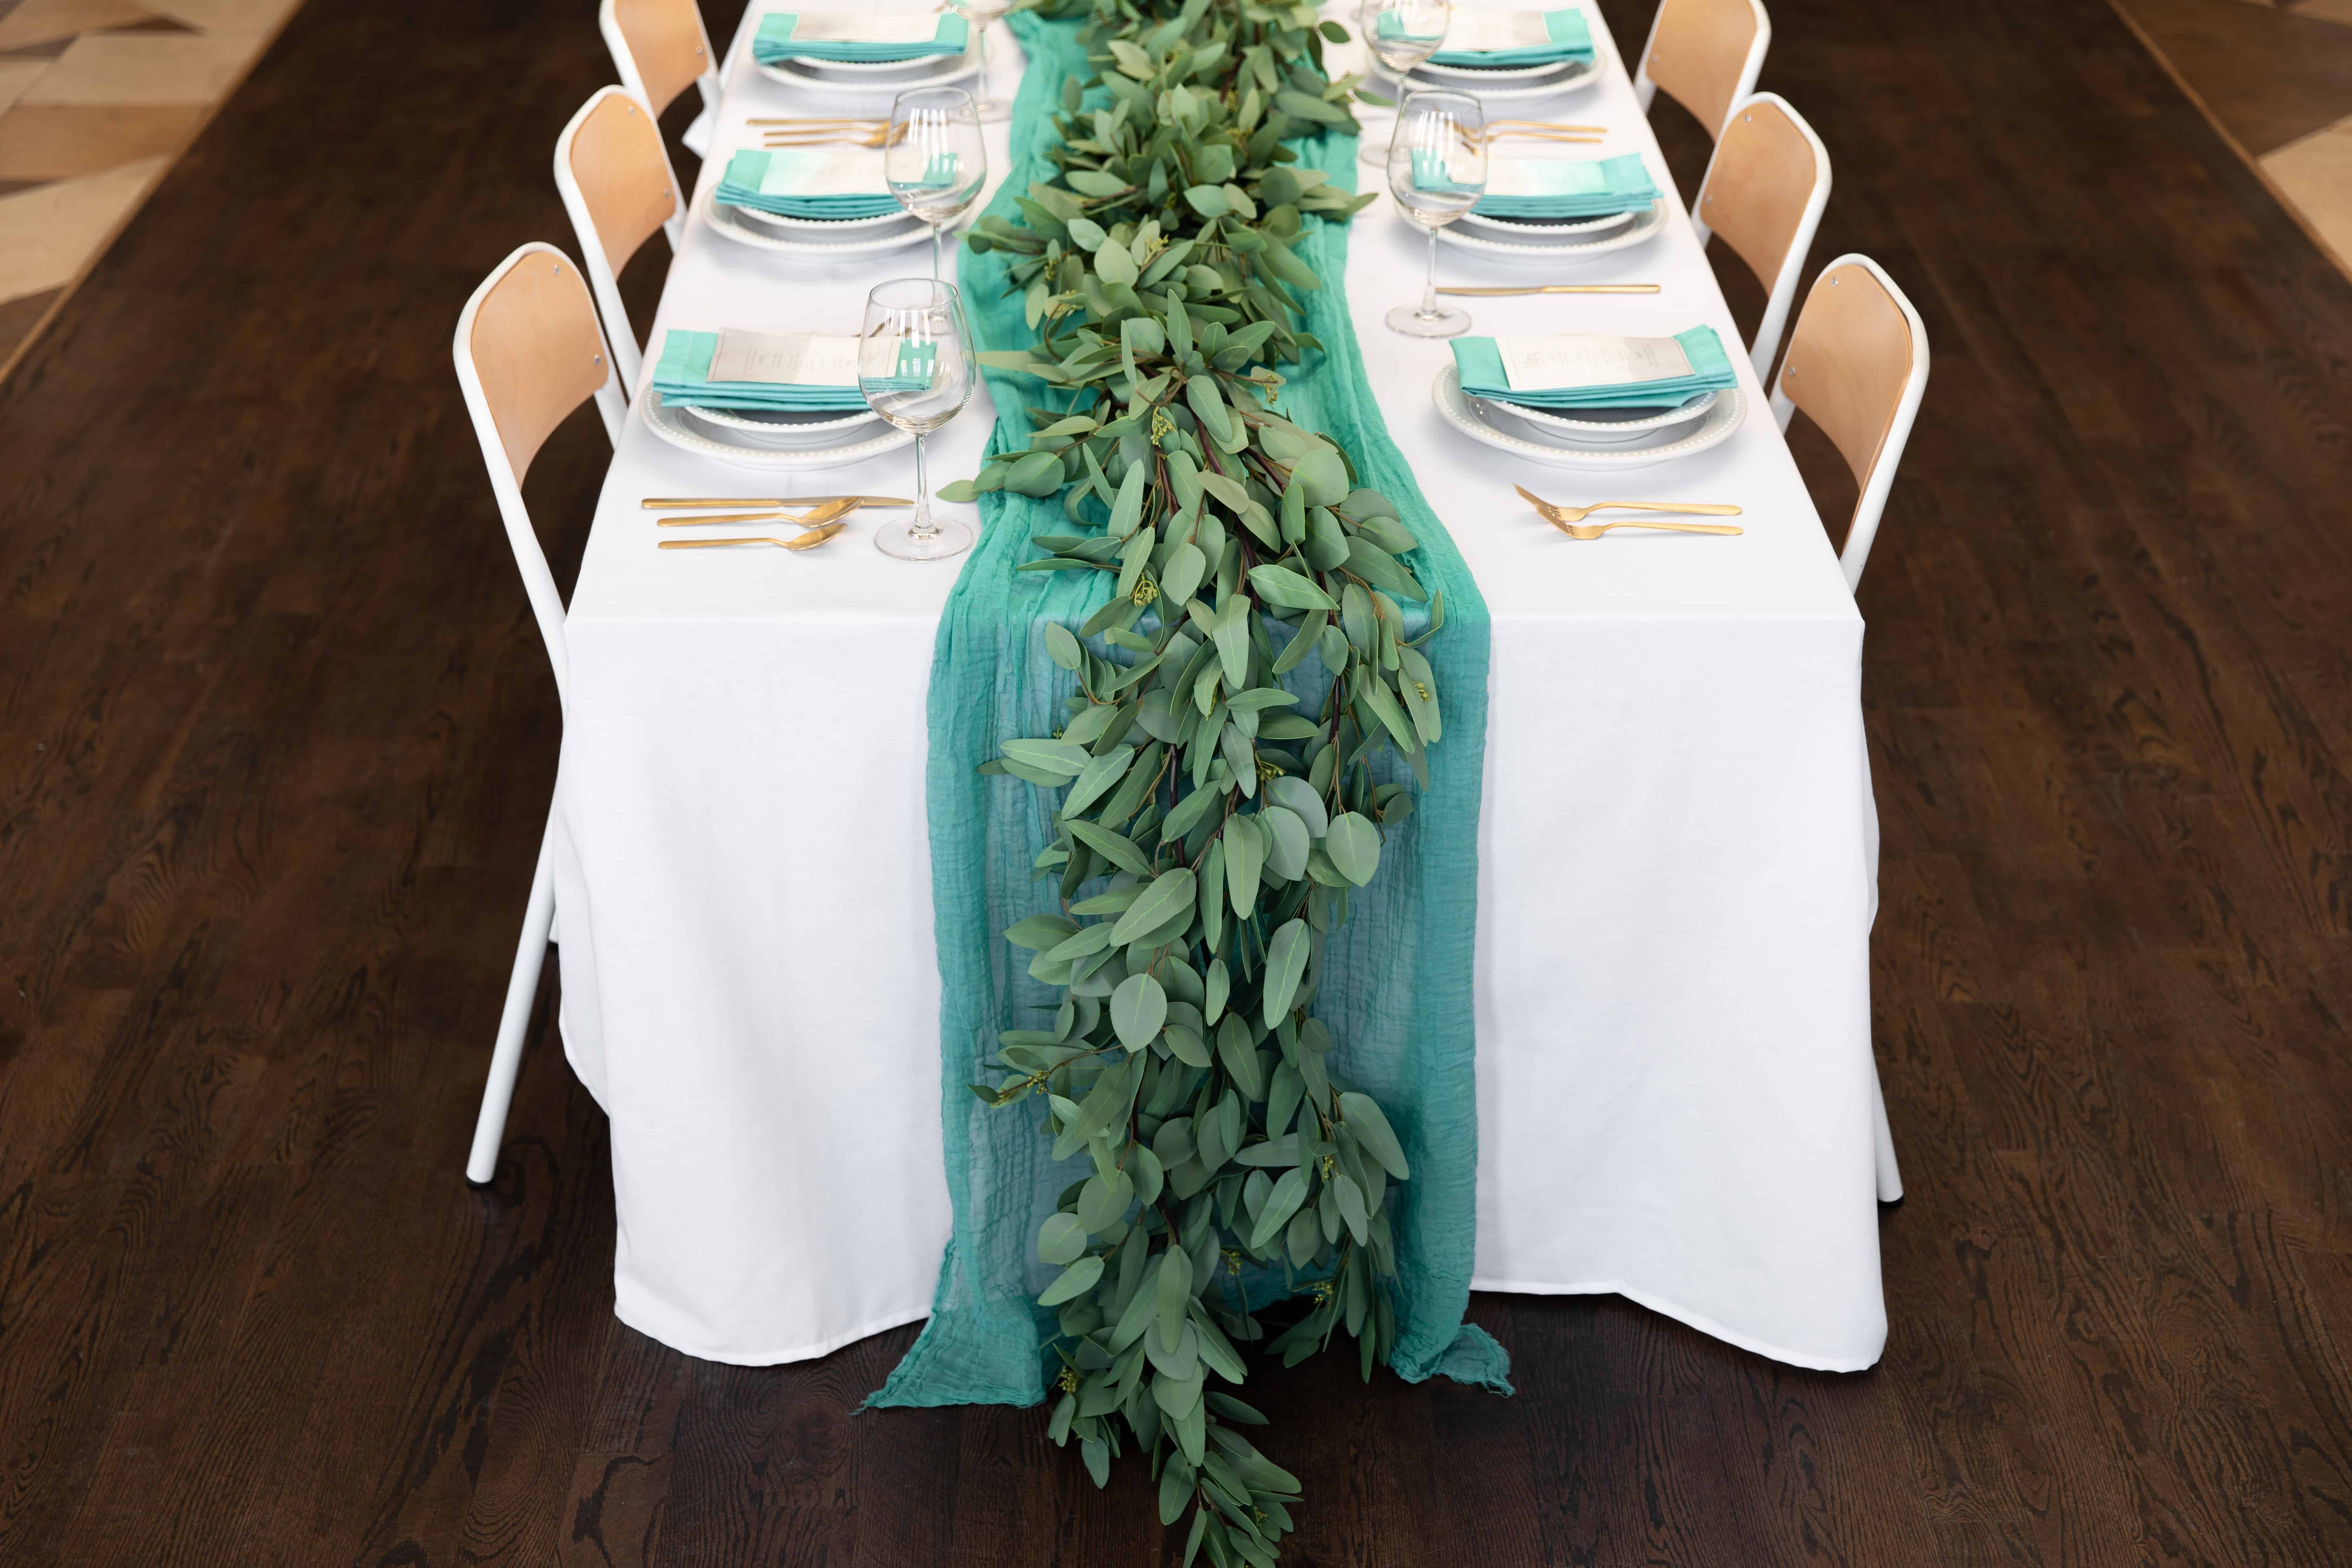
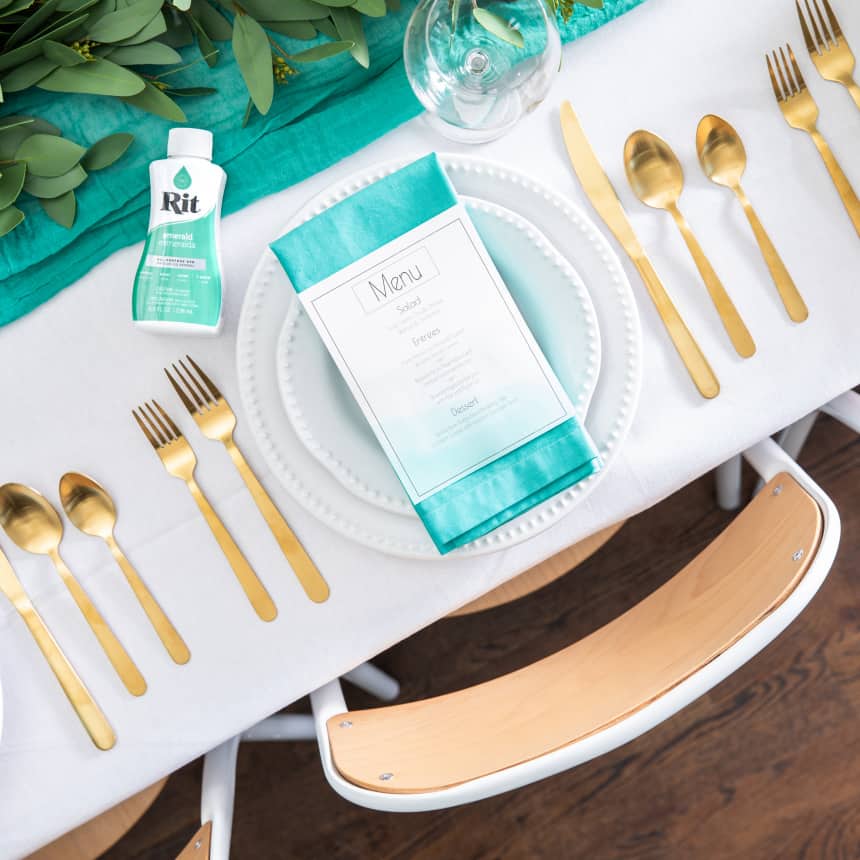
Creating a consistent color theme throughout an event or party can prove to be difficult. But we’re here to make it much easier to do just that! You can use Rit to dye a variety of party décor items. For this project, we’re showing you how to dye a table runner, napkins and menu cards all the same color for one consistent look.
Supplies
- Cheesecloth
- Cotton Napkins
- Watercolor Paper
- Rit All-Purpose Liquid Dye: (We Used Emerald)
- Plastic Container
- Measuring Cup
- Measuring Spoon
- Rubber Gloves
- Paper Towels
- Plastic Table Cover
Time
1-2 Hours Total: {{ partial.tBHC.total }}
Difficulty
Beginner Total: {{ partial.t78D.total }}
Instructions
- Gather supplies and cover work area with a plastic table cover.
- If making your own menus, handwrite or print and cut menus on watercolor paper.
- Fill a plastic container with three gallons of hot water.
- Wearing rubber gloves, pour 1/2 cup of well-shaken Rit All-Purpose Liquid Dye into dyebath. We used our Emerald dye for this project. (We also added a few menus to the tablescape dip dyed with our Pearl Grey dye as an accent.)
- Test the color by dipping a paper towel into the dyebath. If the color is too light, add more dye. If the color is too dark, add more water.
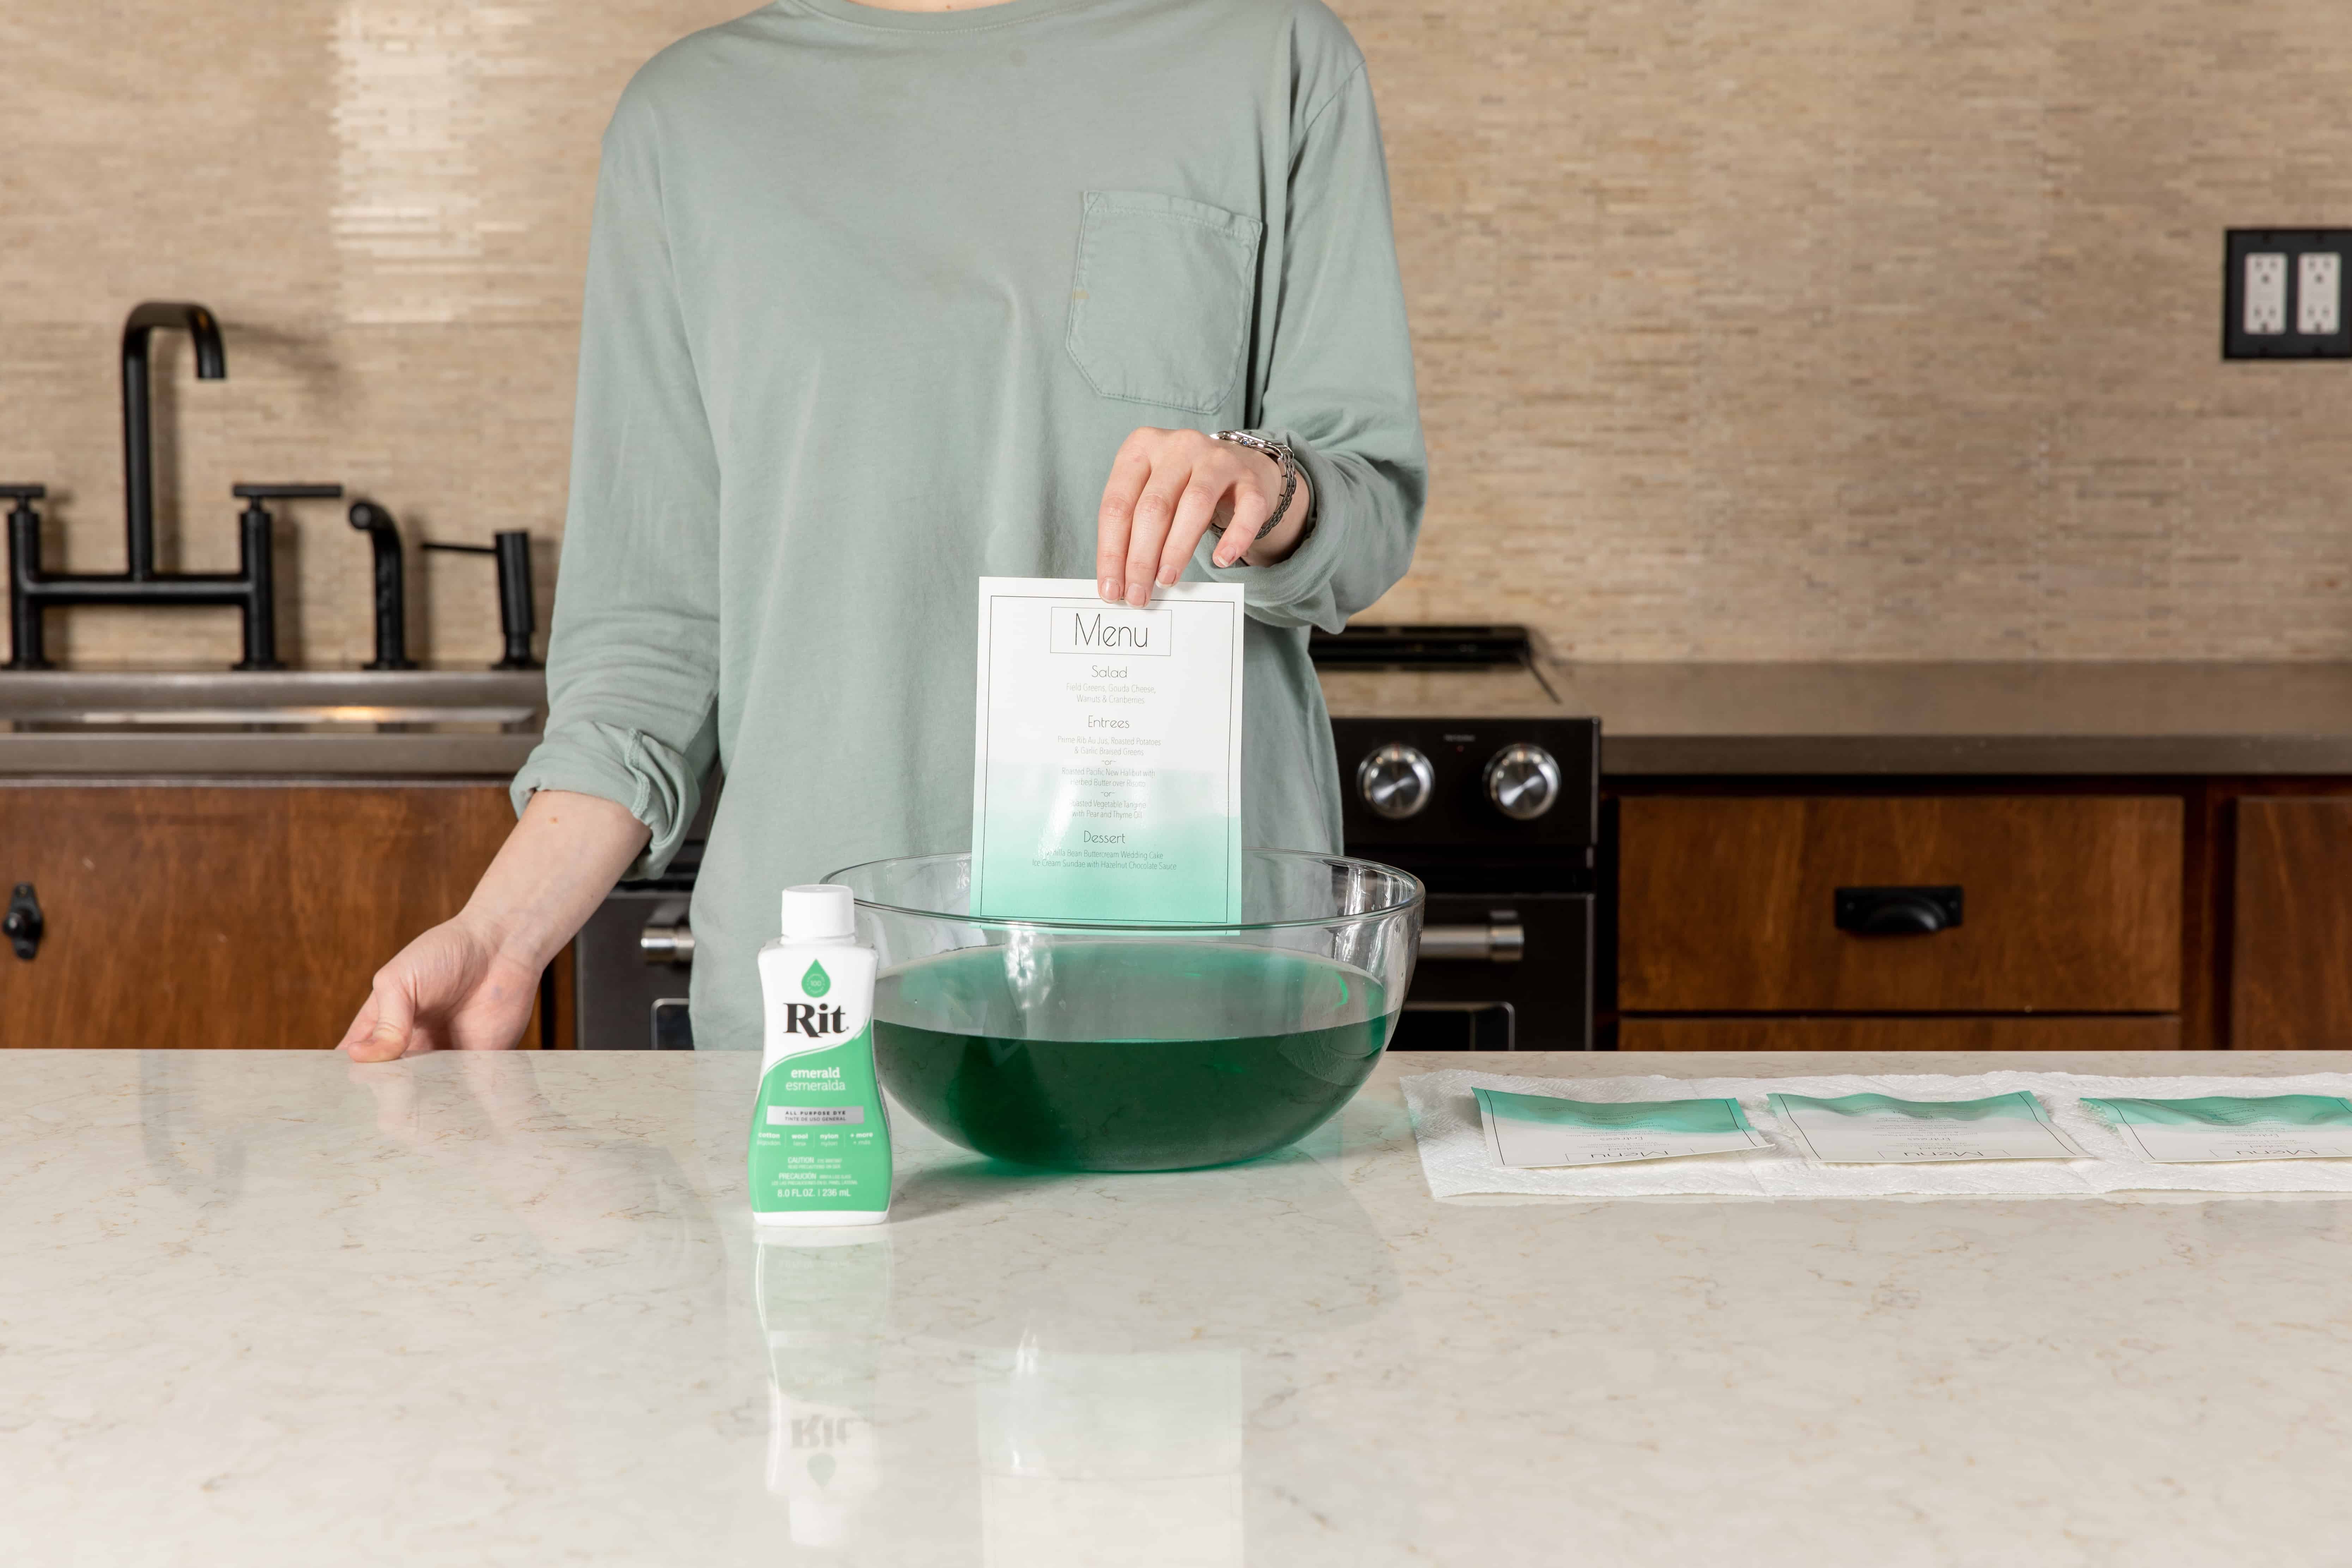
- To dye the menus, dip the paper directly in the dyebath for a few seconds and remove.
- To create an ombré effect, dip the whole menu in quickly and then pull the card out slowly, allowing the bottom portion of the card to remain in the dyebath longer. The longer the menu stays in the dyebath, the darker it will be.

- Lay menus out flat on clean dry paper towels. Once dry, place them under a heavy book for a few hours to remove any wrinkles.
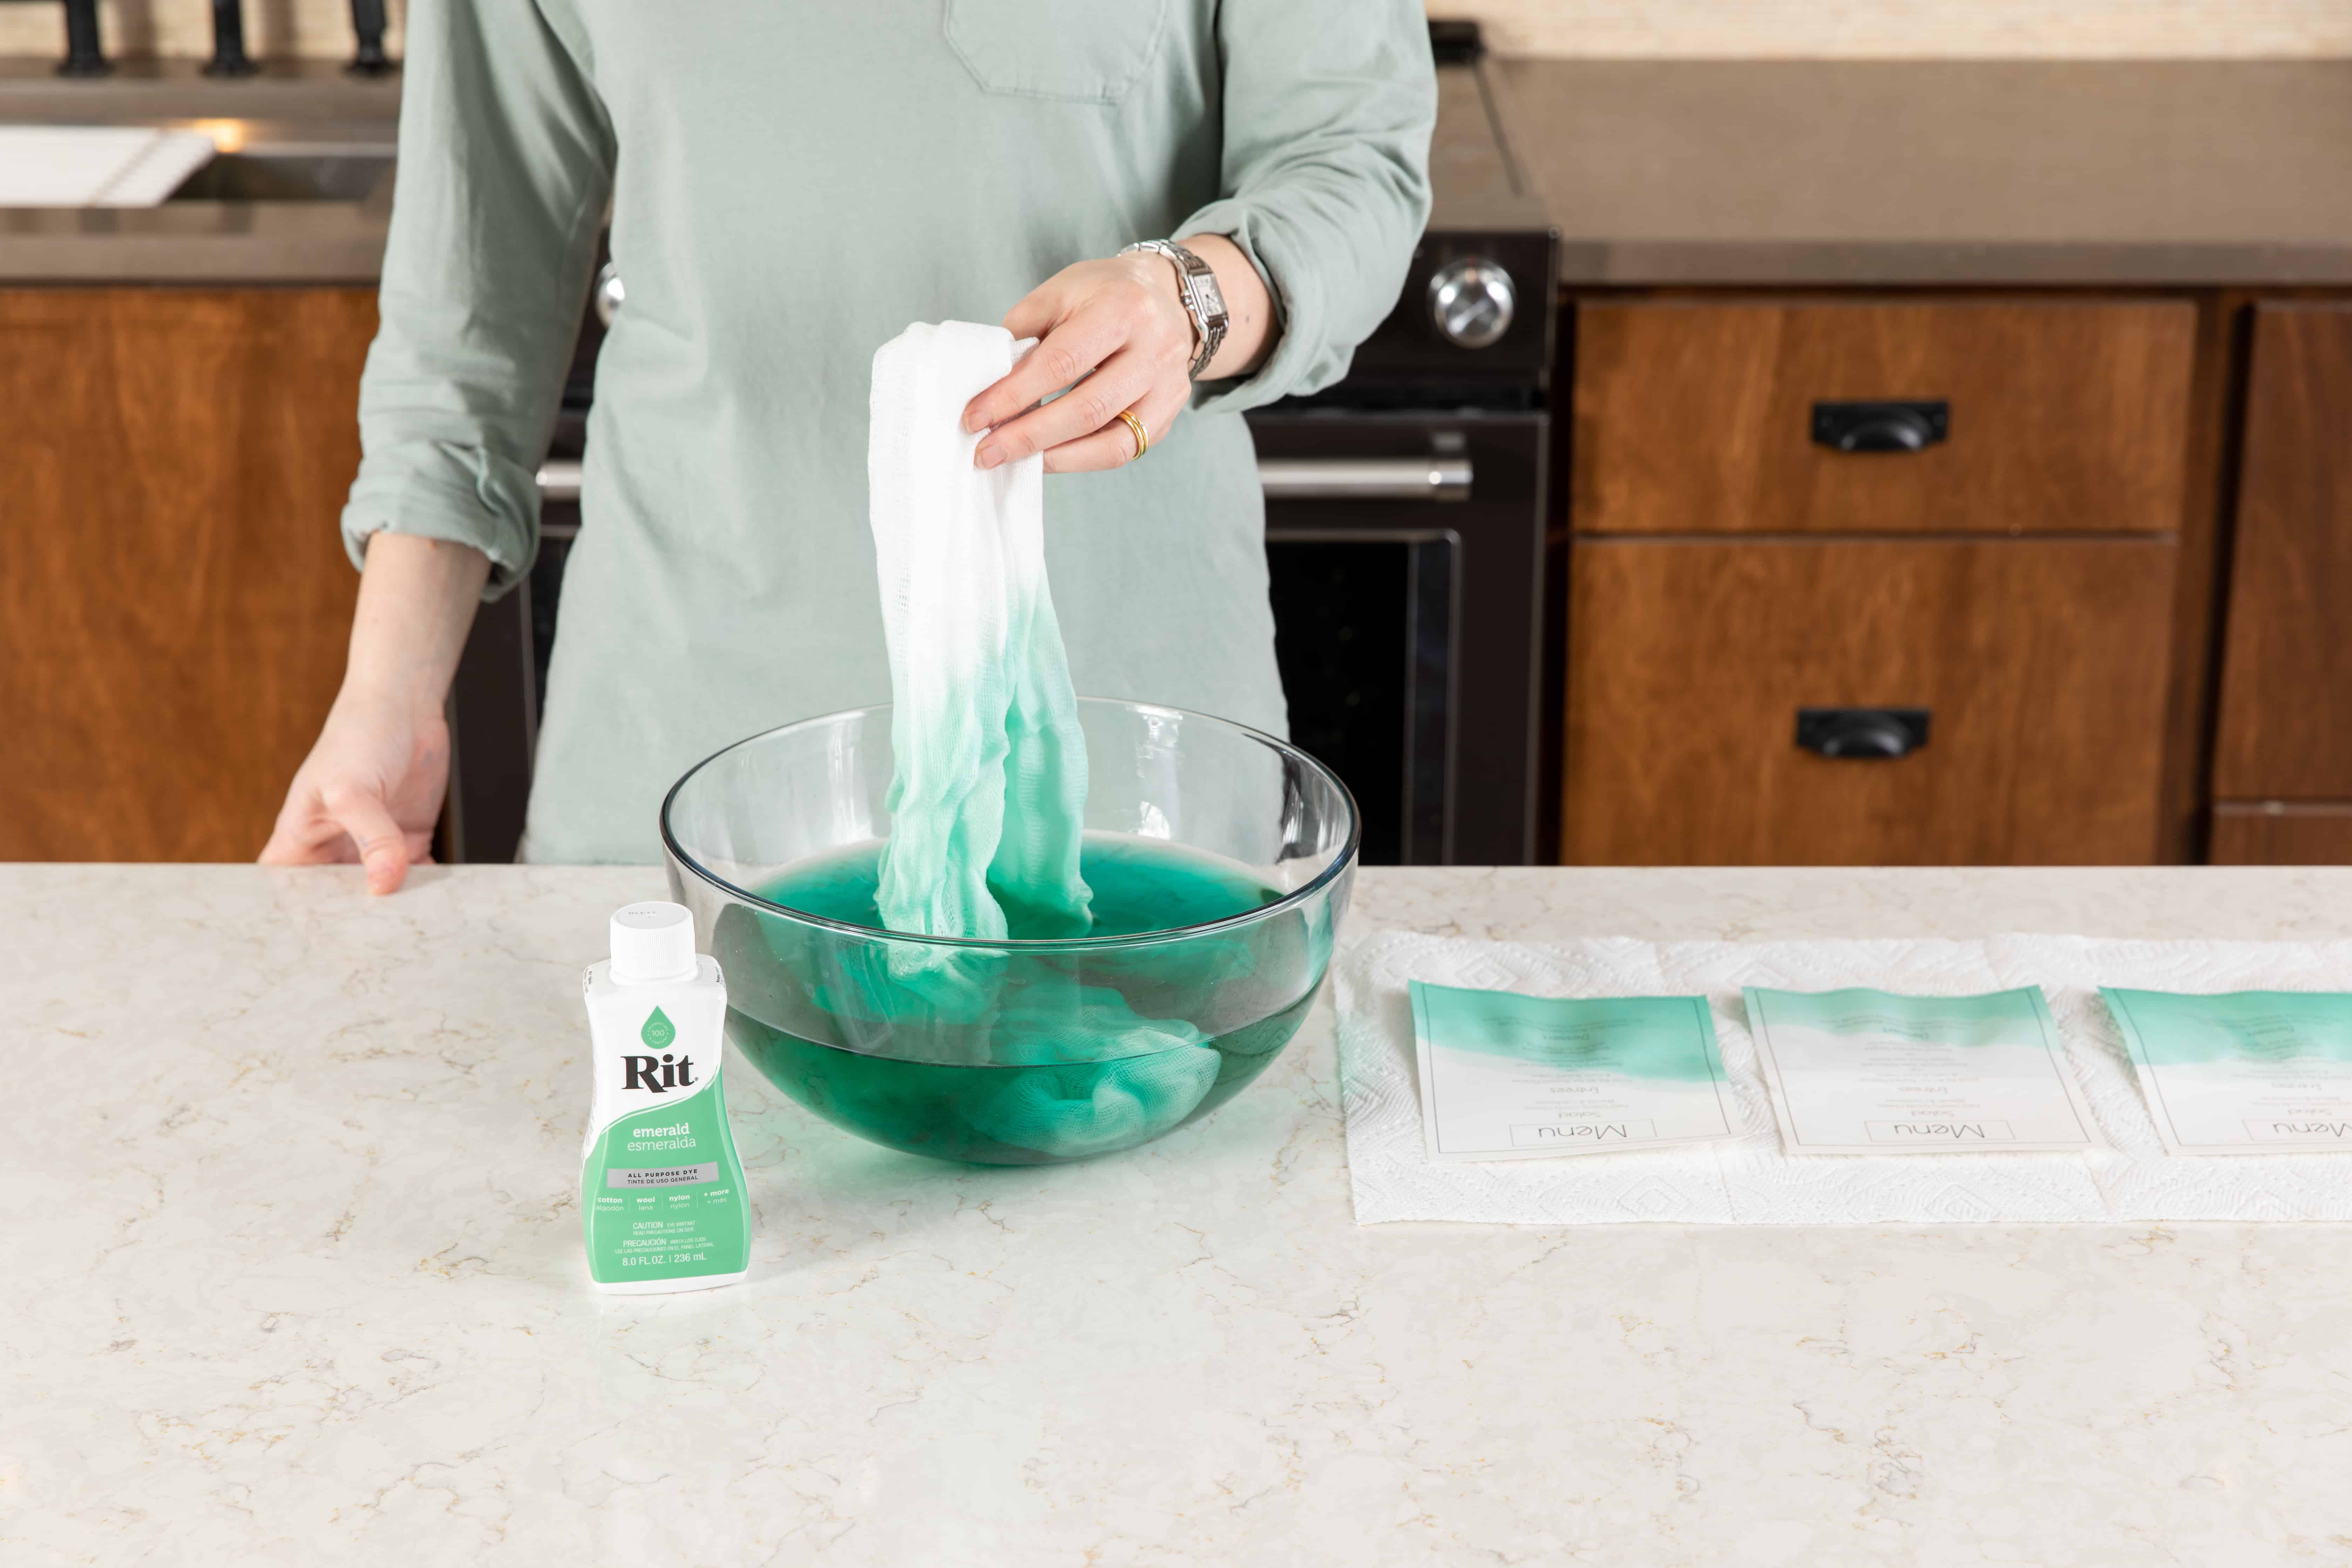
- To dye the cheesecloth table runner and cotton napkins, wet them first and then add them to the dyebath.

- Stir for 30 minutes or until the desired color is achieved. Remove from the dyebath. Keep in mind that the cheesecloth and napkins will appear darker when wet and will dry lighter.
- Squeeze out excess dye and rinse in cool water until the rinse water runs clear. Wash and dry.
- Set table and impress your guests!

Posts You May Like

