Ice Dyed Halloween Treat Bags
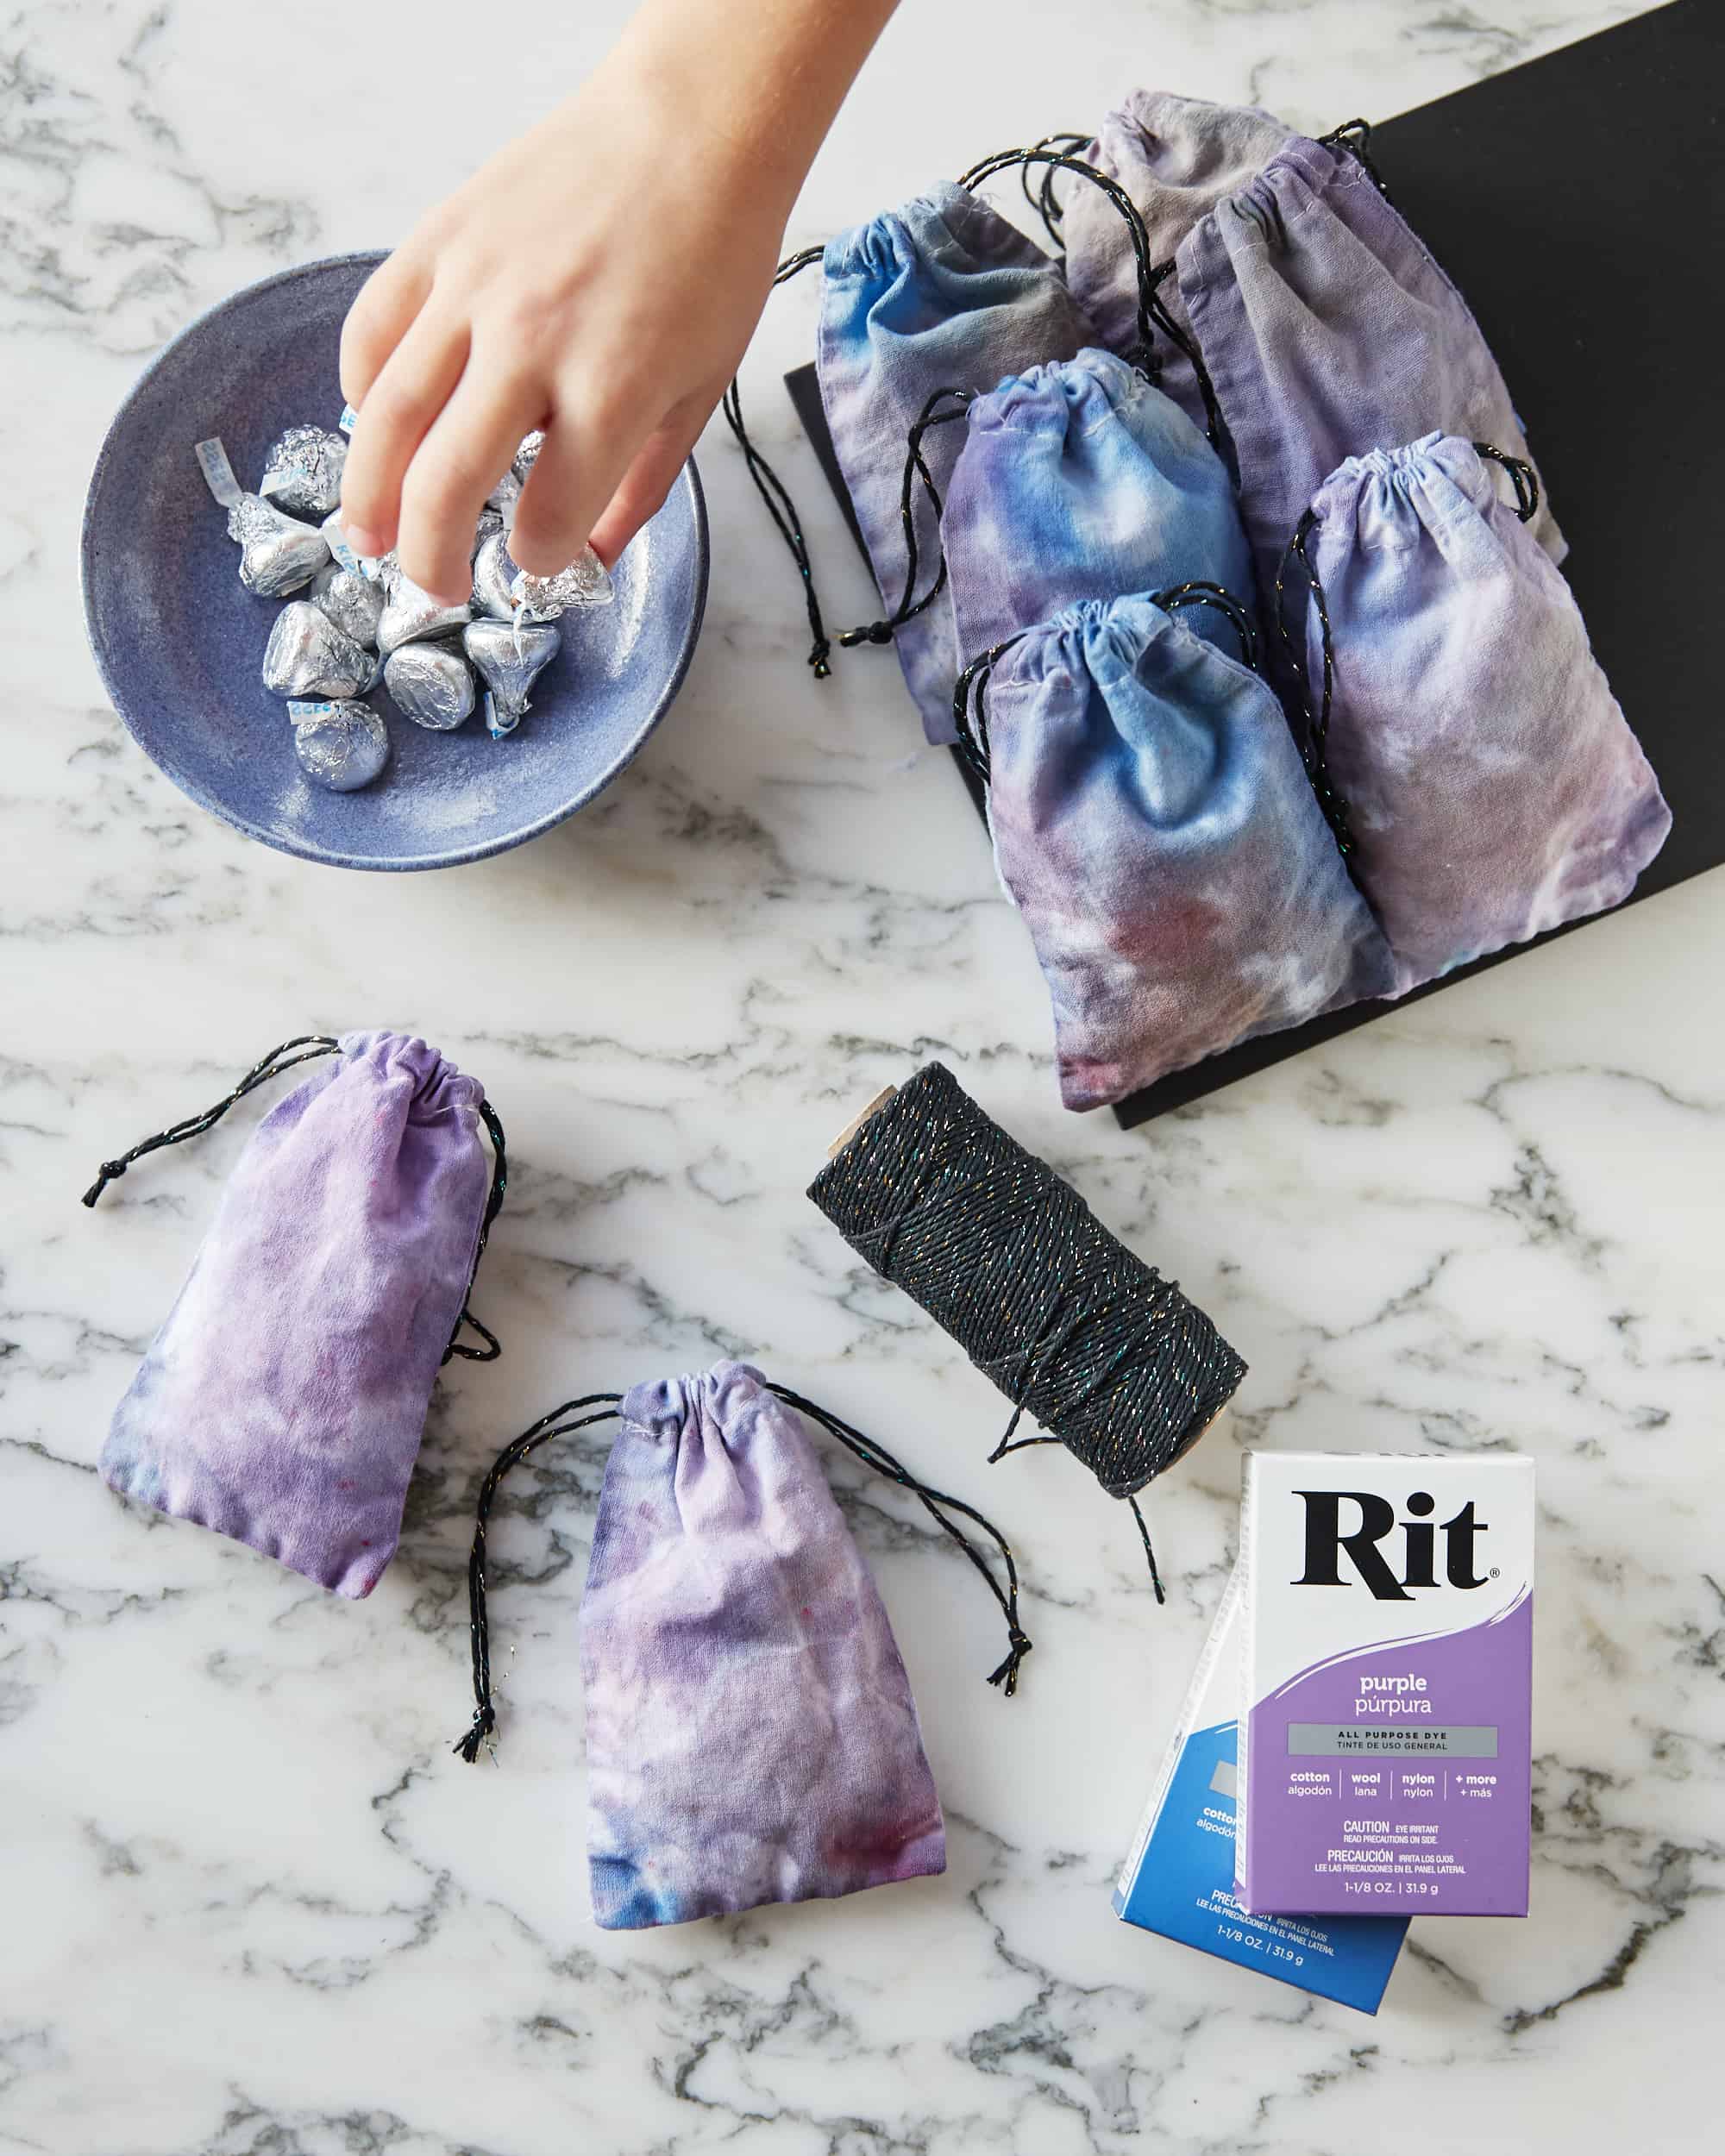
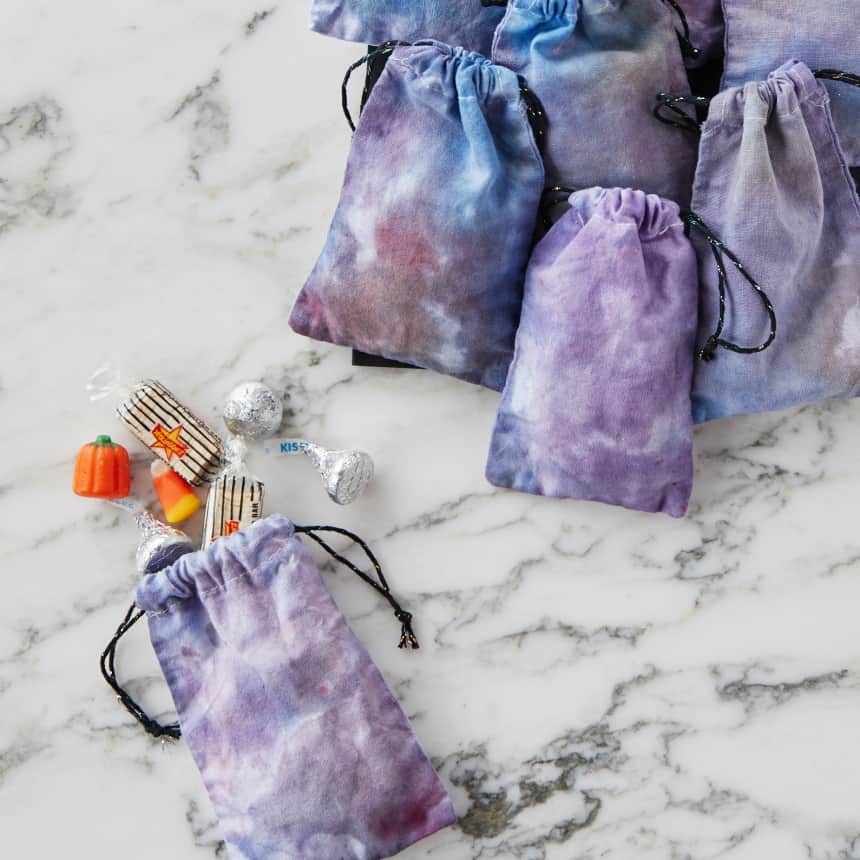
There is no time for tricks when all the kids are looking for are treats! These ice dyed treat bags created by Knot & Bow could not be any cuter (or easier to make). Plus, the deep moody colors are perfect for Halloween! The kids will love the mystery of what’s inside the bag.

Supplies
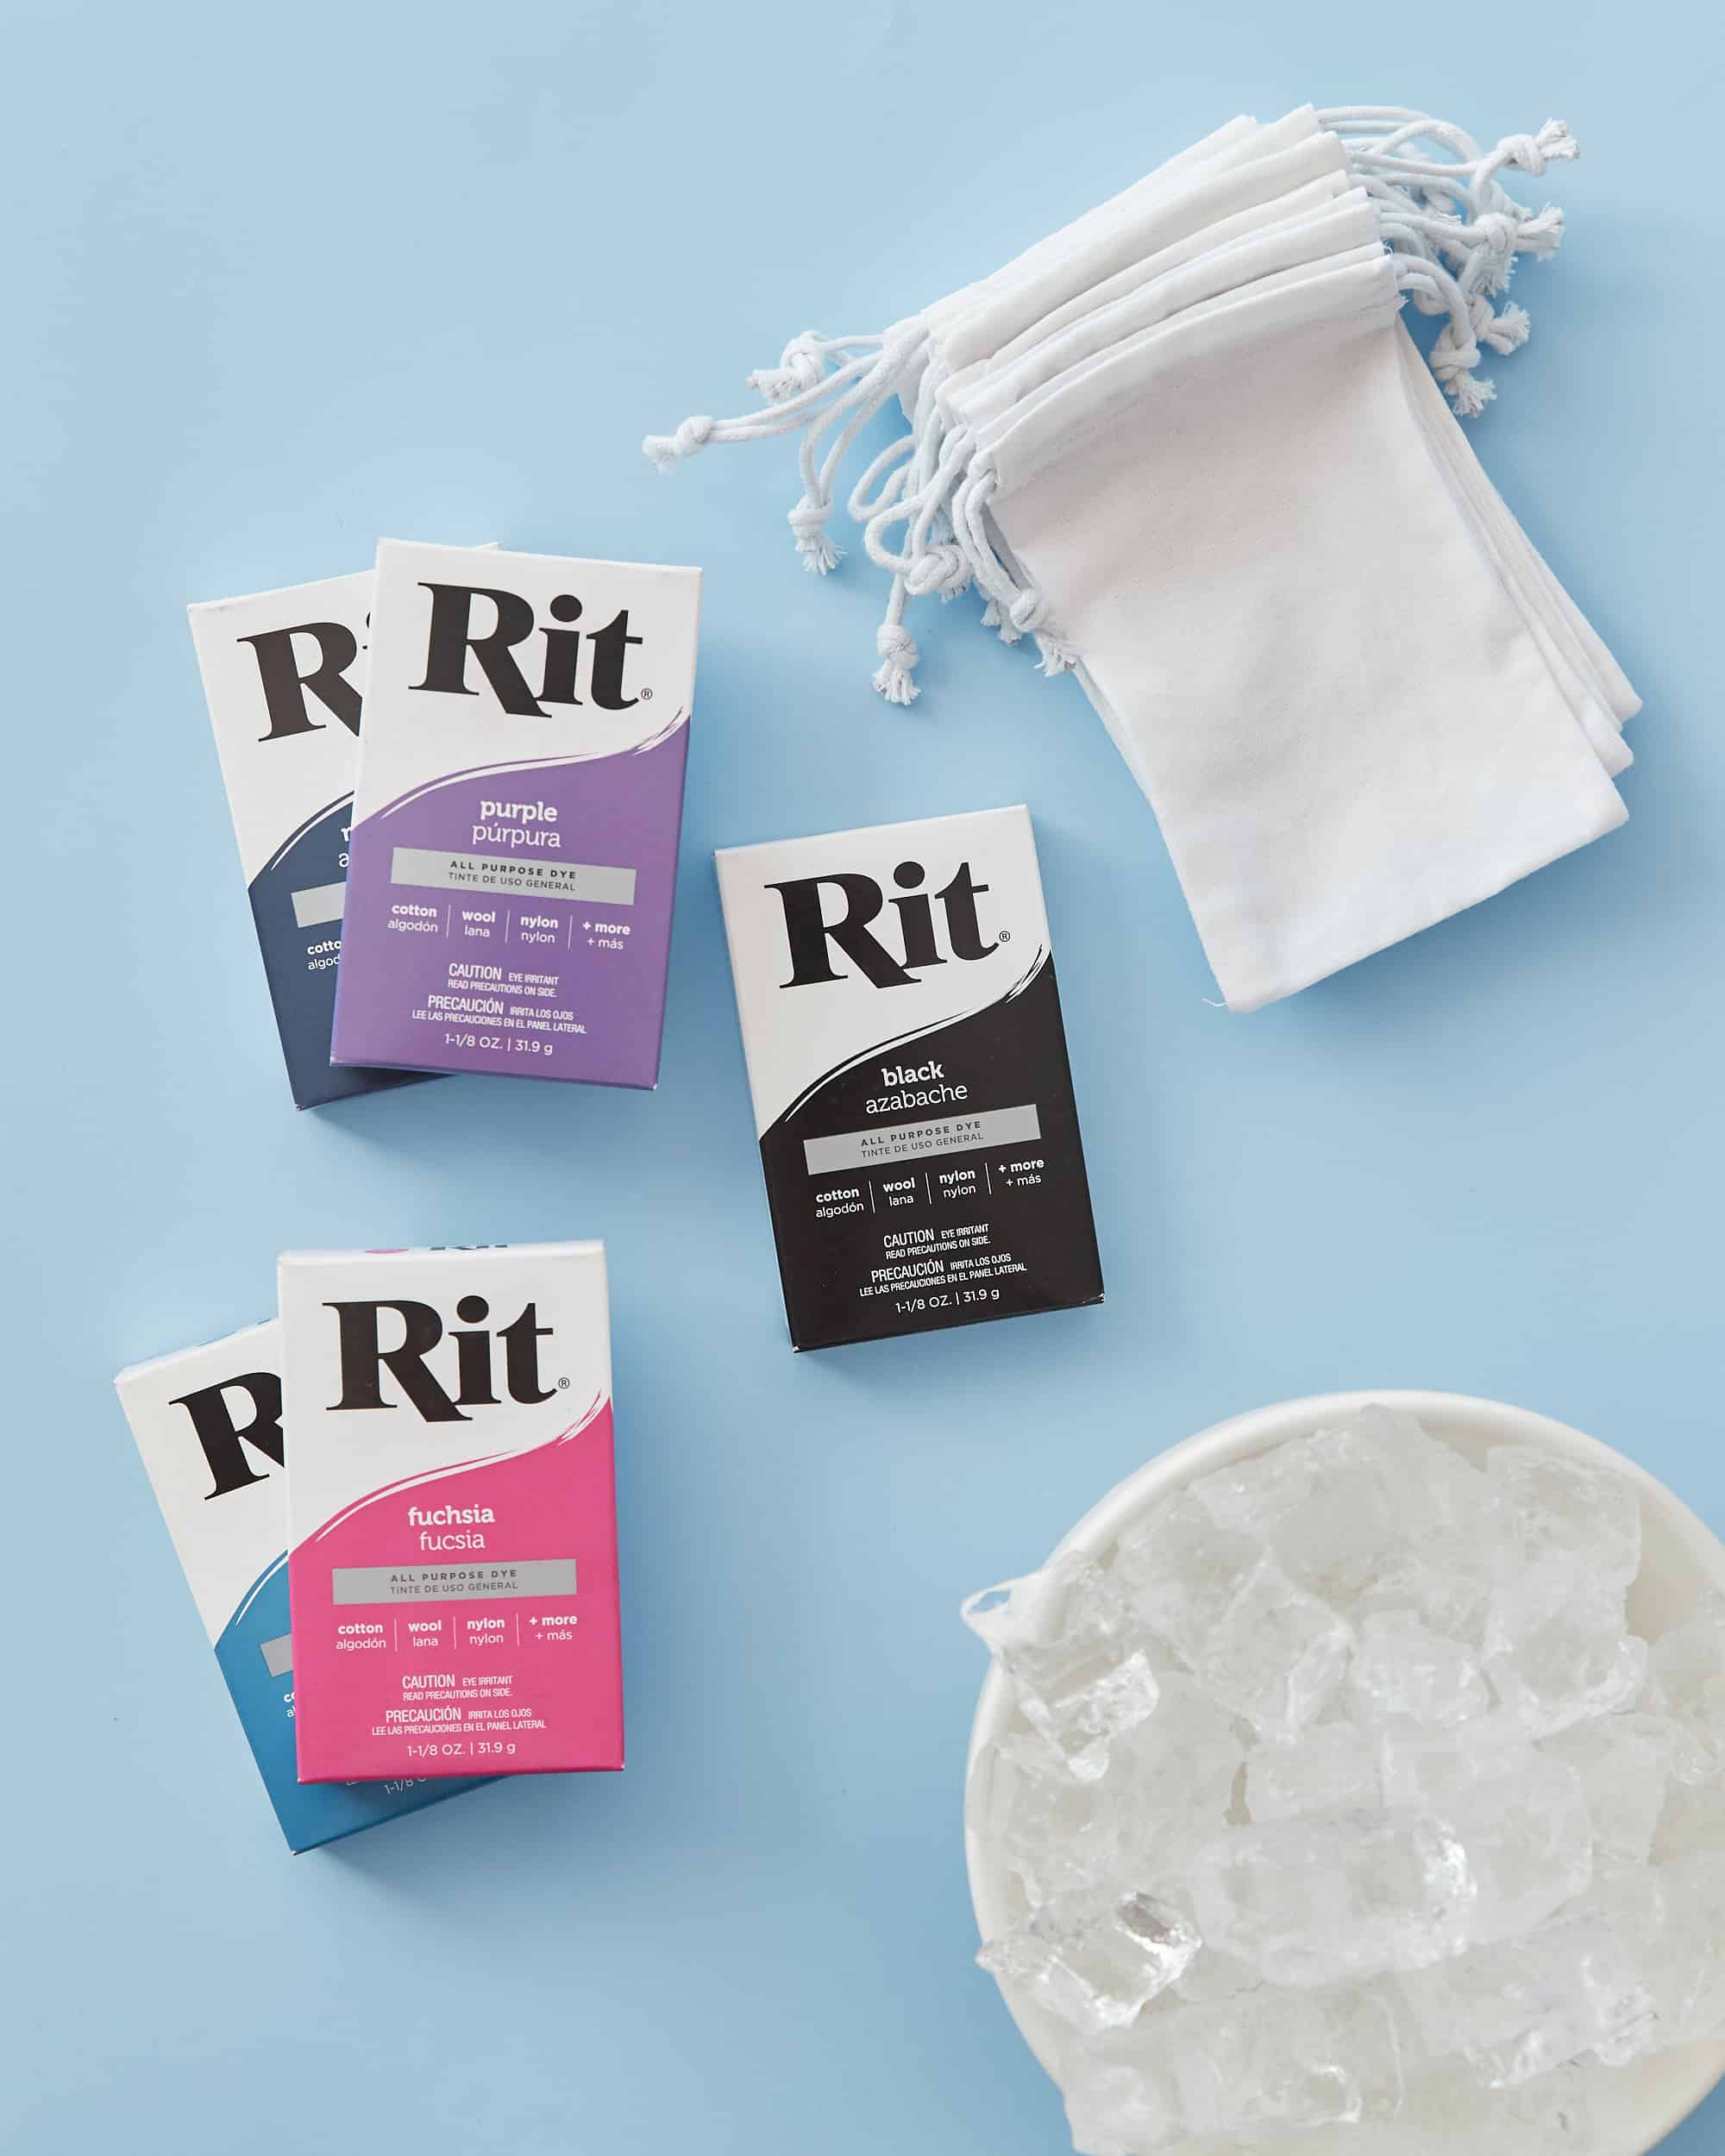
- Rit All-Purpose Powder Dye: Fuchsia, Black, Purple, Royal Blue, Navy Blue
- Rit ColorStay Dye Fixative
- White Cotton Treat Bags
- Ice
- Metal Cooking Rack
- Dye Container Larger than Rack
- Rubber Gloves
- Waterproof Table Cover
- Ribbon or Twine (Optional)
Time
1-2 Hours Total: {{ partial.t7ET.total }}
Difficulty
Beginner Total: {{ partial.tHN8.total }}
Instructions
- Cover table with plastic. Gather supplies.

- Place cooling rack within dye basin or sink.
- Arrange treat bags on top of cooling rack. Arrange flat, twist/scrunch the bags, or bundle them with rubber bands — results will vary depending on your method!
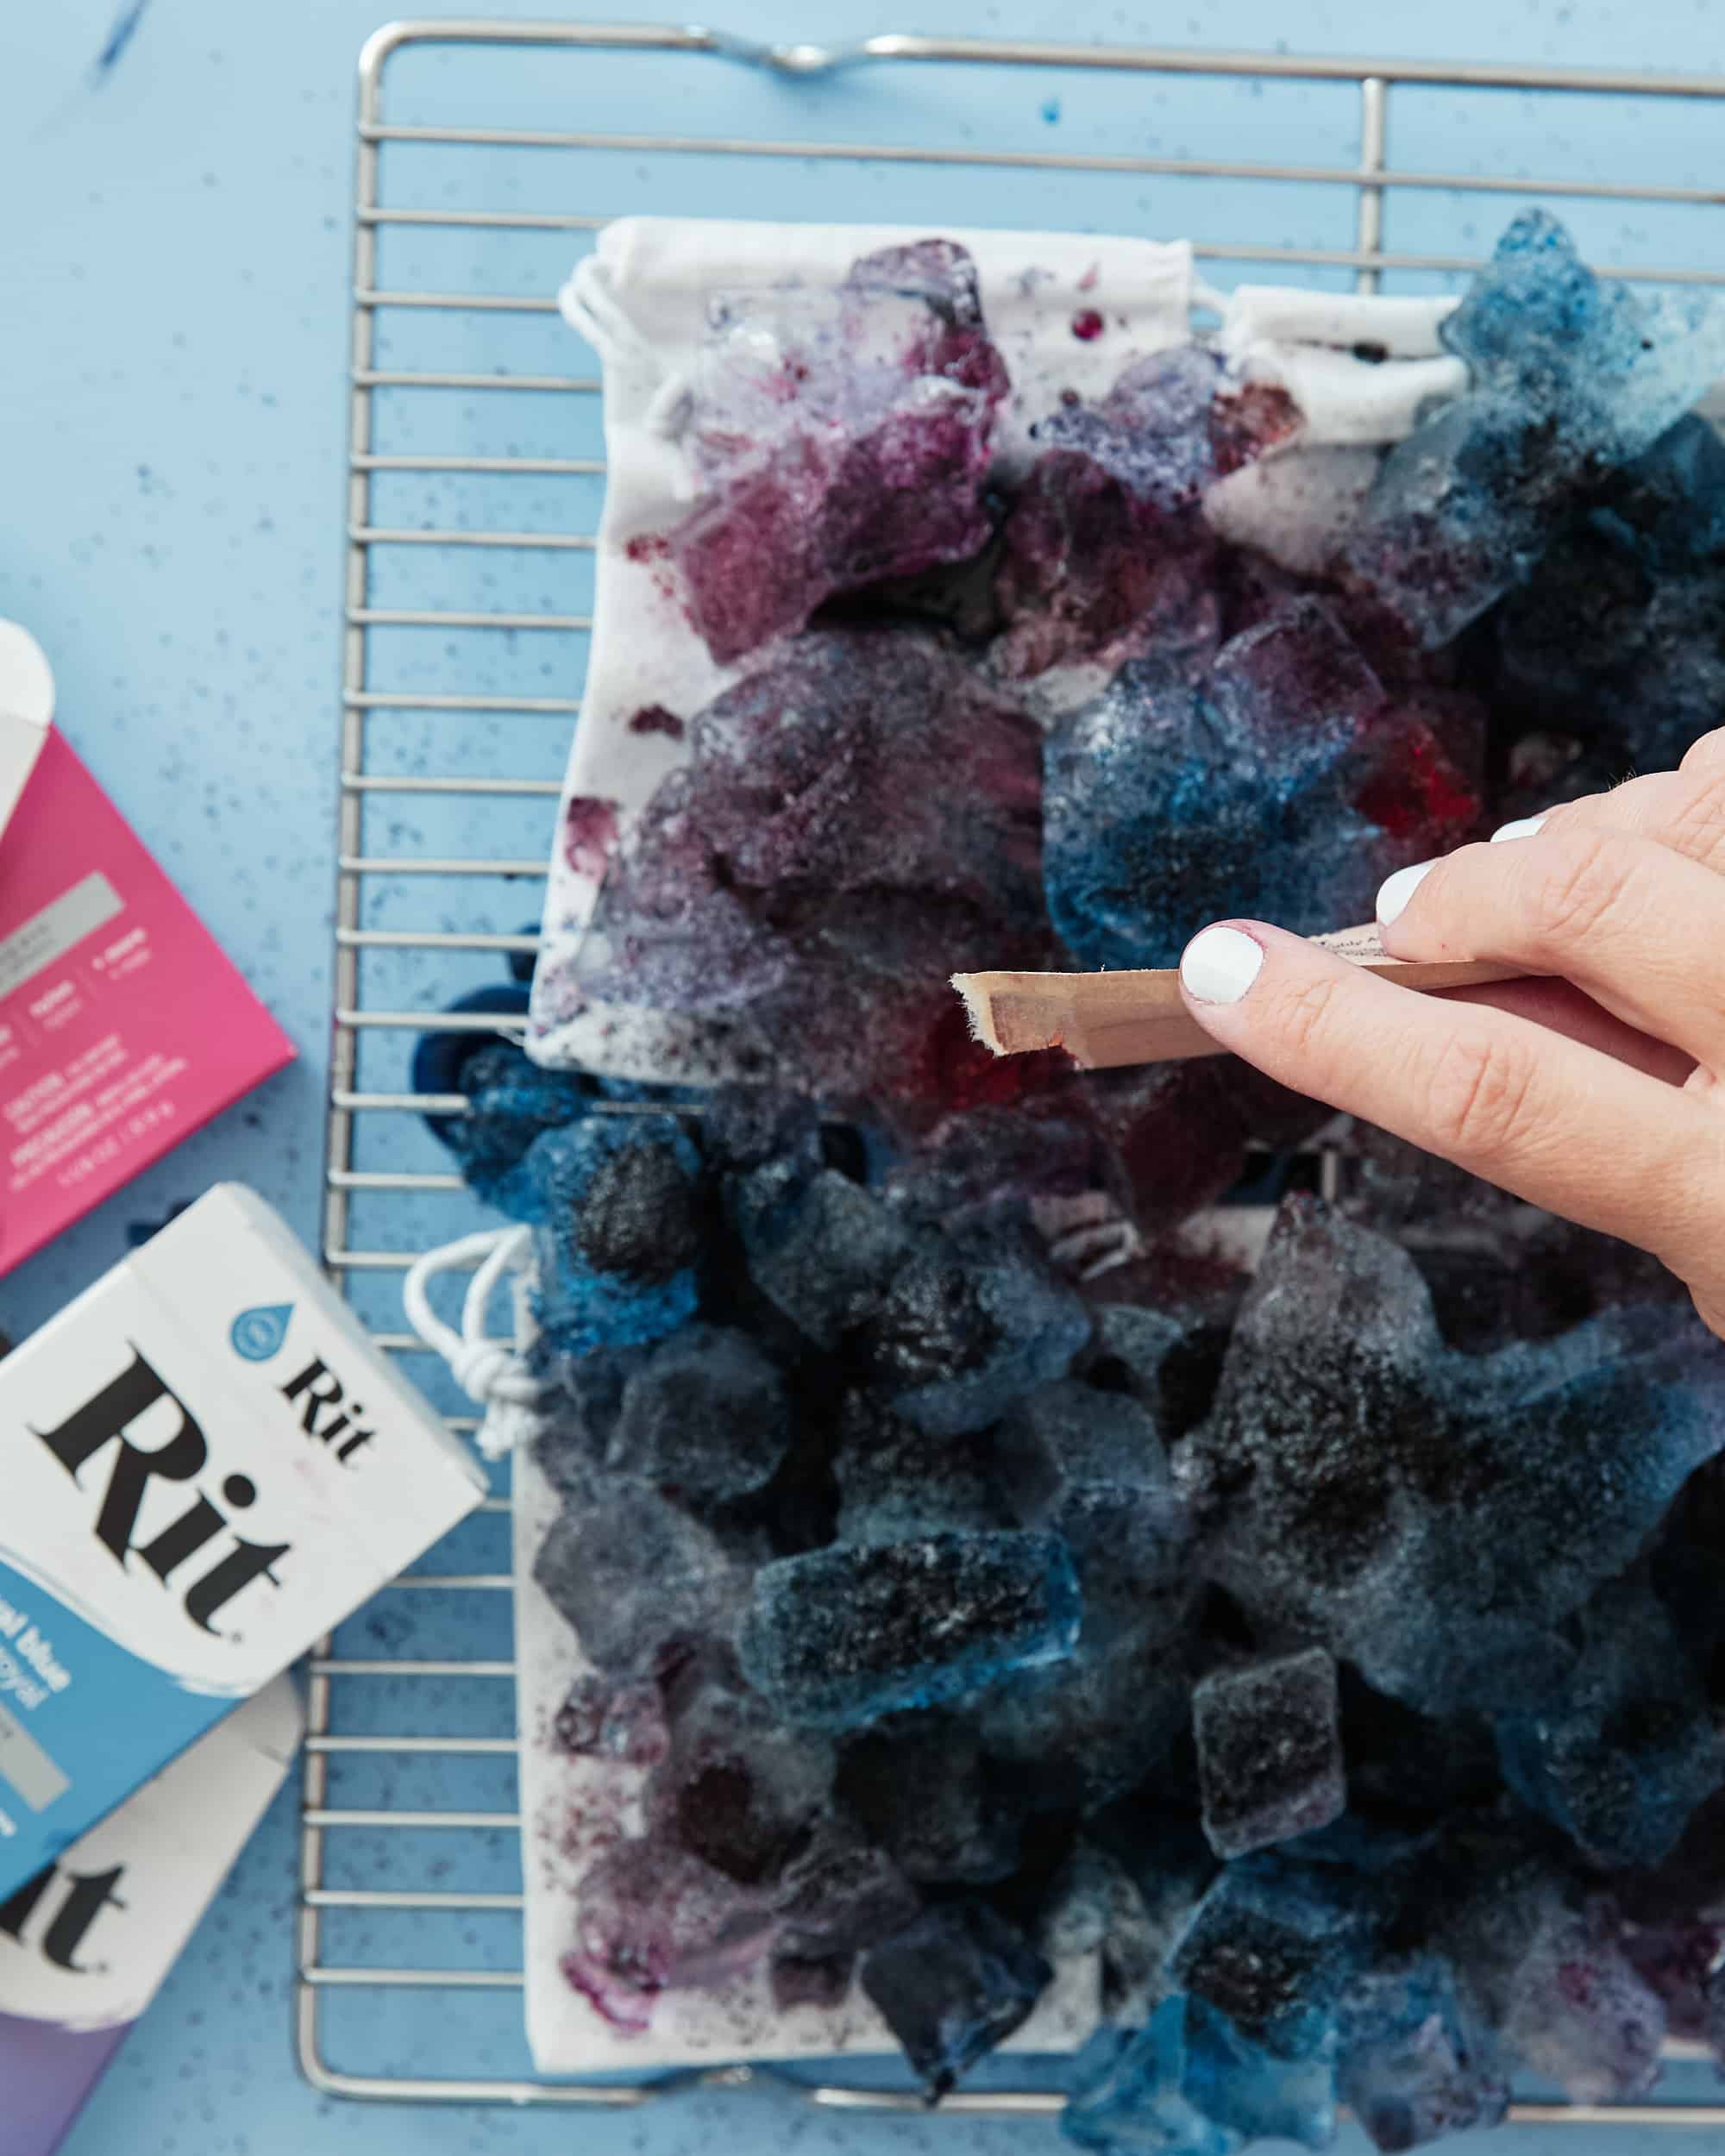
- Cover the arranged treat bags fully with ice.
- Open the boxes of Powder Dye (Fuchsia, Black, Purple, Navy Blue and Royal Blue used here) and sprinkle on top of the ice. Use a small amount of powder dye for lighter coverage, or sprinkle heavily for darker results.

- Wait for the ice to melt.
- When the desired color is achieved, remove treat bags from cooling rack. Because of the limited amount of fabric, you may achieve your desired results before the ice melts fully. Keep in mind the color will appear lighter once rinsed and dried.
- Recommended: To enhance the color and reduce color bleeding, use Rit ColorStay Dye Fixative immediately after dying and before washing. Pour fixative into a spray bottle and spray the treat bags. Let set for 20 minutes.
- Rinse treat bags in cool water until rinse water begins to run clear.
- Wash in warm water with mild detergent, rinse, and dry.
- Optional: Trim cotton pull-strings from bags, and thread your choice of coordinating ribbon or twine through the top of each bag.
Posts You May Like

