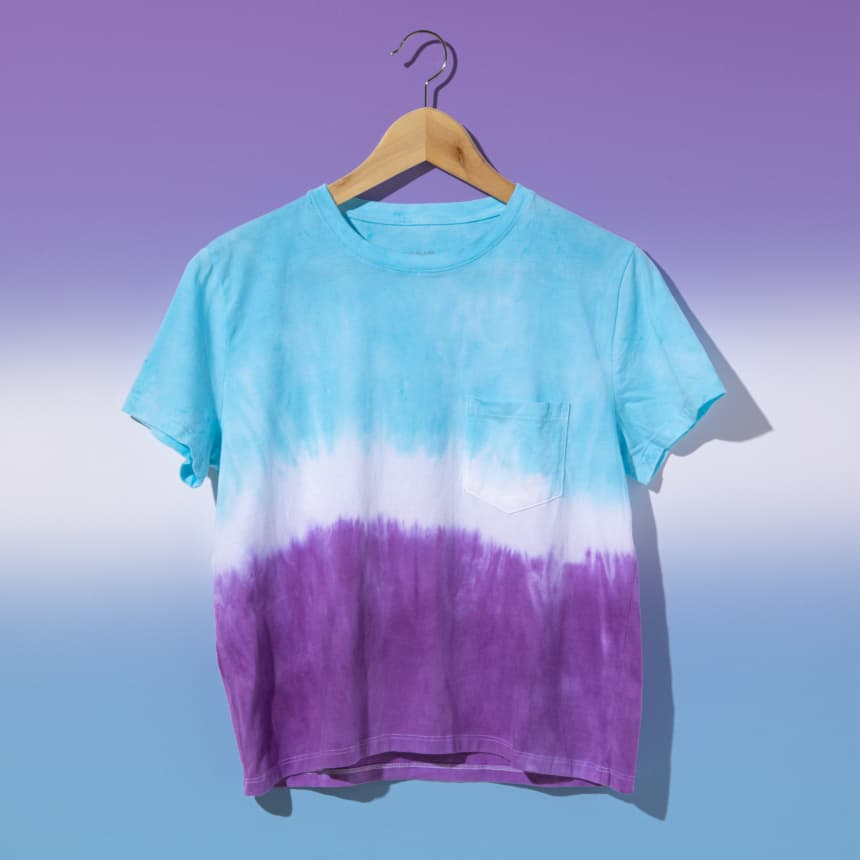
Supplies
- White Cotton Tee
- All-Purpose Liquid Dye in Aquamarine, Purple or desired colors
- Rit Tie-Dye Accessory Kit
- ColorStay Dye Fixative
- Plastic Bucket or Container for Dyeing
- Large metal spoon
- Paper towels
- Plastic table cover
- Salt
- Dish soap
Time
Total: {{ partial.tR29.total }}
Difficulty
Beginner Total: {{ partial.tTC9.total }}
Instructions
- Prewash shirt to remove any finishes that may interfere with dye absorption. Leave
- Cover work area with plastic table cover and have paper towels handy to protect against any possible spills.
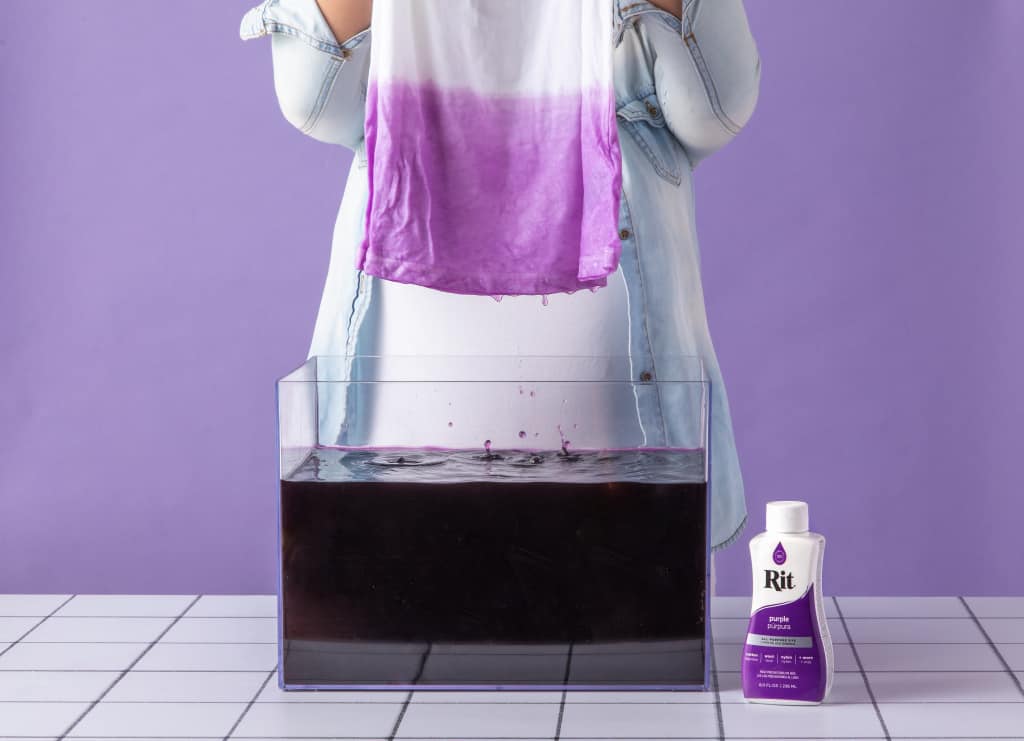
- Wearing gloves, mix ½ cup of well-shaken Purple with 2 quarts of very hot water in a container and stir well.
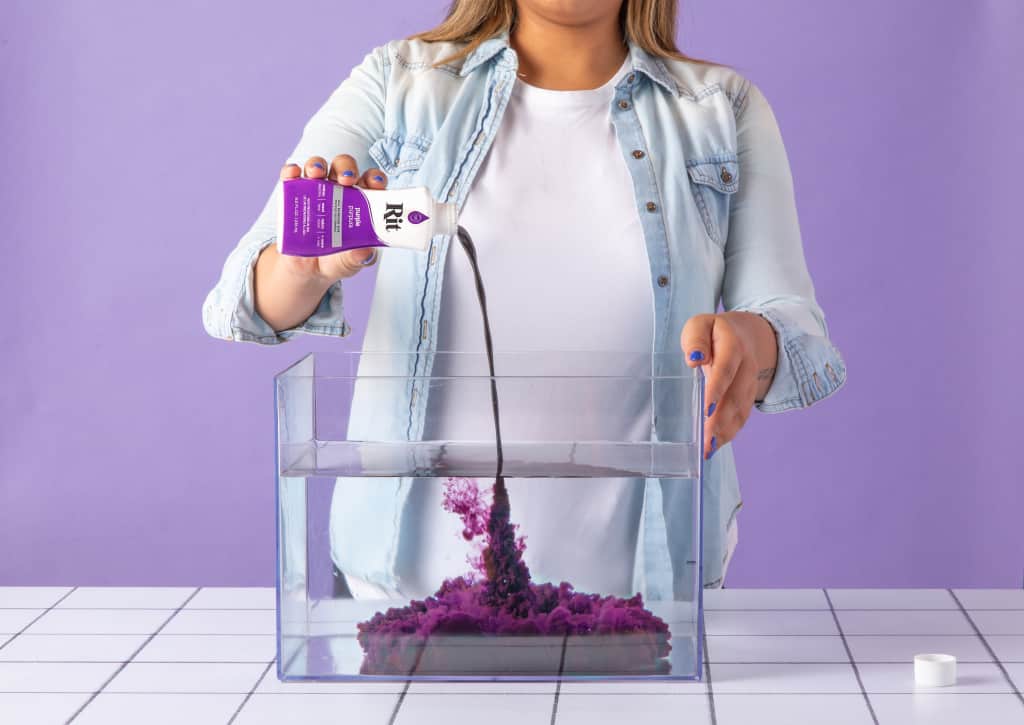
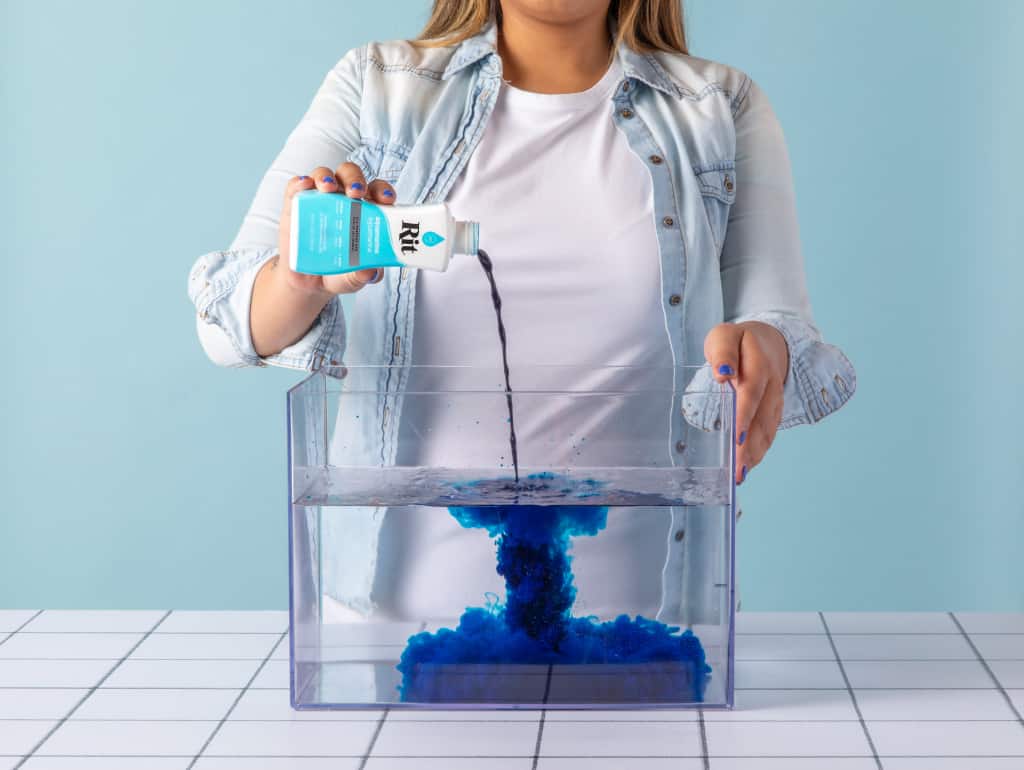
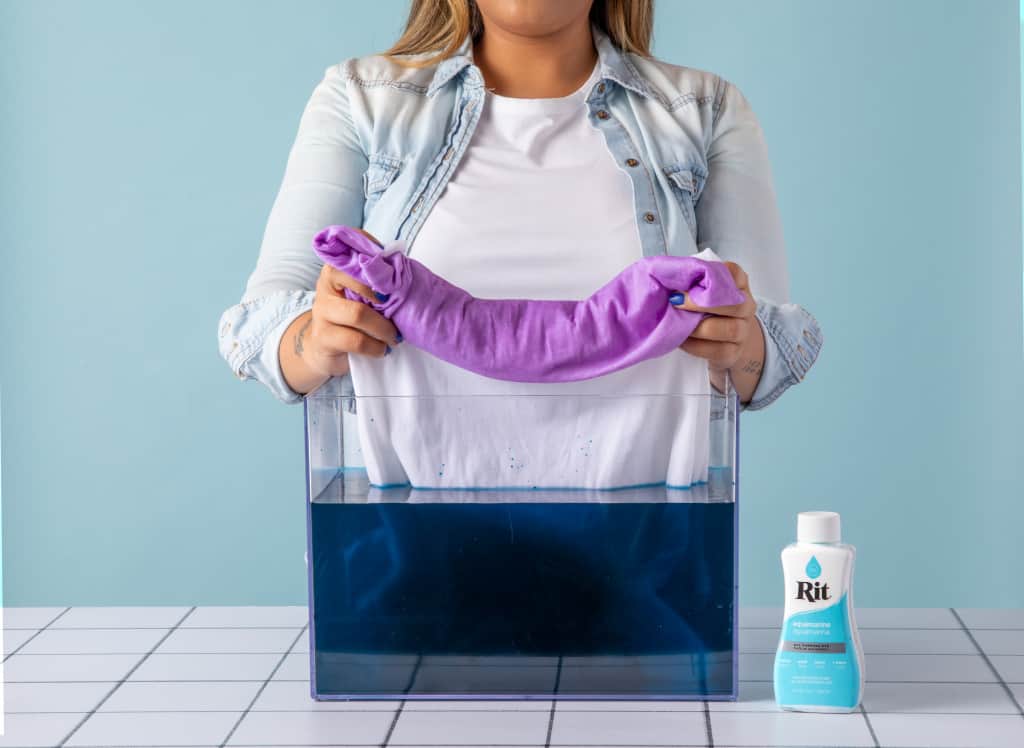
- In another container, mix ½ cup of Aquamarine with 2 quarts of very hot water. Add ½ cup of salt and 1 tsp of dish soap to each dyebath.
- Immerse the top third of the shirt into the Purple dyebath for about 5 minutes. Keep shirt very still and allow the shirt to absorb the dye upwards to create an organic look. Be very careful not to get dye on the remainder of the shirt.
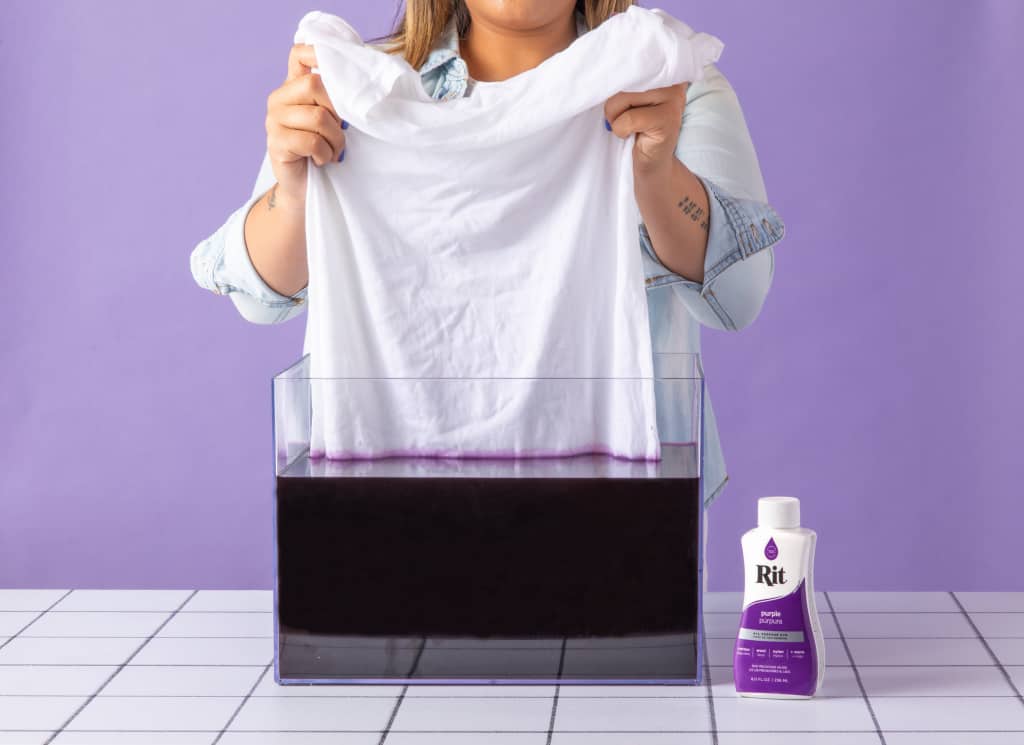
- Repeat for the bottom third of the shirt with the Aquamarine dyebath.
- To set the dye, do the following right after applying the dye:
-
- Apply Rit ColorStay Dye Fixative with a spray bottle, which will enhance the colors and reduce bleeding. Mix 2 tablespoons of well-shaken ColorStay Dye Fixative with water and apply liberally to both sides of the jacket.
- After applying ColorStay Dye Fixative, place shirt in the microwaveable tray and heat for 1 to 2 minutes. This will create a heat chamber that helps bond the dye with the fabric. Once the microwave is done, remove the shirt and open the lid carefully, letting it cool down.
- Rinse in cold water until rinse water begins to run clear. This is very important to prevent unabsorbed dye from bleeding into any white areas.
- Wash in cold water with a mild detergent, rinse and dry.
Posts You May Like
