Supplies
- Rit All-Purpose Liquid Dye (We Used Fuchsia and Aquamarine)
- Wood Slices
- Twine
- Mason Jar
- Foam Brush
- Gloves
- Adhesive
- Plastic Table Cover
Time
Total: {{ partial.tVTL.total }}
Difficulty
Beginner Total: {{ partial.tLJV.total }}
Instructions
- Cover work area with plastic table cover and have paper towels handy to protect against any possible spills. Gather supplies.
- Wear rubber gloves to protect hands and pour 4 cups of hot water into a container. Add 2 ounces of dye to container. Stir.
- Test dye color by dipping a paper towel or spare slice directly into the dyebath. If color is too light, add more dye; if color is too dark, add more water. Dye will appear lighter when dry.
- Dip slice directly into the dyebath. It will dye within a few seconds. The longer the slice stays in the dye, the darker it will be.
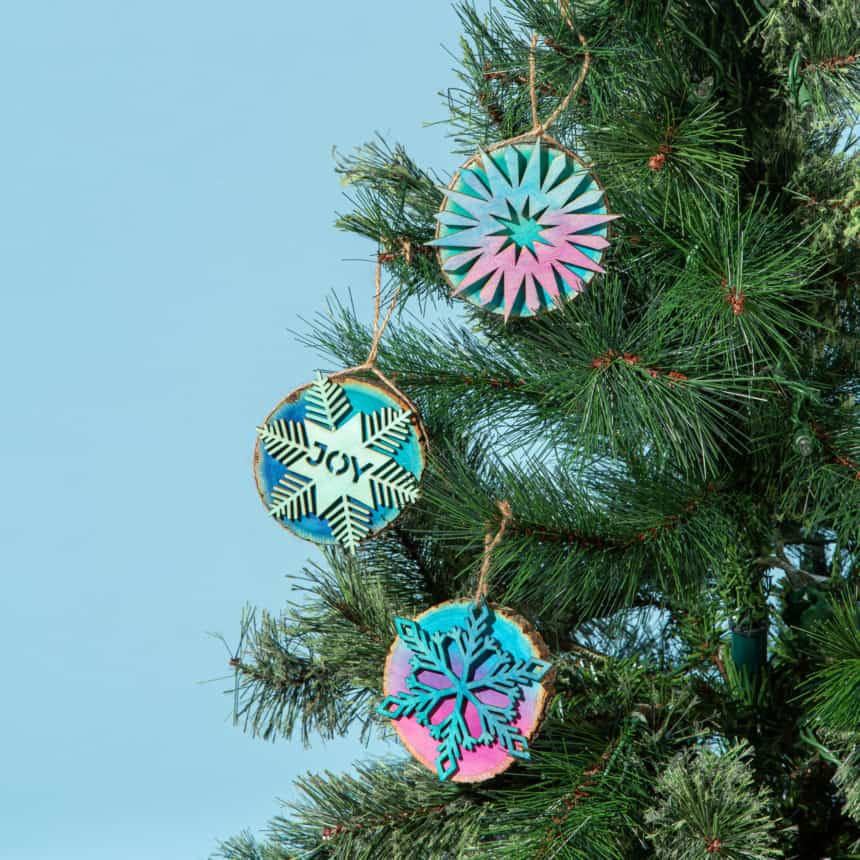
- Try experimenting with dyeing different parts of the ornament for different looks. You could dye just the bottom half, just the top or even tilt it to get a diagonal color line for variation. To achieve an ombré effect, use foam brush to apply dye to specific sections of the ornament.
- Repeat with wooden embellishments to create desired look.
- Remove the ornament and embellishments from the dye and lay them flat on clean, dry paper towels until completely dry.
- When dry, adhere wood embellishments or other designs onto wooden slice as desired.
- Tie twine to top of ornament for hanging.
- Add to tree!
Posts You May Like

