Supplies
- Dried Corn Husks
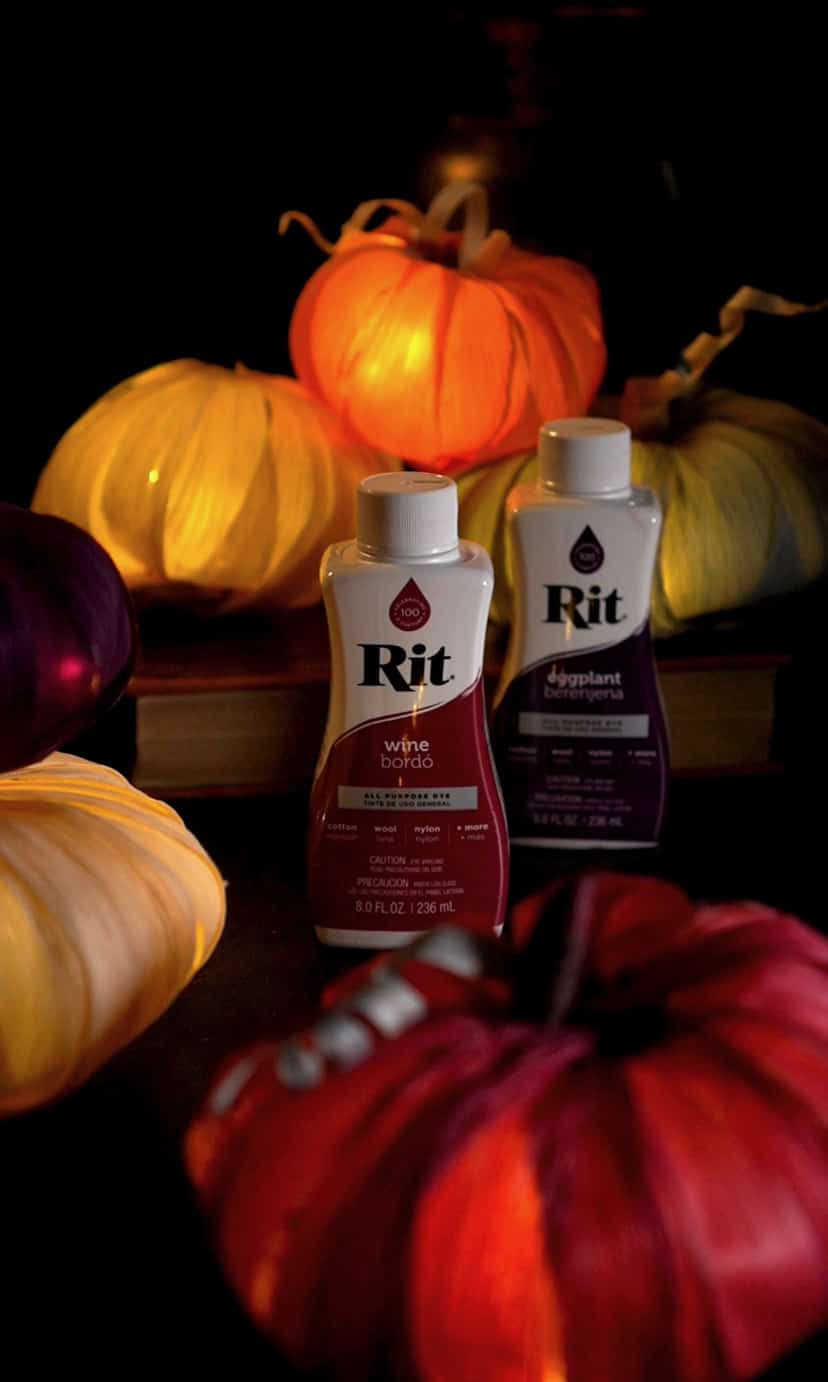
- Rit All-Purpose Dyes
- Empty Toilet Paper Roll
- Battery Operated Fairy Lights
- Hot Glue Gun + Sticks
- Container for Dyeing
- Paper Towels
- Rubber Gloves
- Curling Iron
Time
Total: {{ partial.tM3P.total }}
Difficulty
Beginner Total: {{ partial.tC88.total }}
Instructions
- Cover table with plastic. Gather supplies.
- Fill container for dyeing with very hot water, enough to submerge corn husks.
- Shake dye bottle before pouring. Wearing rubber gloves, add 1 to 2 cups of your favorite Rit All-Purpose Liquid Dye and stir well.
- Test dye color by dipping a paper towel or square tree directly into the dyebath. If color is too light, add more dye; if color is too dark, add more water.
- Dip corn husks into the prepared bath. Let sit for 5 minutes or until desired color is achieved.
- Remove the husks from the dyebath and place on paper towels to dry.
- Rip dry cornhusks into thin strips.
- Wrap toilet paper tube with fairy lights to create the center base of the pumpkin.
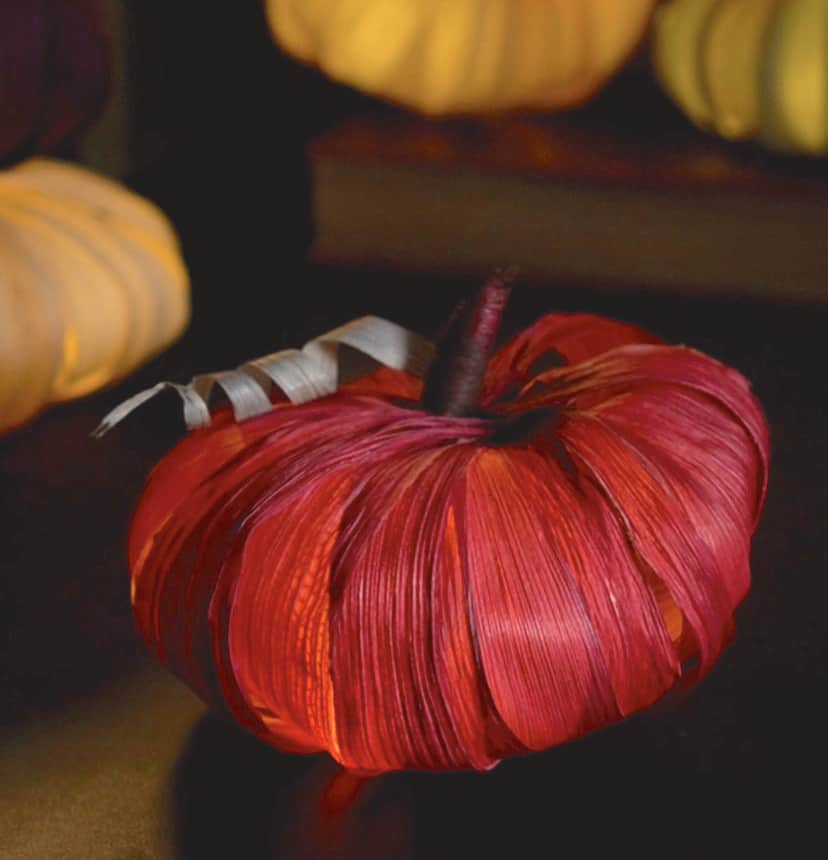
- Using the hot glue gun, secure corn husk strips to the top and bottom of the center base. Repeat until it’s fully covered.
- Tightly wind one strip of cornhusk to create stem of pumpkin and adhere to top.
- Curl remaining tail of the stem with a curling iron.
Posts You May Like

