Supplies
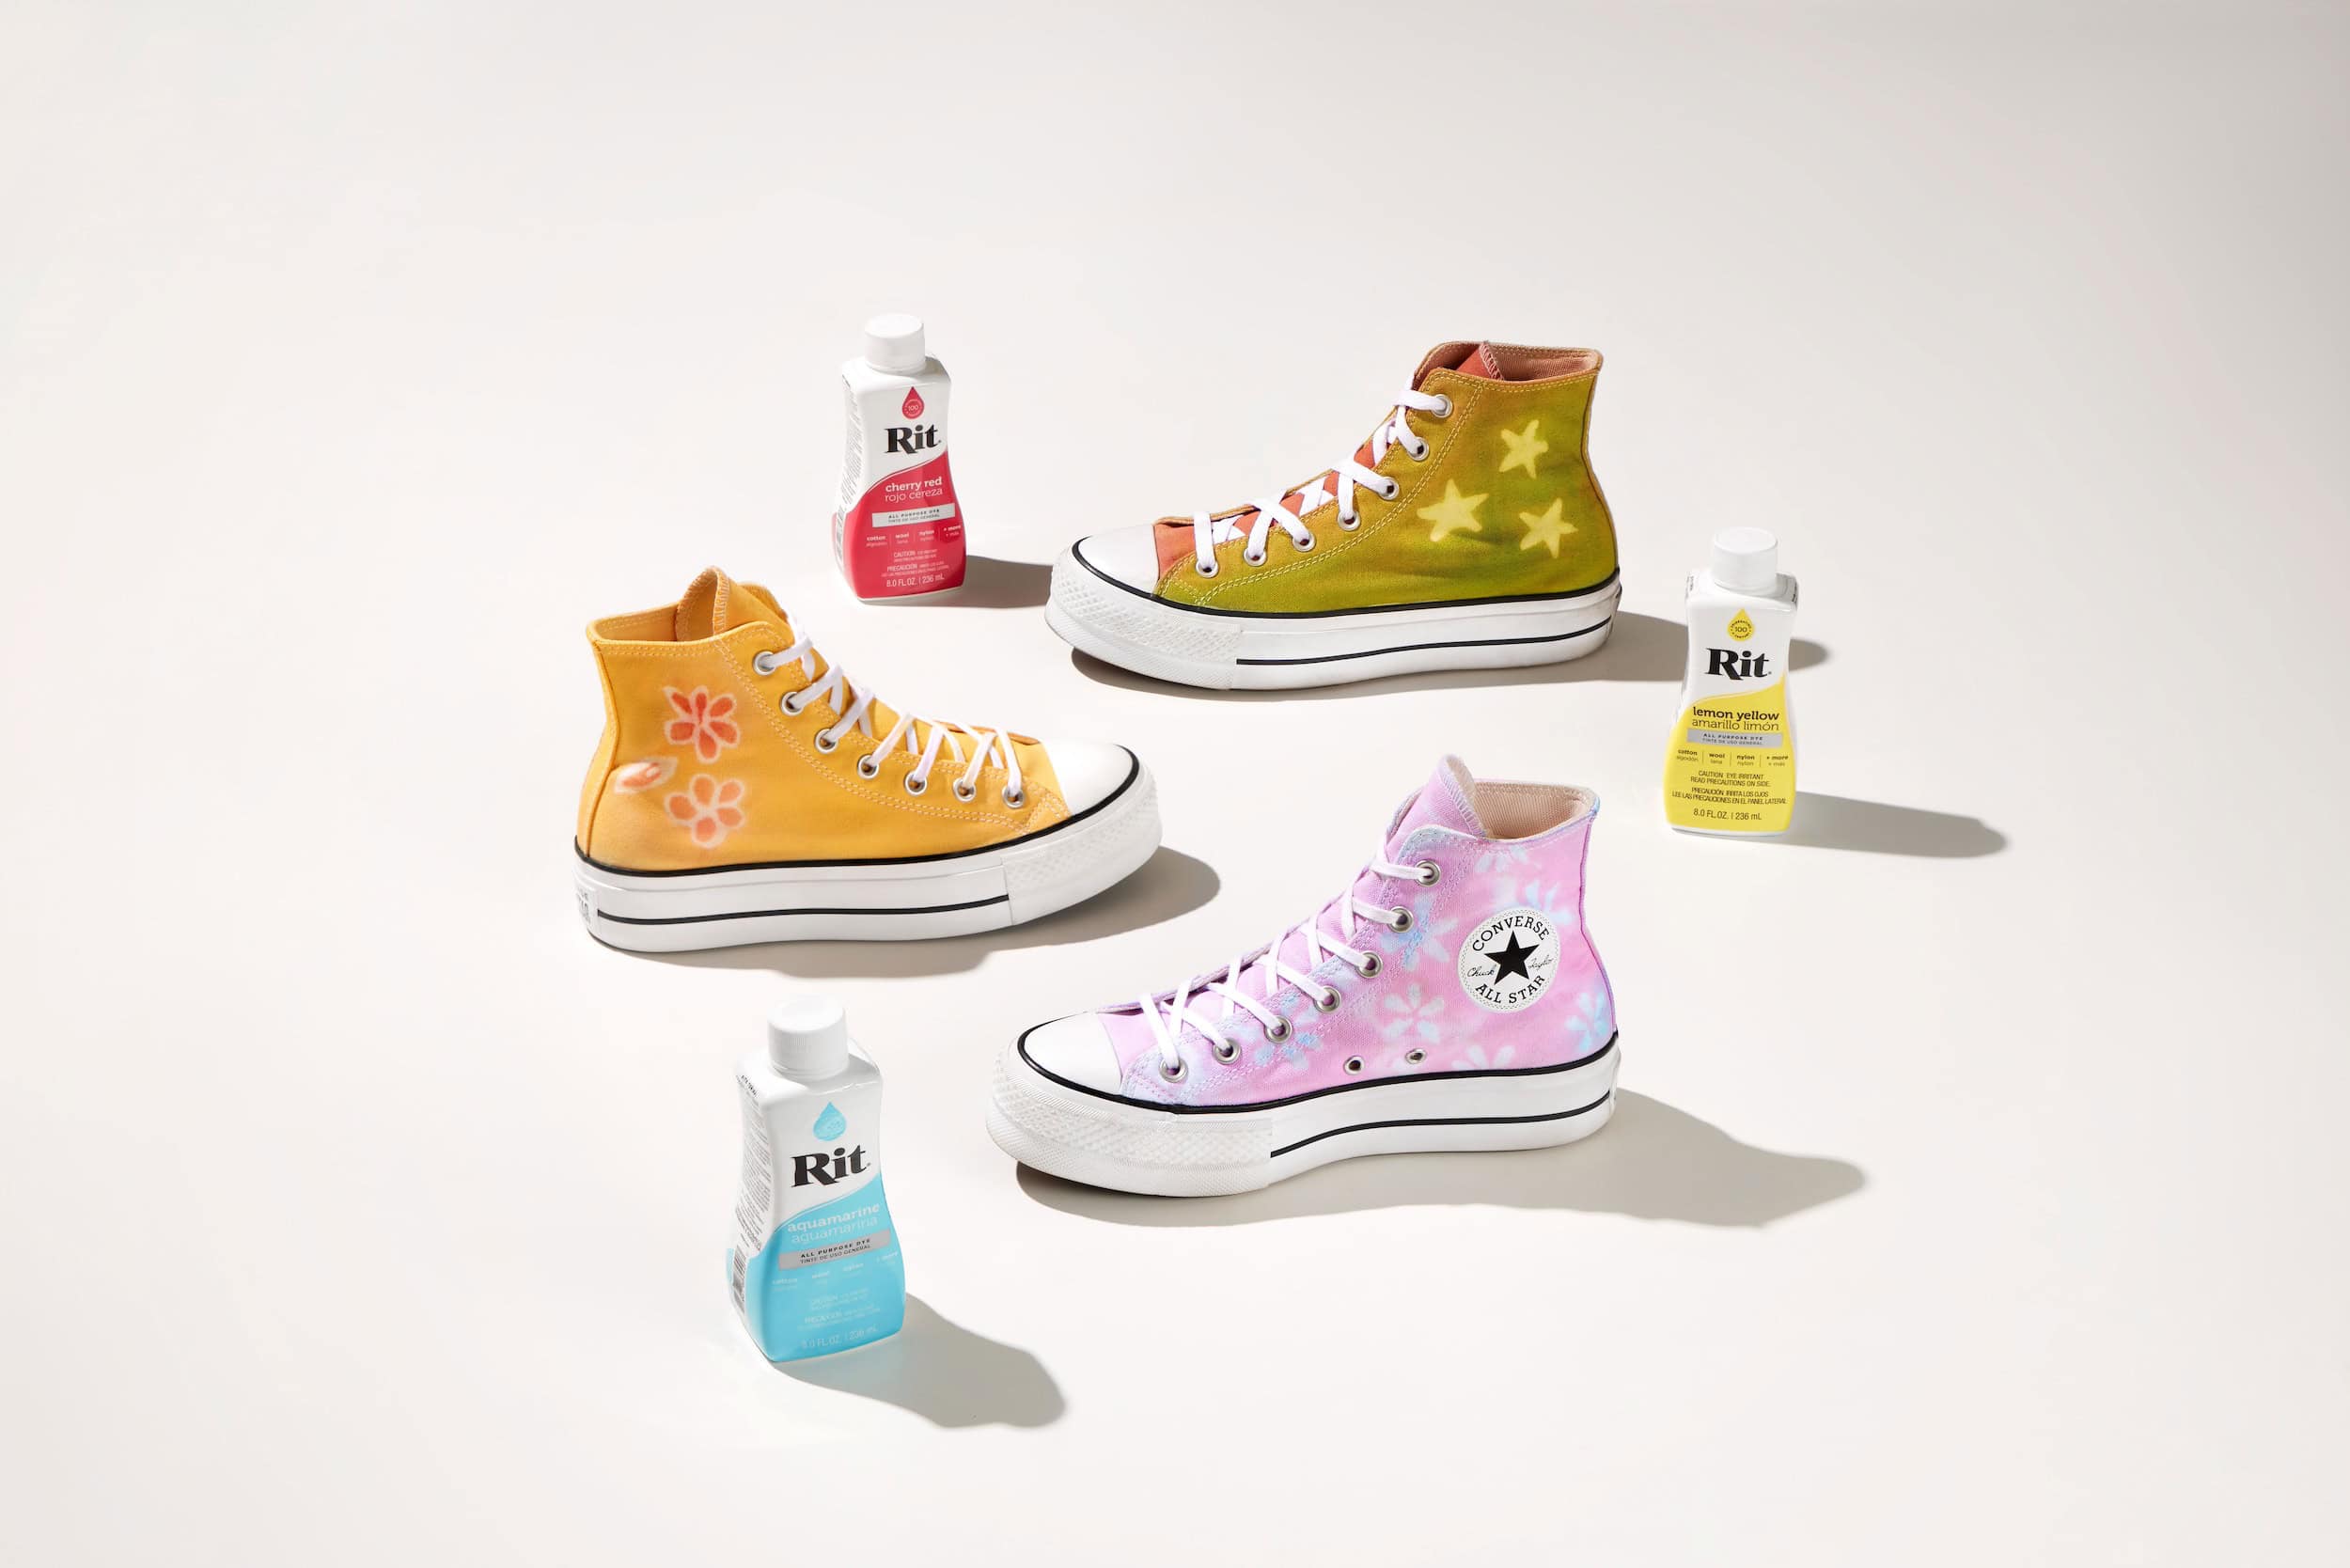
- Converse x Rit DIY Kit
- Container for Dyeing or stainless steel sink
- Scissors
- Salt
- Dish Soap
- Iron
- Measuring Cups and Spoons
- Rubber Gloves
- Tongs
Time
Total: 1 hour
Difficulty
Advanced
Instructions
- Before dyeing, remove any visible stains on the shoes and pre-wash in warm, soapy water without any fabric softener. This helps to remove any finishes that may interfere with dye absorption. Dry shoes completely.
- Cover work area with plastic table cover and have paper towels handy to protect against any possible spills.
- Remove shoe insoles, laces and set aside.
- Cover the All-Star Patch with the sticker included in the kit.
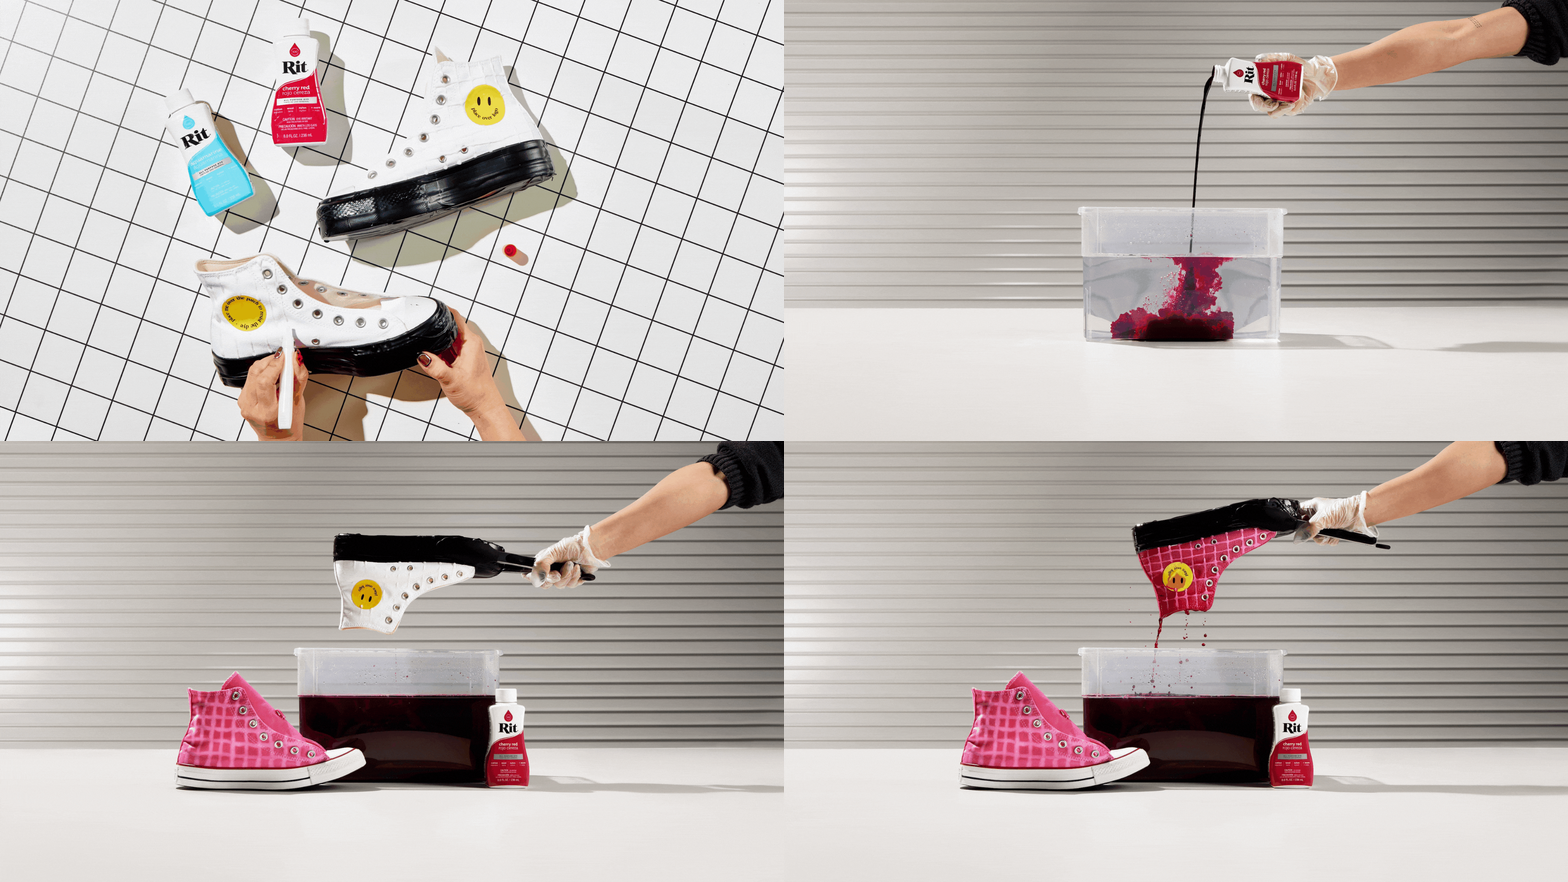
- To protect the soles of your shoes from getting dyed, cover with vinyl or electrical tape.

- Draw a simple pattern with the glue pen onto Chucks as desired, this will create a resist for the dye.
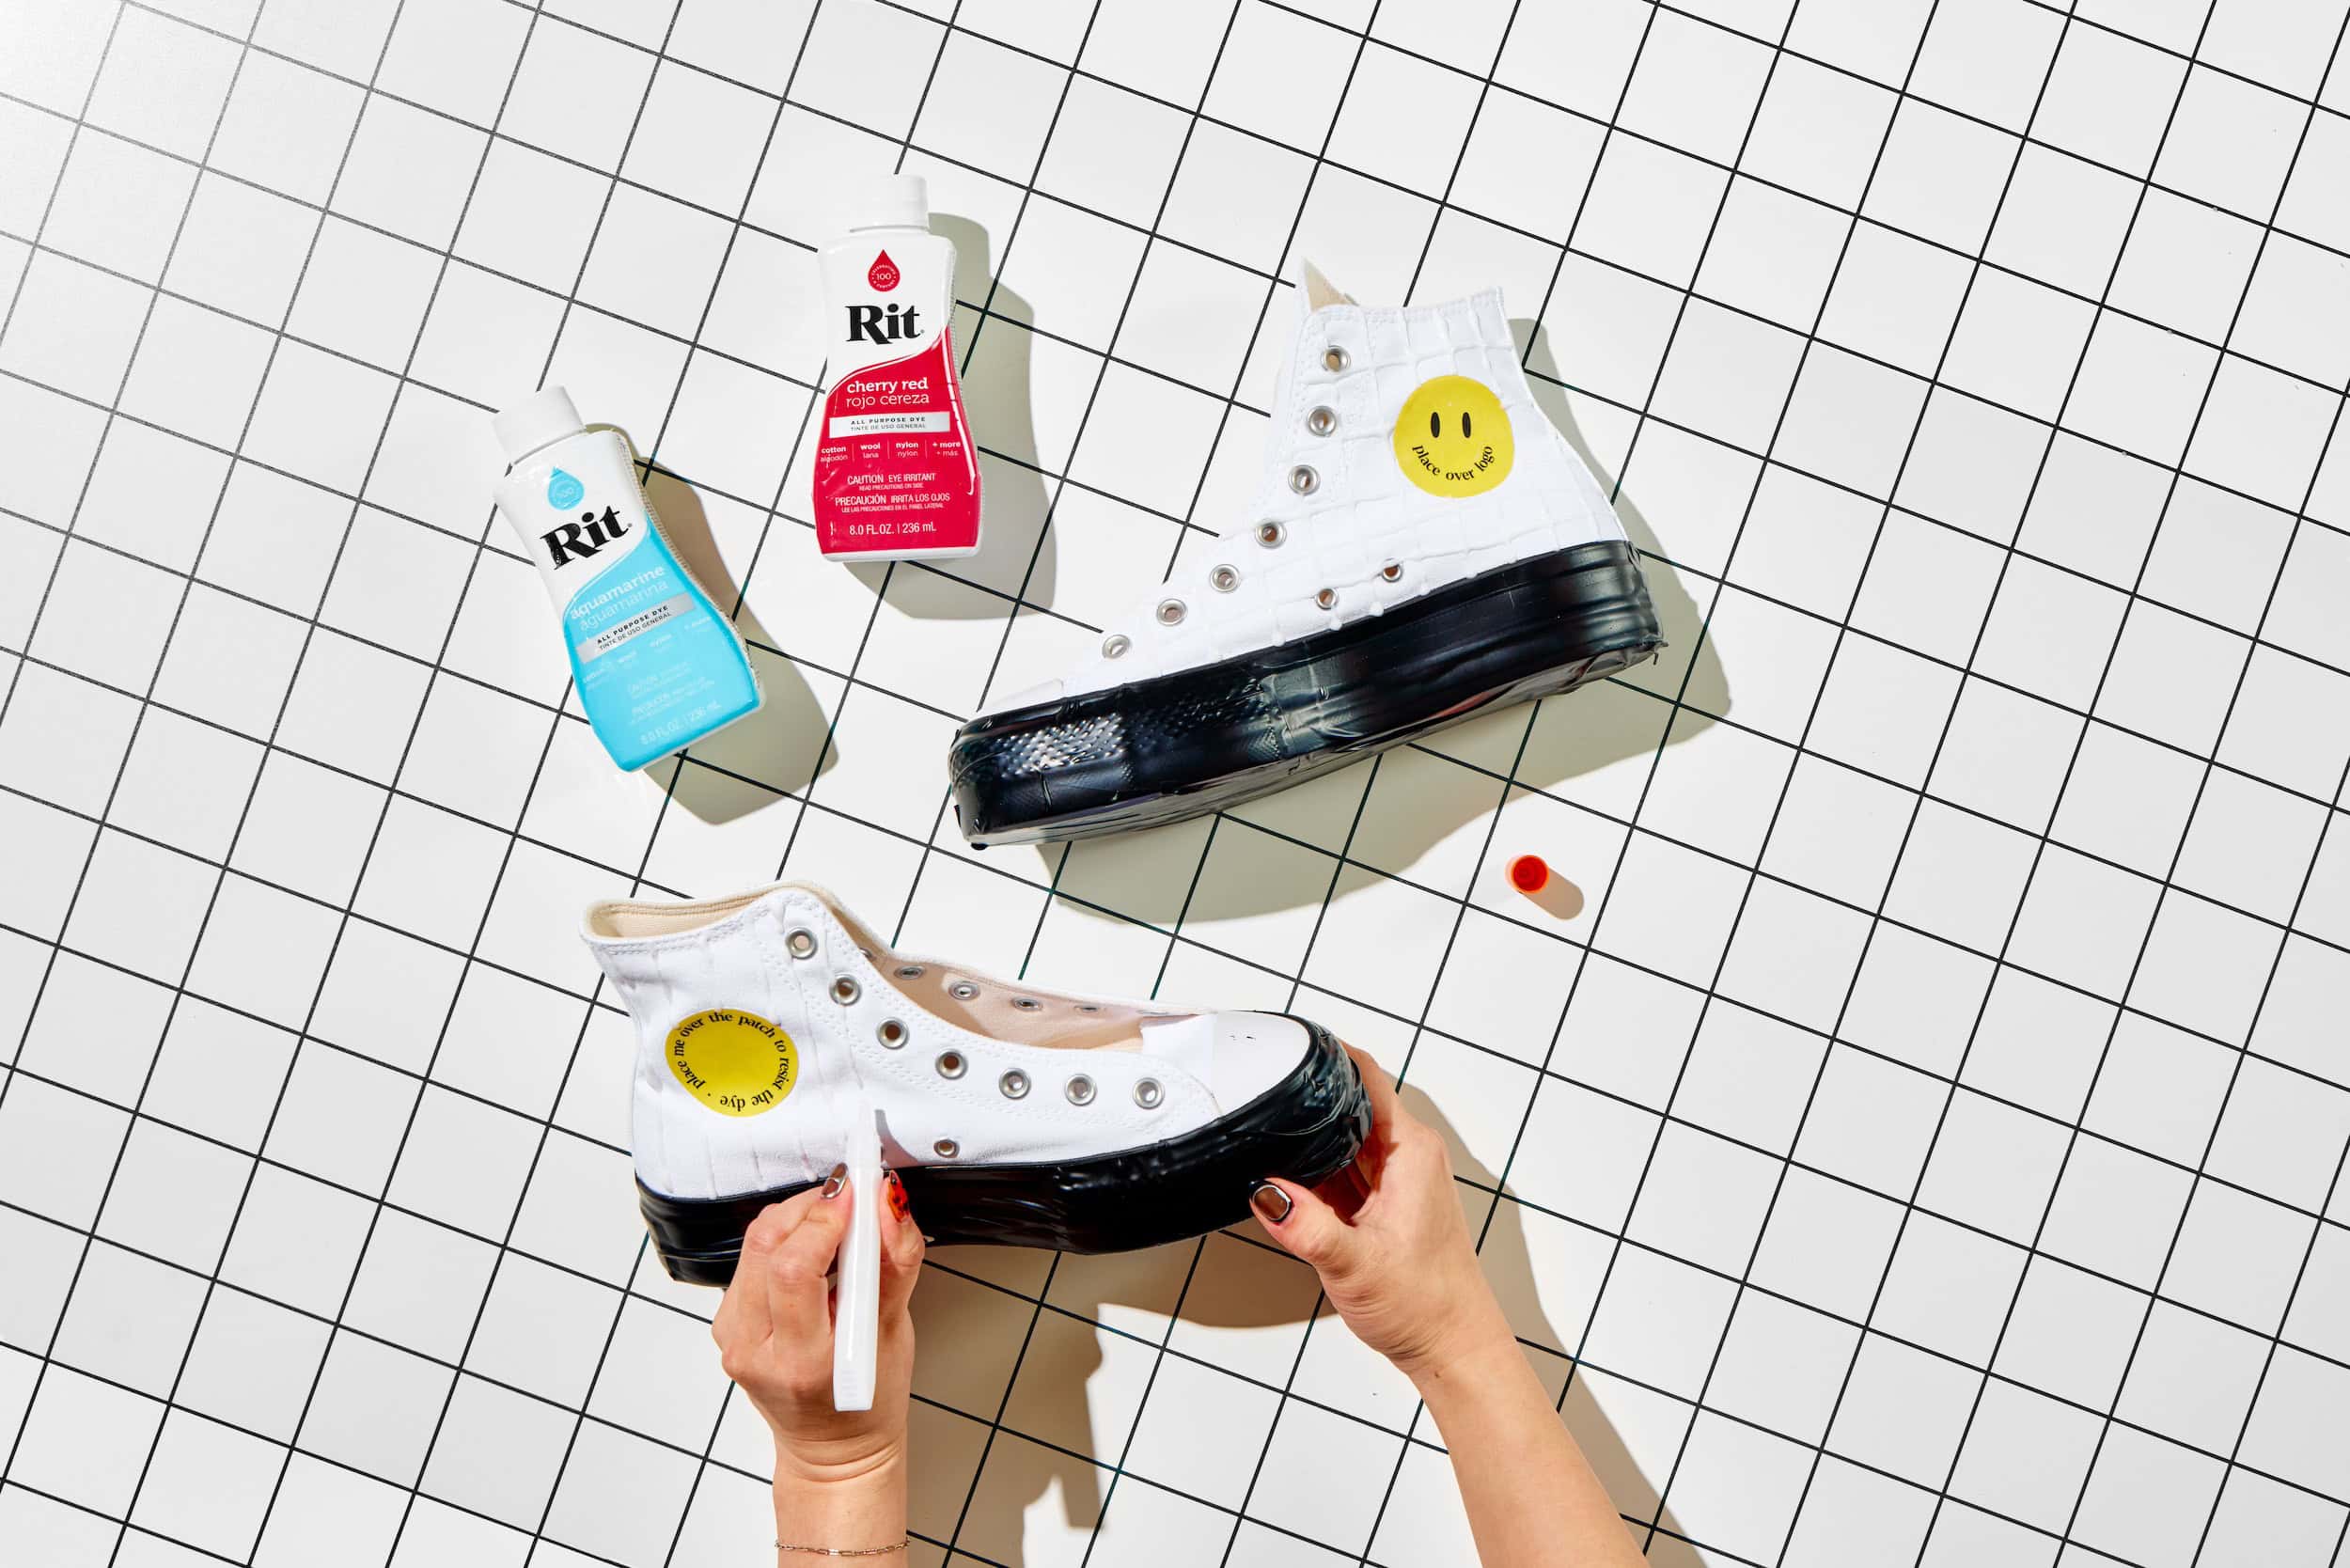
- Allow the glue to dry fully. The more glue you use, the longer it’ll take to dry.
- Wearing gloves, fill container with 3 gallons of hot water, ideally 140ºF. If tap water is not hot enough, heat water on the stove and carefully add to the dyebath.
- Add 1 cup of salt and 1 tsp of dish soap.
- Add ½ cup of well-shaken All-Purpose Rit Dye or follow desired color formula recipe and mix well.
- Repeat to create additional dyebaths in different colors as desired.
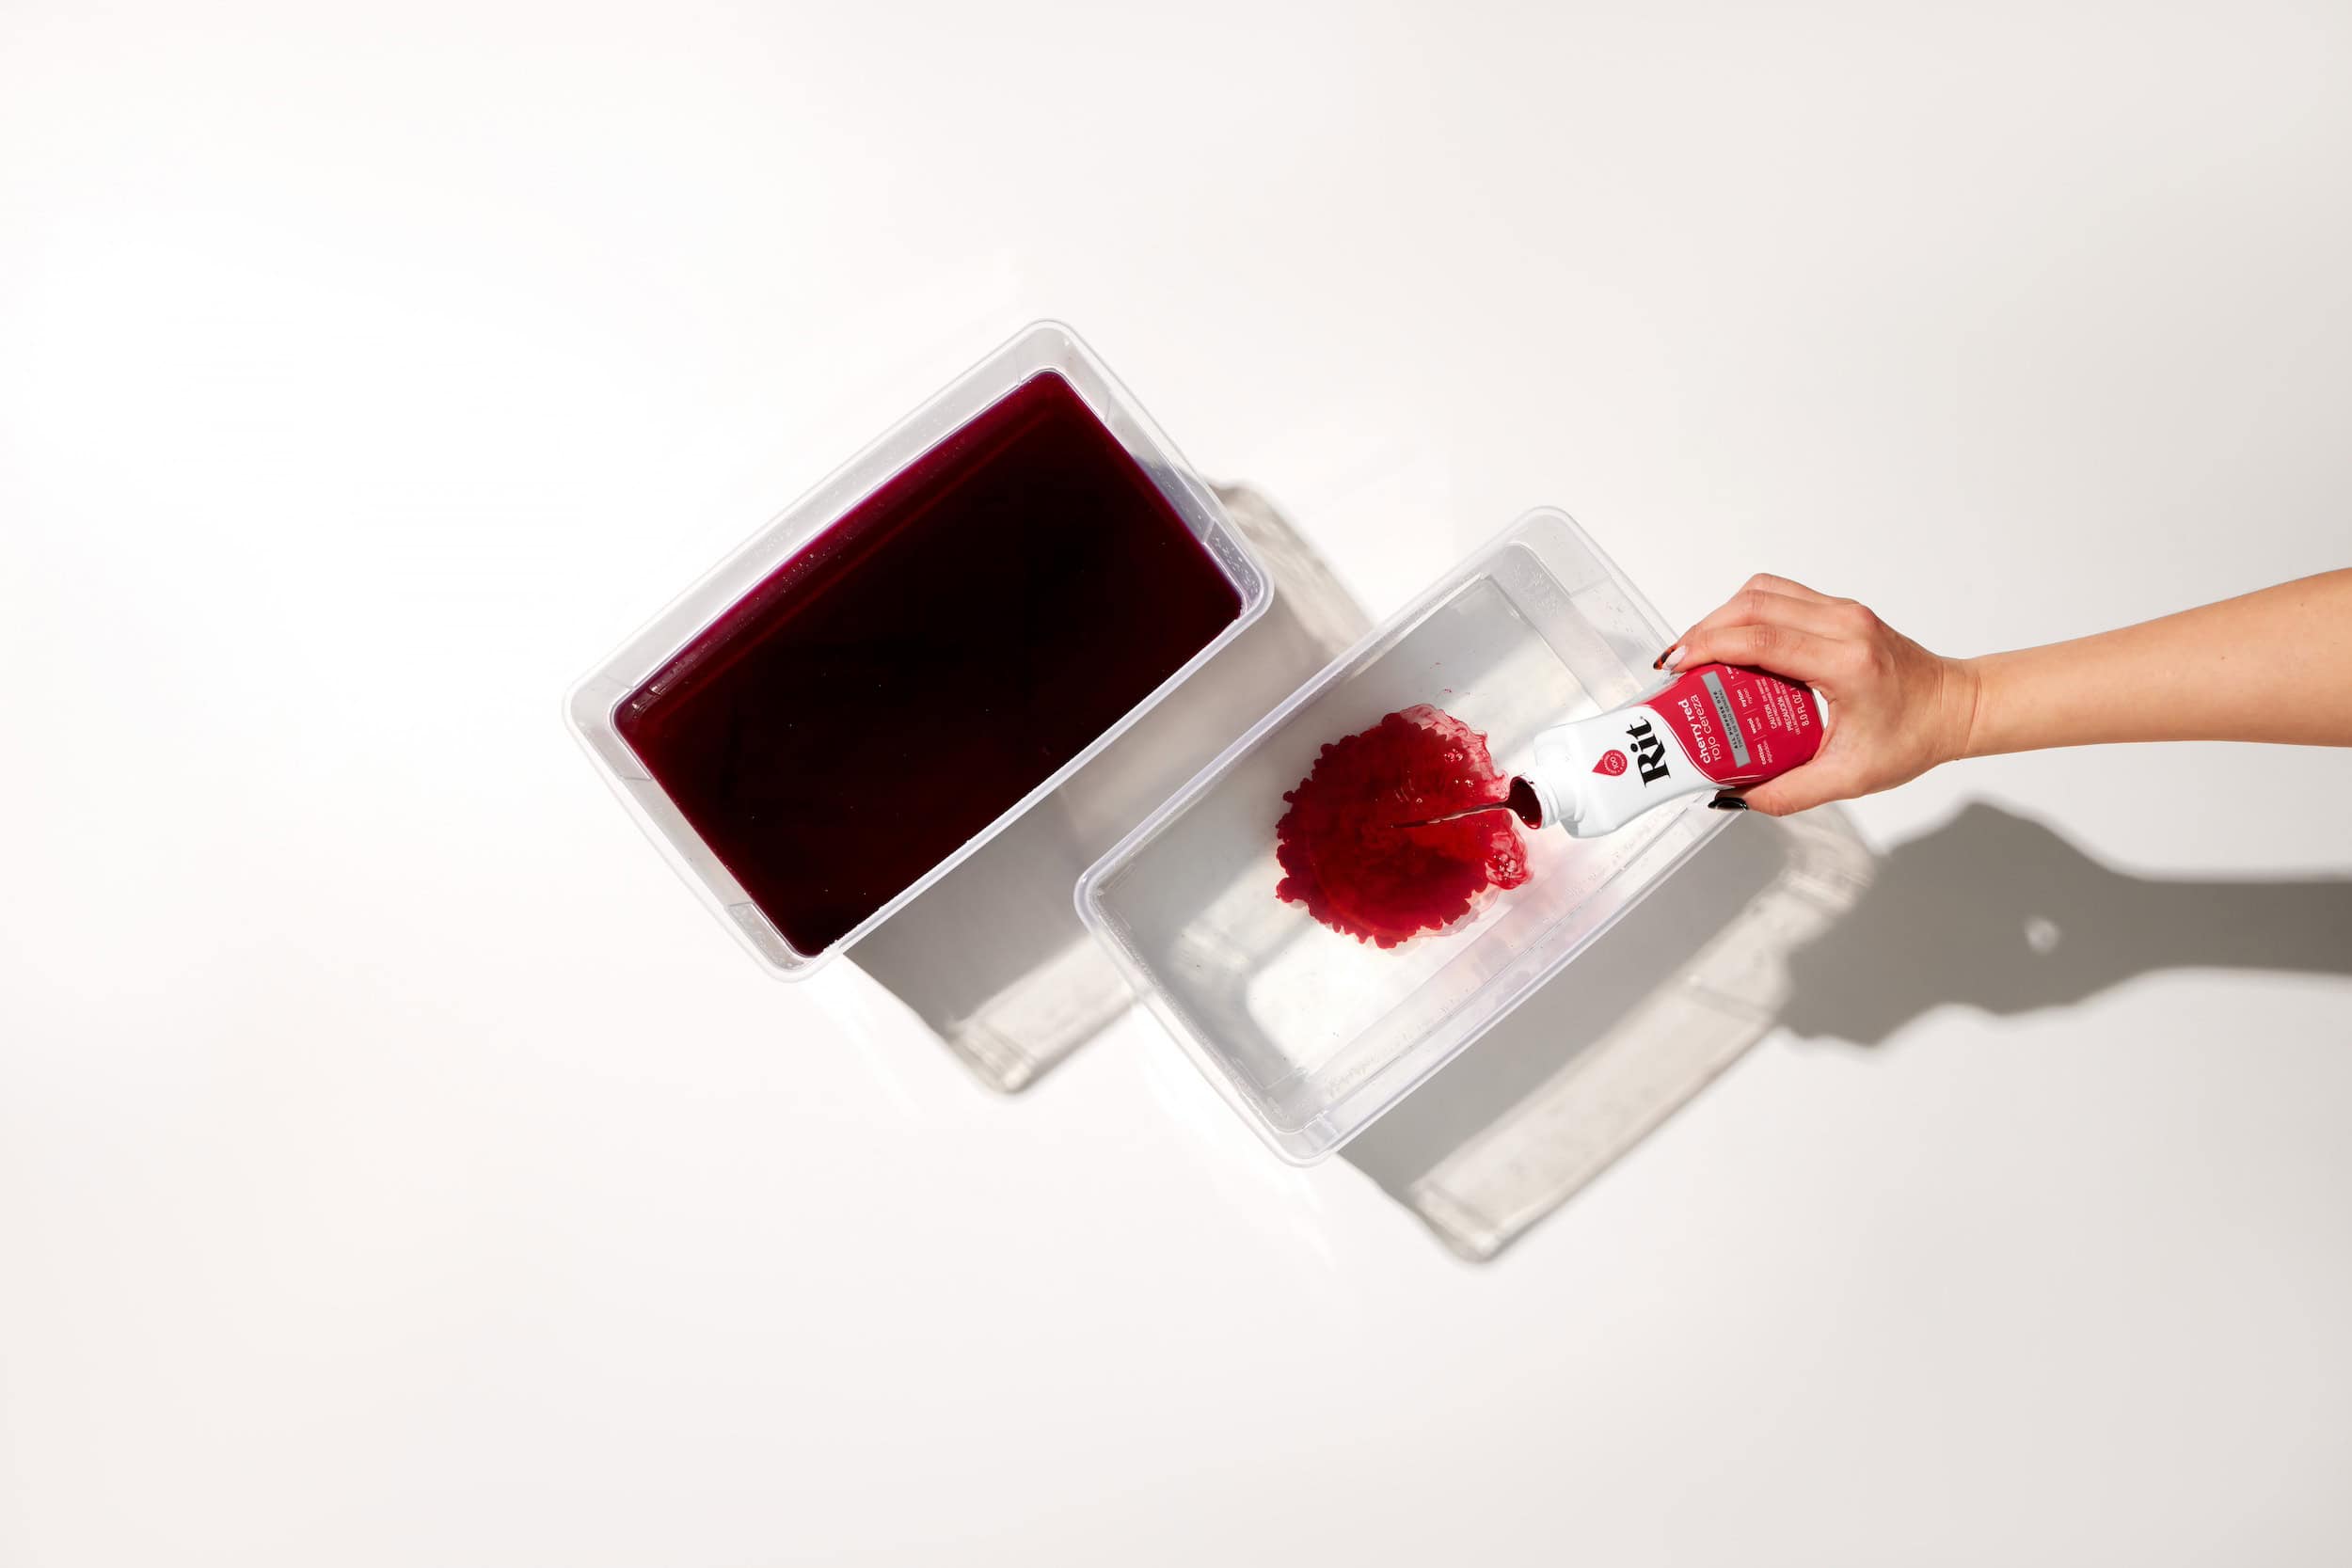
- Test color by dipping a paper towel into the dyebath. If color is too light, add more dye. If color is too dark, add more water.
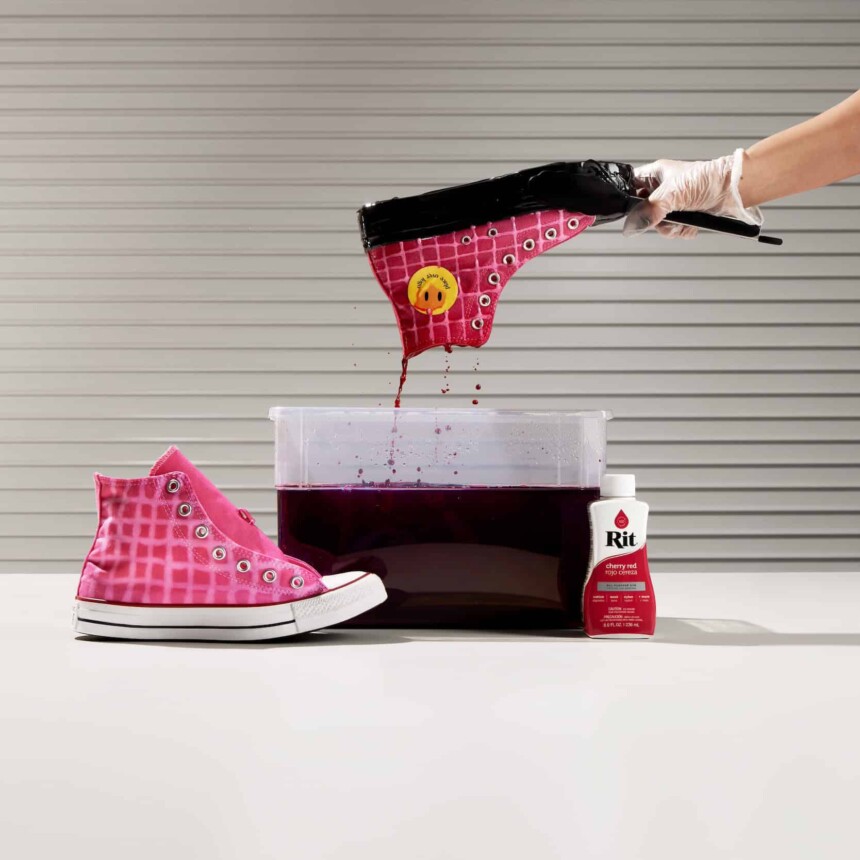
- Once glue is fully dry, dip your Chucks into the dyebath as desired. Alternatively, for precise application, use squeeze bottle or foam brush to apply the dye.
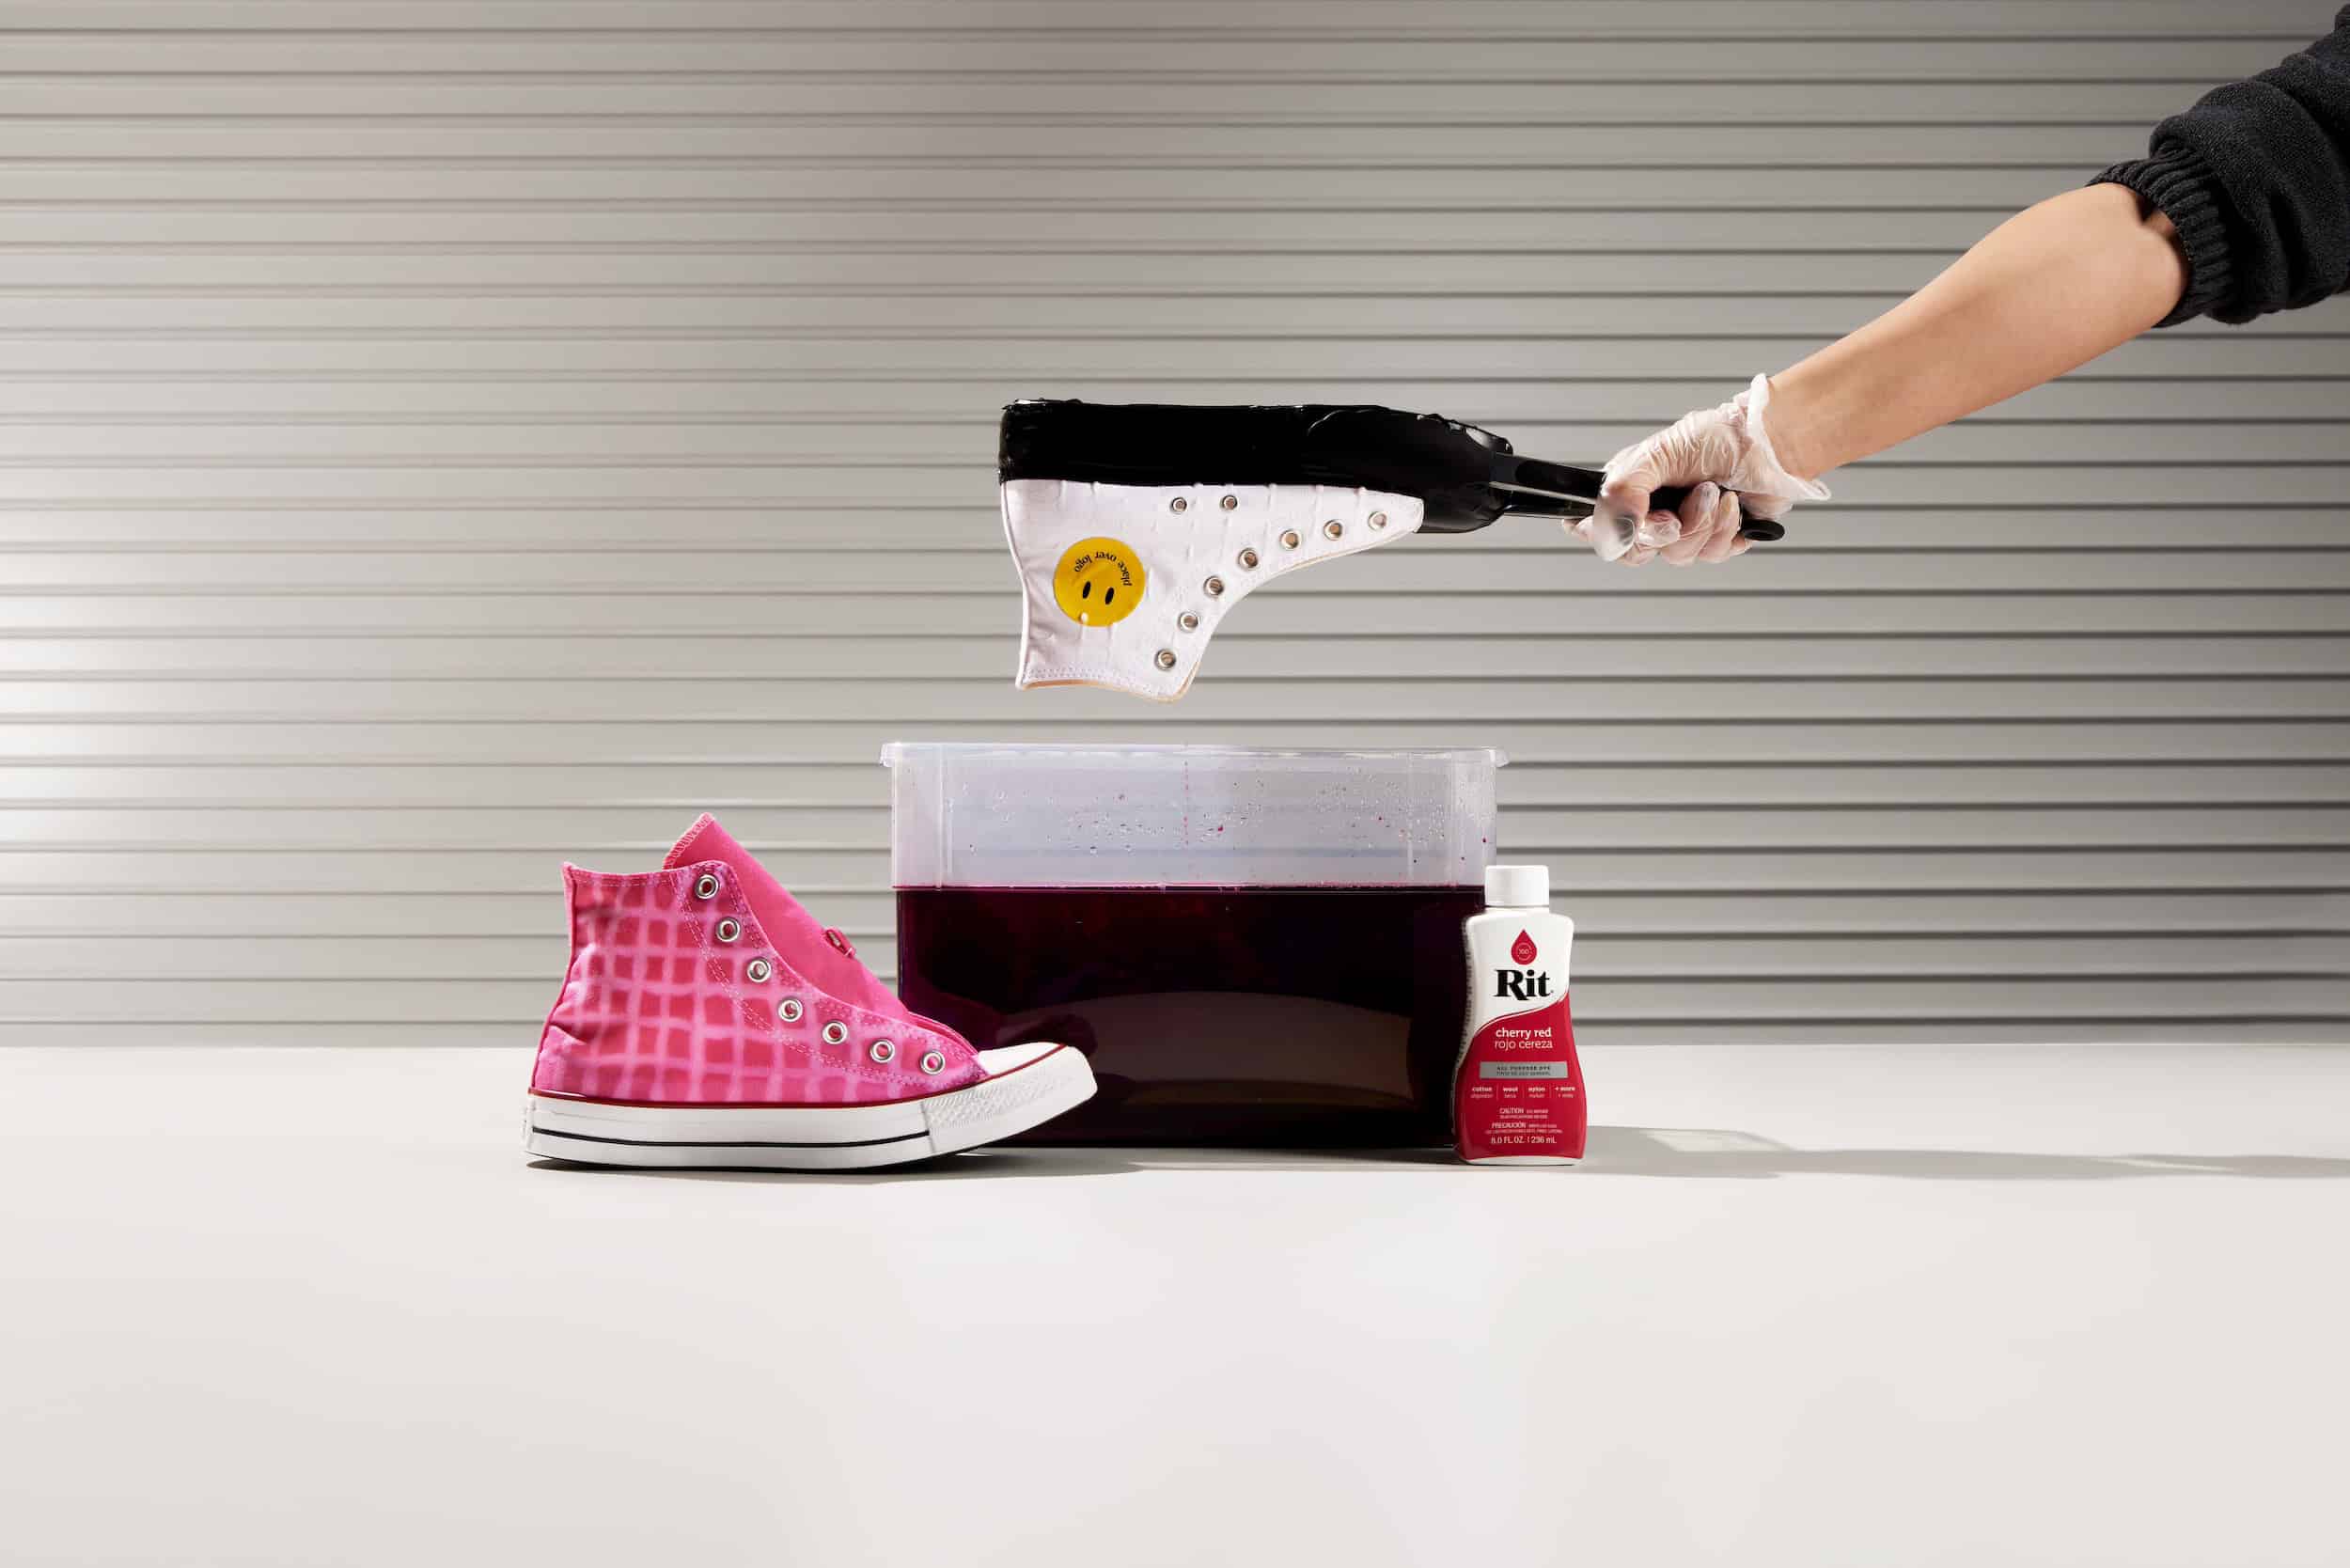
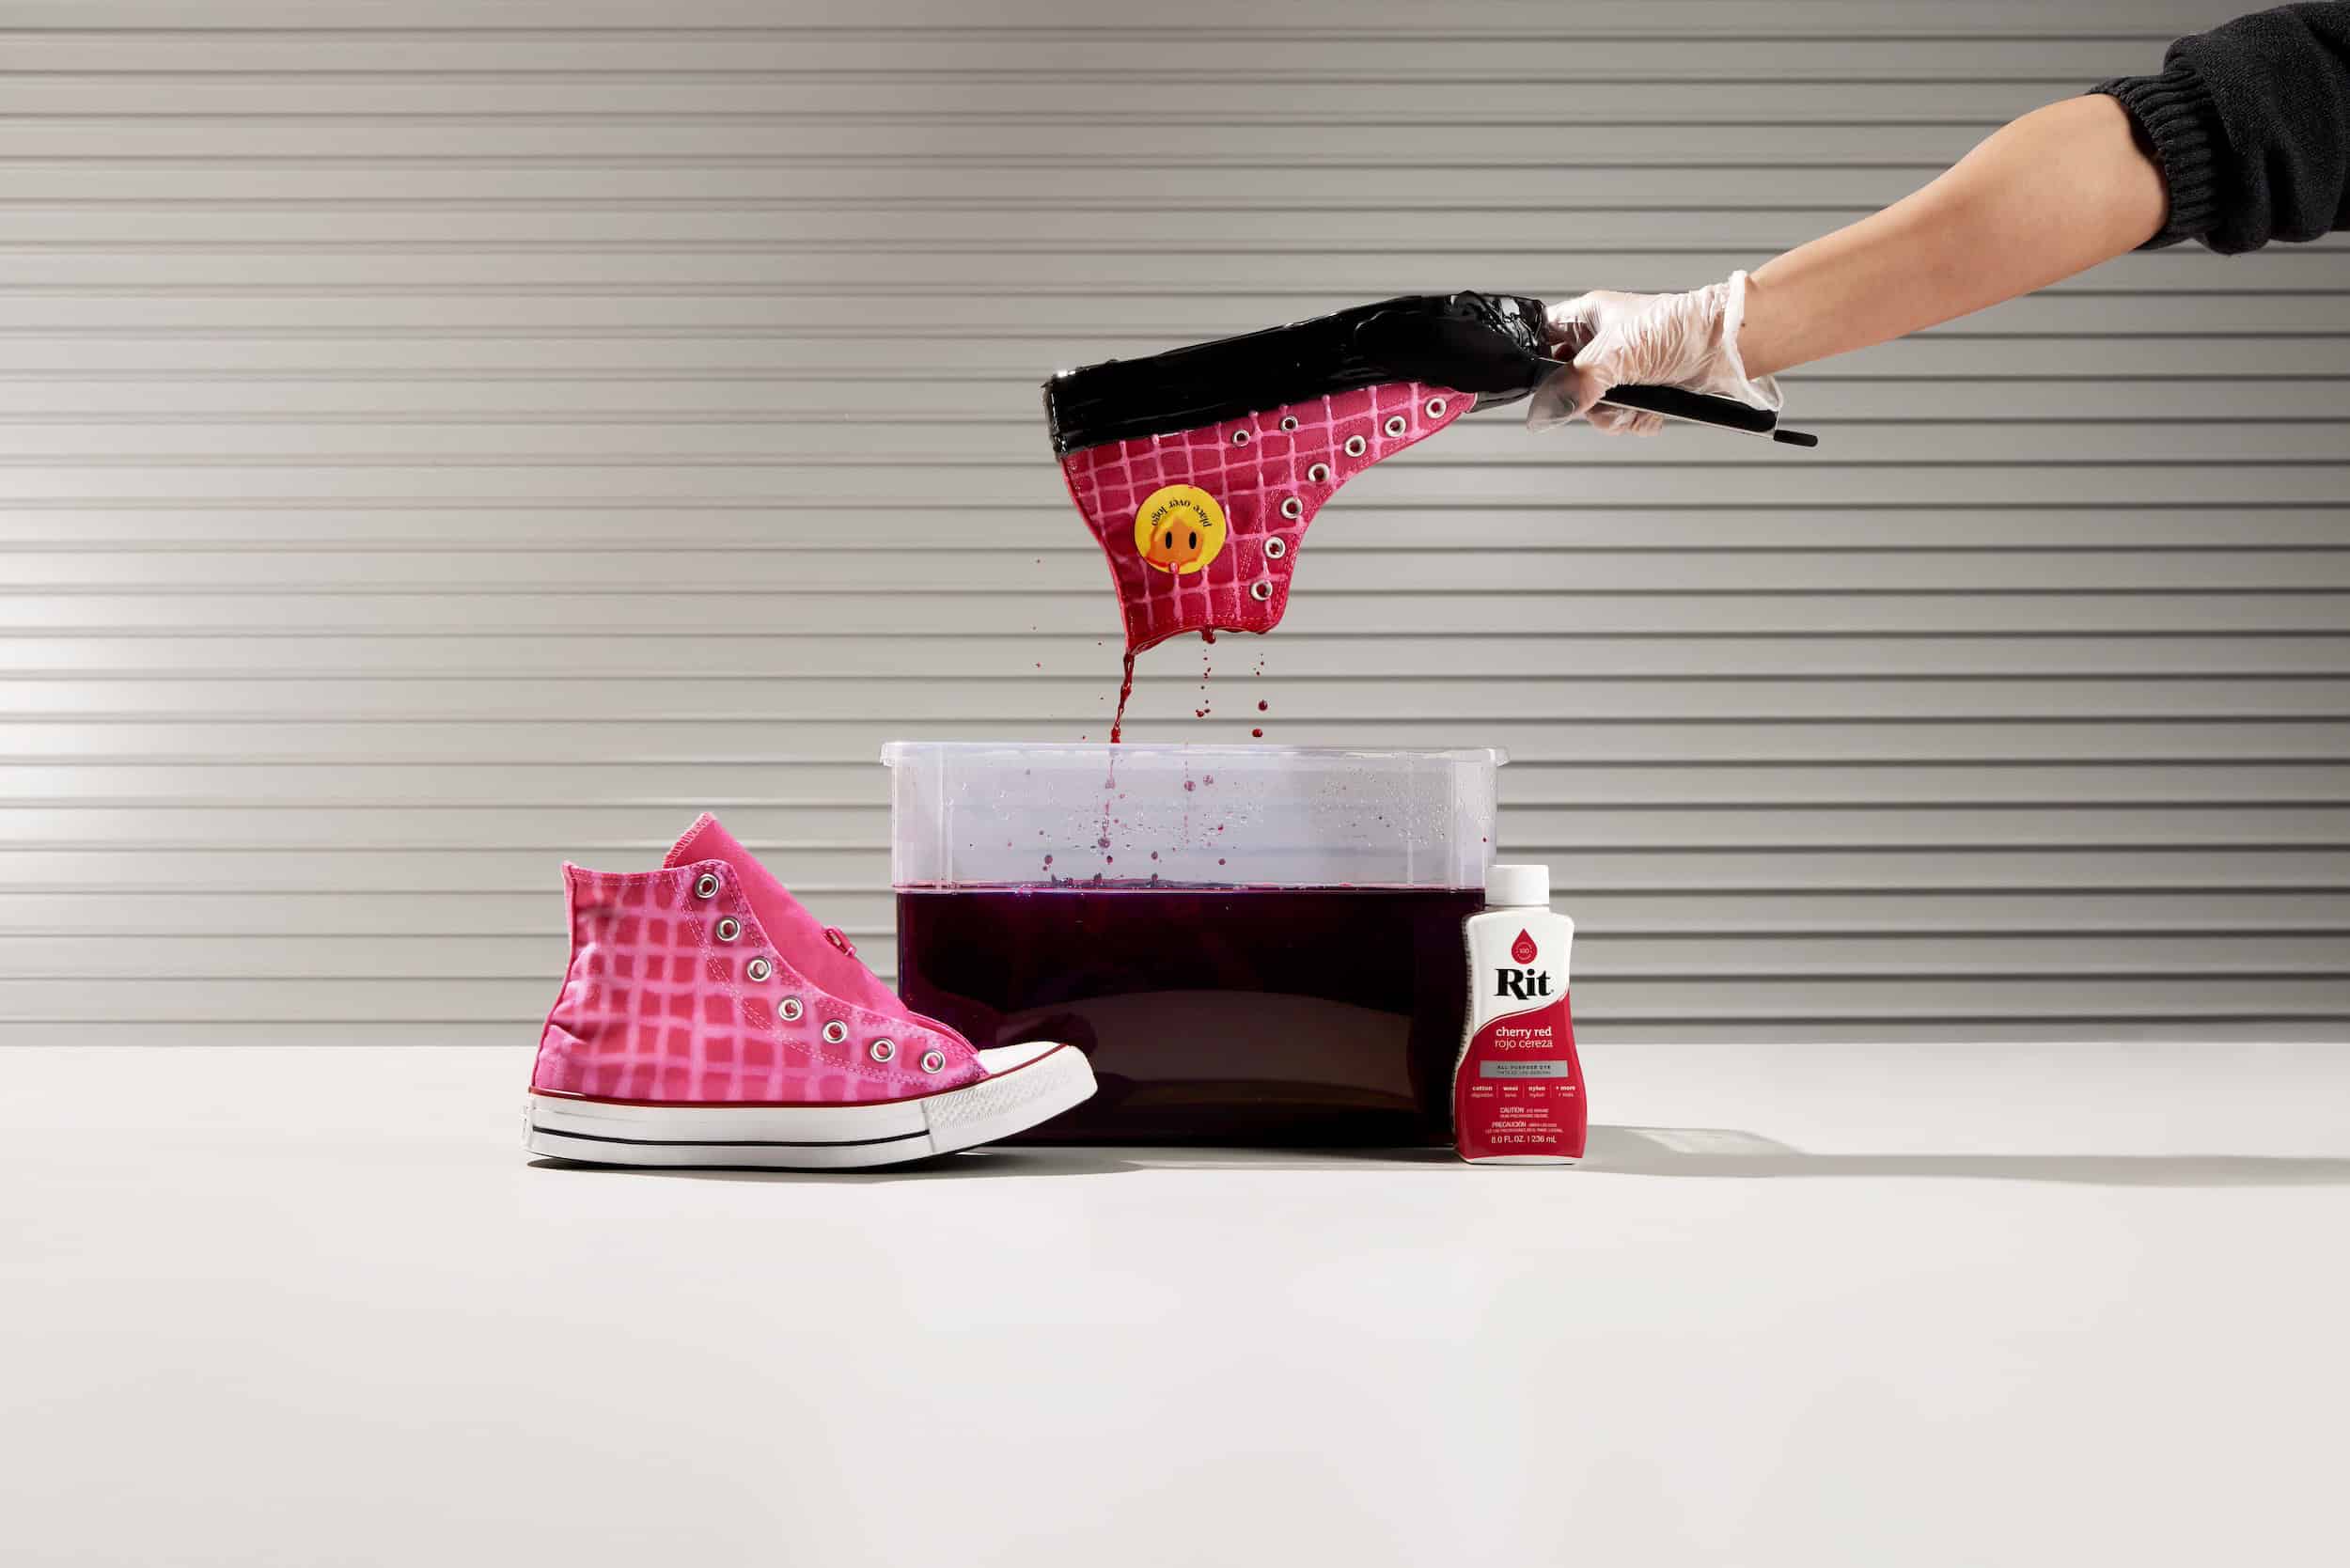
- Remove Chucks from dyebath and give it a quick rinse in cool water.
- Remove tape from soles immediately and rinse away dye that may have seeped in.
- Rinse thoroughly under cold water to remove any unabsorbed dyes and glue residue if applicable.
- Wash in cold water with mild detergent and air dry.
Posts You May Like
