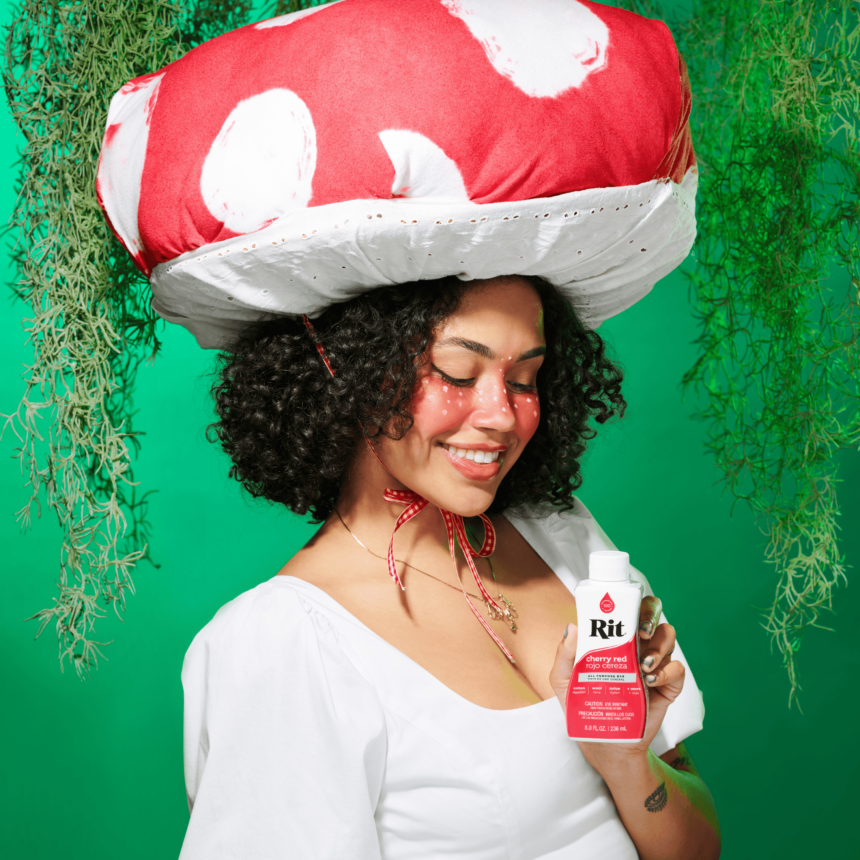
Supplies
- Rit Dye All-Purpose Cherry Red
- Rit Dye ColorStay Dye Fixative
- Cotton Fabric
- Disposable Gloves
- Scissors
- Rubber Bands
- Straw Brim Hat
- Polyfil
- Salt + Dish Soap
- Red Gingham Ribbon
- Thread and Needle
- Glue Gun and Sticks
- Container for Dyeing
Time
Total: {{ partial.tM92.total }}
Difficulty
Intermediate Total: {{ partial.tYPG.total }}
Instructions
- Gather Supplies. Pre-wash and dry your cotton fabric to remove any finishes that may interfere with dye absorption
- Measure the diameter of the hat brim and add roughly 10-20 inches to cut cotton fabric into a circle.
- To create the white spots, pinch the center of each spot and secure with a rubber band 2-3 inches down from the center. This will create spots that are 4-6 inches. Repeat to create as many spots as desired
- Cut the tips off the disposable gloves. Place them over the bound areas and secure with rubber bands again. This helps to create a resist and keep the spots white.
- Fill dye container with 3 gallons very hot water (140F). Note: If water is not hot enough, heat some water in a cook pot to boiling and add to dye container.
- Dye Preparation: Shake dye bottle before pouring. Wearing rubber gloves, pour dye into the water. Then measure 1 cup salt dissolved with 2 cups hot water; add to dye bath. (Salt helps to intensify the color.) Then add a squirt of dish washing liquid and stir well.
- Test dye color to be sure you are satisfied. Dip swatch of white fabric or a paper towel into dye bath. If color is too light, add more dye.
- Immerse wet bound fabric in dye bath and stir continuously for 20 minutes. Wearing rubber gloves, move clothing item back and forth and up and down. This helps to ensure an even color. Tongs are also helpful for lifting. Continue to stir occasionally for 10 minutes or until desired color is achieved (up to one hour). The longer the clothes remain in the dye bath, the darker the color will be. Color will appear lighter when dry.
- To help reduce color bleeding and improve color retention, treat fabric with Rit ColorStay Dye Fixativeimmediately after dyeing and before rinsing while it’s still bound. Remove from dye bath and squeeze out excess dye. Fill container with 3 gallons hot water and add 4 Tablespoons (1/4 cup) dye fixative; stir well. Immerse clothing item in fixative, stirring occasionally for 20 minutes.
- Remove bound fabric and rinse in cold water until water begins to run clear. Then machine wash with an old towel in warm water with mild detergent, rinse and dry. If desired, iron to remove excess wrinkles.
- Sew a simple running stitch all around the edge of the dyed fabric using a needle and thread.
- Pull the ends of the thread to gather the fabric. This will create a basket-like shape.
- Fill the gathered mushroom cap with Polyfil and place over the straw hat.
- Using a hot glue gun with glue sticks, secure the mushroom cap onto the brim of the hat.
- Optional: Add gingham ribbon to either sides of the underside of the brim to create ties.
Posts You May Like

