

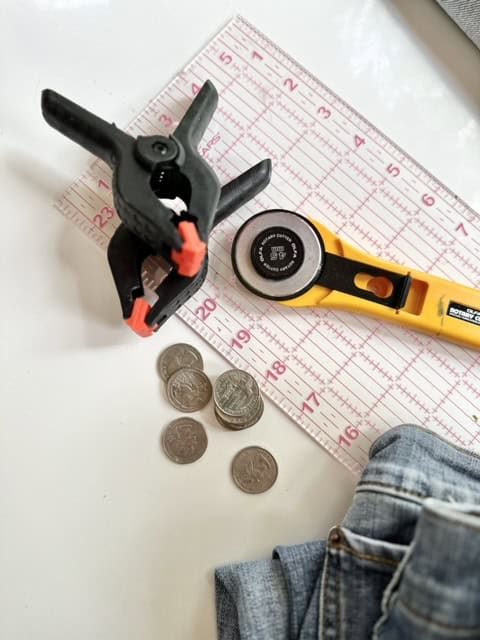
Supplies
- Back to Blue Denim Dye Kit
- 2 pairs of secondhand light jeans
- Quarters
- 2” C Clamps
- Cutting mat
- Scissors or Rotary blade
- Quilters ruler
- Staple gun
Time
Total: {{ partial.tKUD.total }}
Difficulty
Intermediate Total: {{ partial.tMJK.total }}
Instructions
- Gather your supplies.
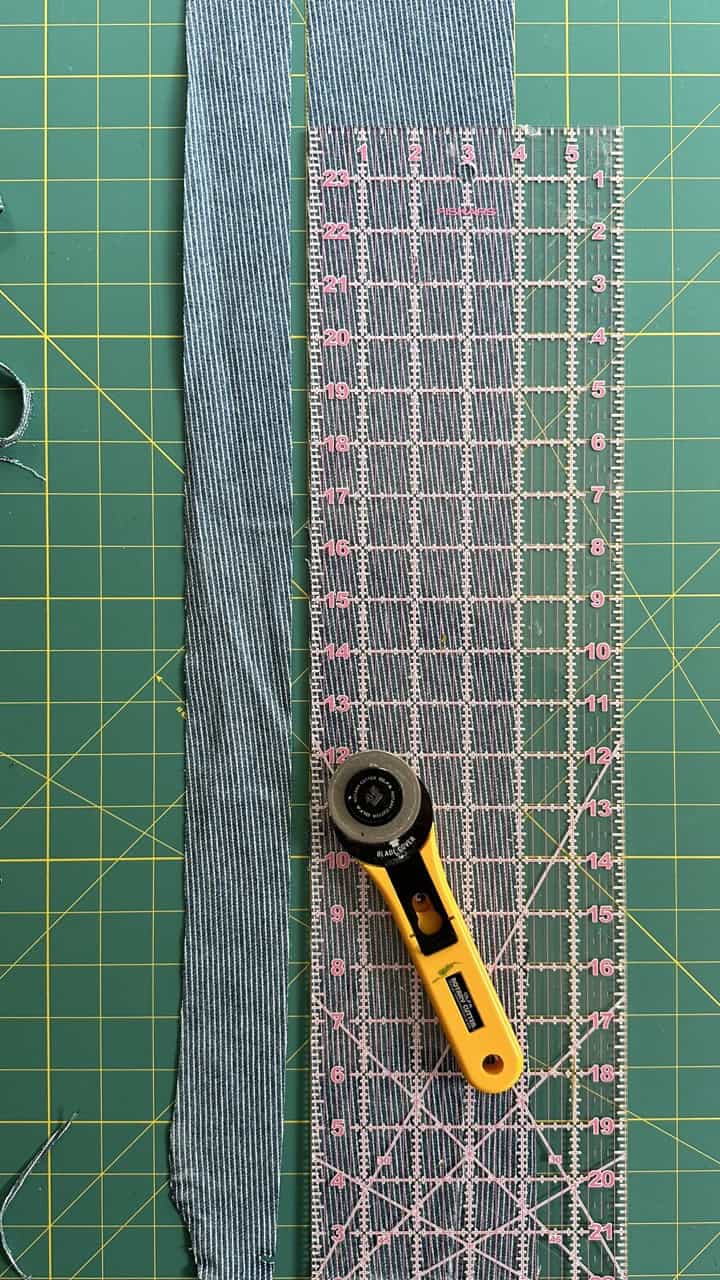
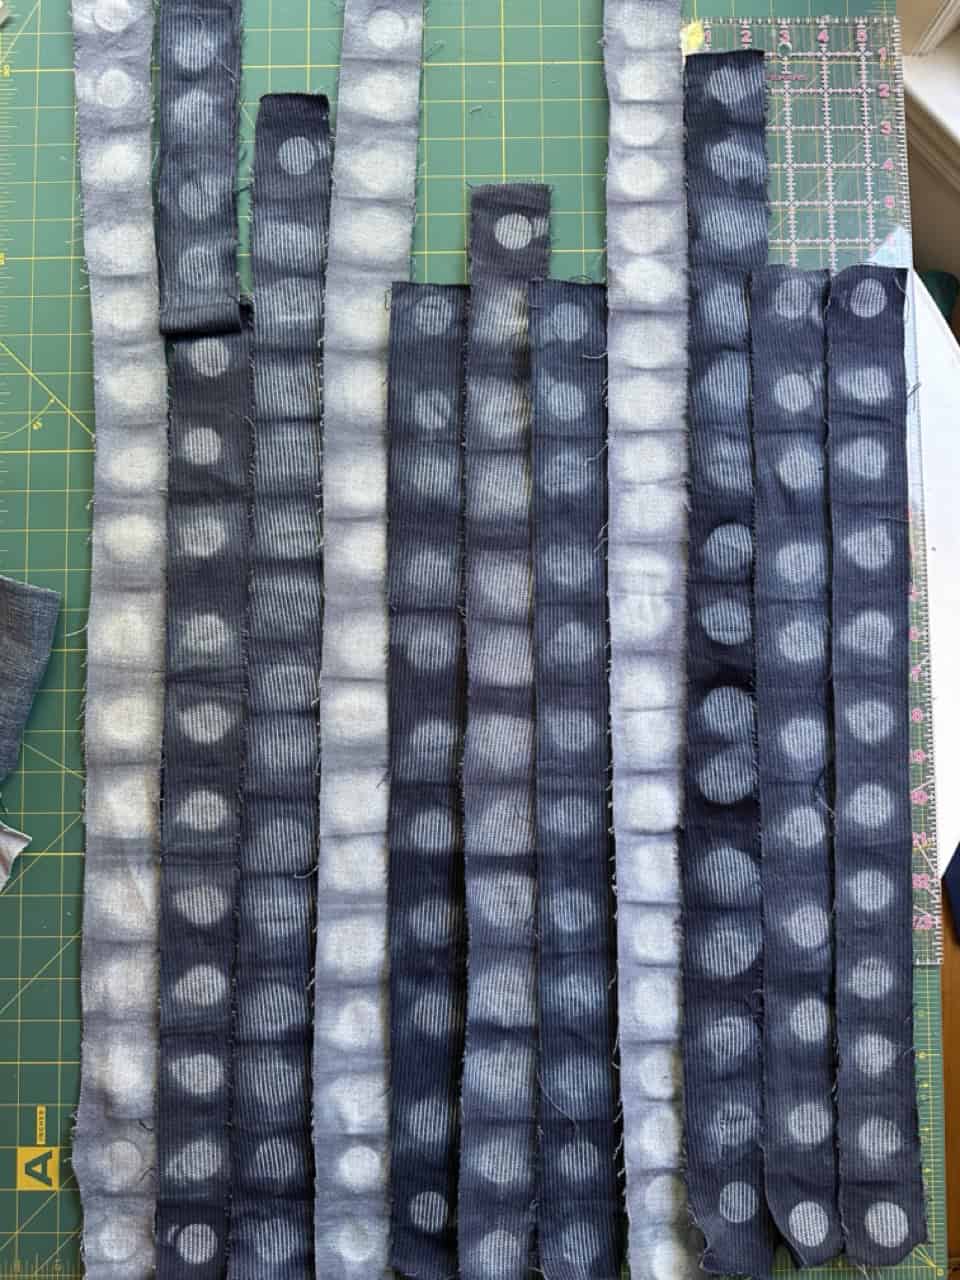
- Cut pant legs into stips that are at least 2” x whatever length you prefer. I cut around a 6”x44” quilting ruler to make 3 2”x24” strips.
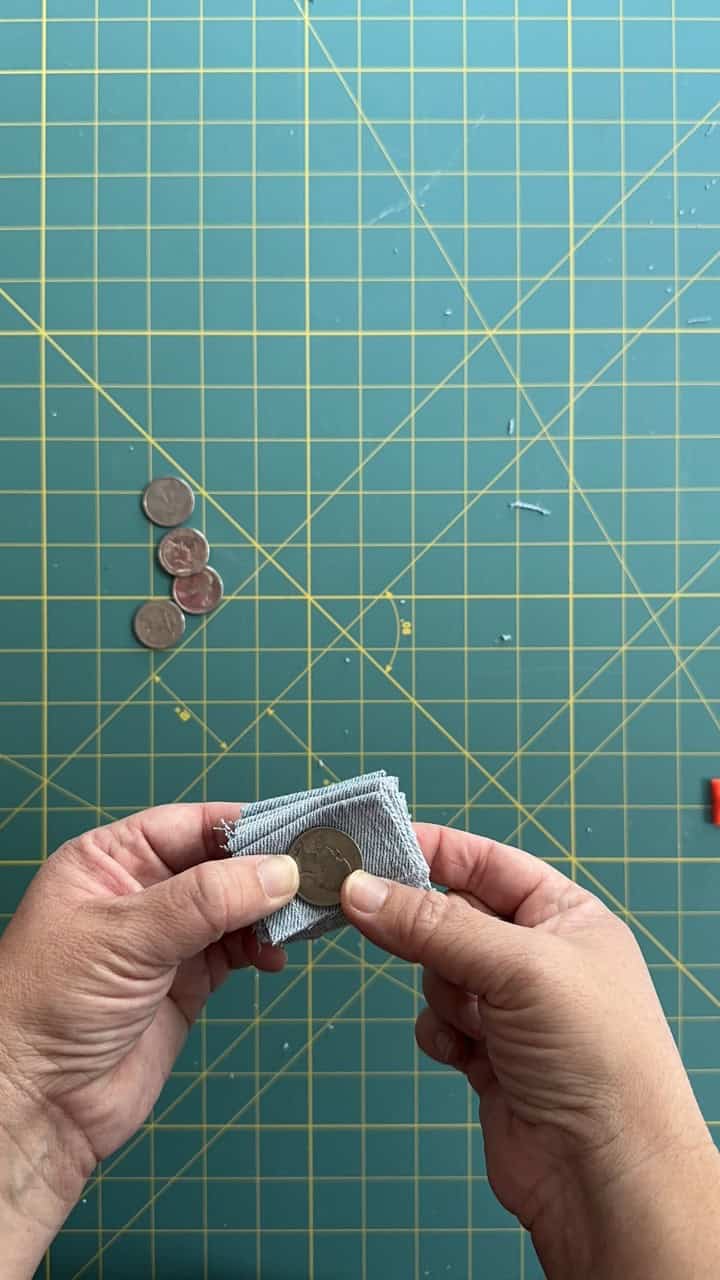
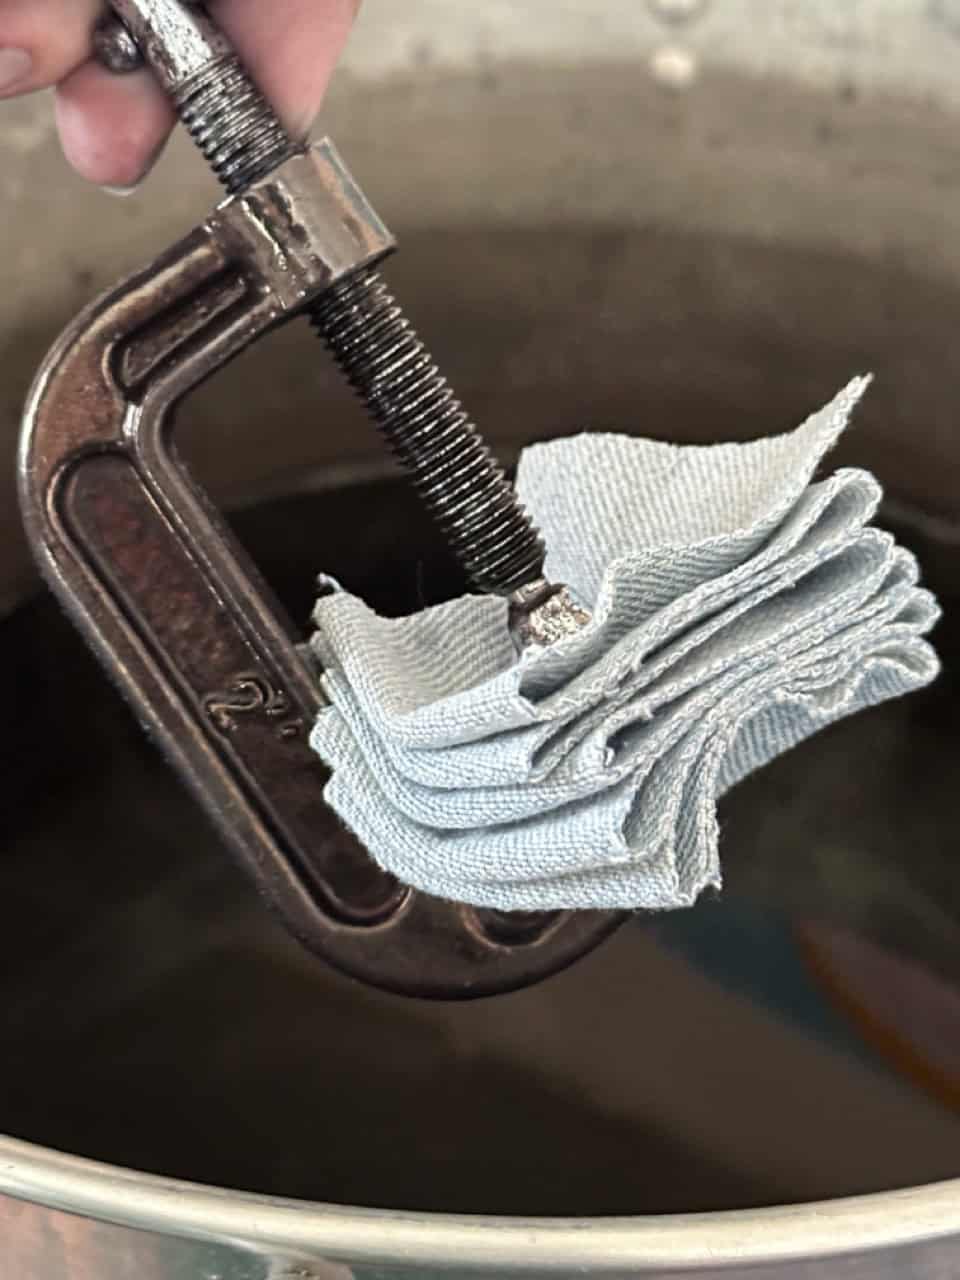
- Accordion fold the strips, then sandwich two quarters around the stack, hold in place with a C clamp, wound as tight as possible. Continue creating clamped stacks with remaining strips.
- Heat a large pot of water on the stovetop and add the Back to Blue formula.
- For varying shades of denim, start with 1 oz for a lighter denim shade. Add as many folded bundles as you like, and let sit for up to 5 minutes.
- Transfer bundles to the ColorStay Dye Fixative for at least 5-10 minutes, then remove the C clamps and rinse excess dye.
- Repeat steps 4 and 5, adding dye according to the instructions on the side of the box for darker dye baths.
- Lay strips out to dry, then piece together to form one large rectangle.
- Lay two strips so the fronts face each other, then sew a ¼” seam along one side. Add additional strips until you have one large piece of fabric.


To Recover A Cushion
- Remove any legs or additional components from the cushion before starting upholstery.
- Lay the cushion and fabric face down, positioning the cushion in the center, allowing for enough fabric to cover the sides plus an additional 3”.
- Bring the fabric up on one side and place a staple in the middle to hold it in place. Bring the fabric up on the opposite side, nice and snug but not too tight, and place a staple on that side, directly across from the first.
- Continue pulling the fabric snug and stapling across one side, then do the same on the opposite side.
- Repeat steps 2 and 3 for the ends of the cushion, creating an envelope tuck at the corners.
- Add on the legs, or seat back and you’re all set!
Posts You May Like
