Important Notes
Instructions
Due to the complexity of dyeing synthetics, you must use the stovetop method to maintain an almost boiling temperature for the duration of your dyeing (around 180 F°).
- Before dyeing, remove any visibile stains on the fabric. This will help achieve uniform color results when dyeing. Prewash item in warm, soapy water without any fabric softener. This helps to remove any finishes that may interfere with dye absorption.
- Lay damp fabric out on a flat surface.
- Traditional Tie Dye: Pinch, pleat or fold fabric to make a design. Wrap rubber bands tightly around fabric at various points. The rubber bands act as a resist and create white spaces. The more rubber bands you use and the tighter they are wrapped, the more white space there will be.
- Other Designs:
- Swirl: Decide where to place the center of the spiral. Then position your fingers around the center point and slowly begin to twist fabric in a spiral direction. Loosely wrap rubber bands around fabric to hold spiral together.
- Scrunch: Scrunch a section the fabric and secure with rubber bands. The more tightly you secure the scrunch, the more white space you will see in the final result. Repeat scrunching various sections of the fabric. With each section, vary the amount of fabric scrunched. Continue until the majority of the fabric is scrunched. Now shape the fabric into a ball with more rubber bands.
- Sunburst: Pinch a section of the fabric or where you want the center of the circle to be. Pull it up toward you to make a tee-pee shape. Then pull up more of the fabric for a larger circle. Close one hand around the point of the tee-pee and tie it off with a rubber band; then add rubber bands down the length of it.
- Stripes: Fold shirt vertically or diagonally, like an accordion or fan, in 2-3-inch / 5-7.5-cm wide folds. Then wrap with rubber bands every 2-3 inches / 5-7.5 cm or as desired.
- Checks: Accordion pleat fabric in 2-3-inch / 5-7.5-cm wide folds. To achieve a sharp line, press folds with an iron. Then accordion pleat strip into a square. Wrap a rubber band loosely around square fabric in both directions.
- Spirals: Decide where to place the center of the spiral. Then position your fingers around the center point and slowly begin to twist fabric in a spiral direction. Loosely wrap rubber bands around fabric to hold spiral together.
- Swirl: Decide where to place the center of the spiral. Then position your fingers around the center point and slowly begin to twist fabric in a spiral direction. Loosely wrap rubber bands around fabric to hold spiral together.
- Now it is time to create your dyebath.
- Cover work area around stove with plastic table cover or newspaper and have paper towels handy to protect against any possible spills.
- Fill a stainless steel pot with three gallons of hot water.
- Add 1 teaspoon of dish detergent to help promote level dyeing.
- As a general guideline, one bottle of Rit DyeMore will dye up to two pounds of dry fabric. If dyeing 100% polyester or trying to achieve a very bold color, double the dye quantity.
- Cover pot and heat water on stove top to just below boiling (or 180°F / 82°C).
- Wear rubber gloves to protect hands from getting stained and to insulate them when working with hot water.
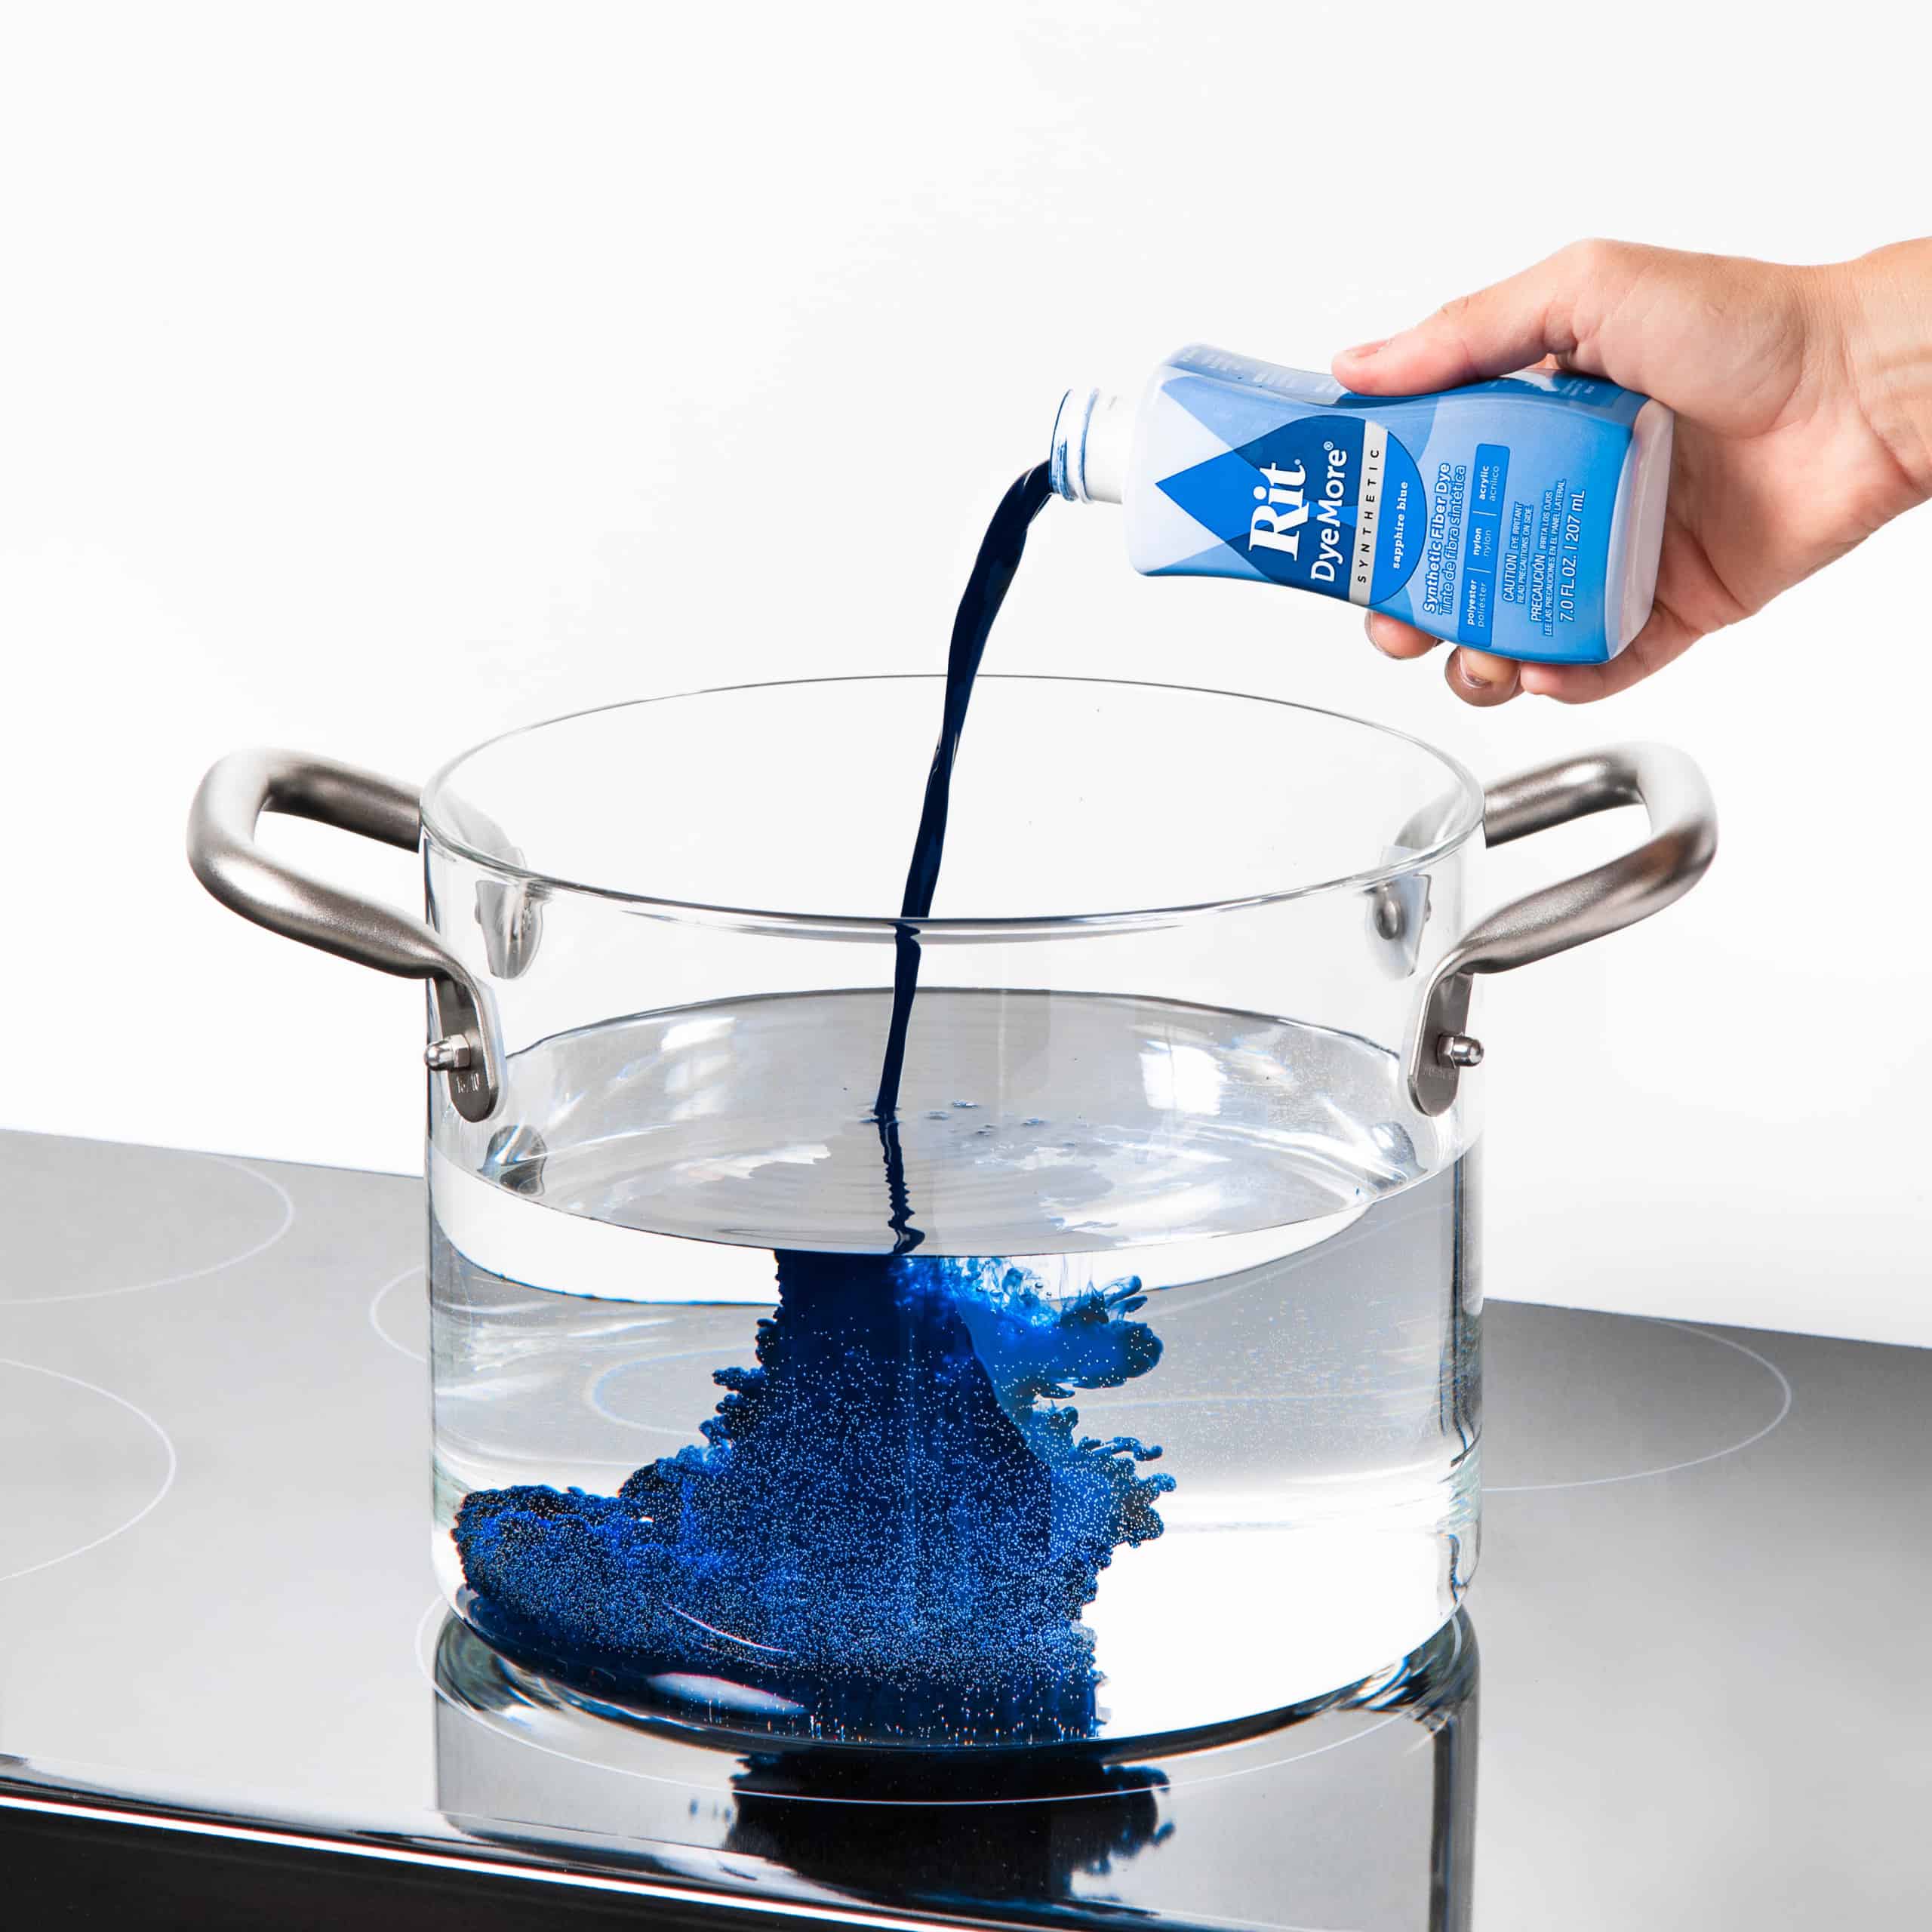
- When water begins to simmer, add well-shaken dye and mix well.

- Wet fabric.
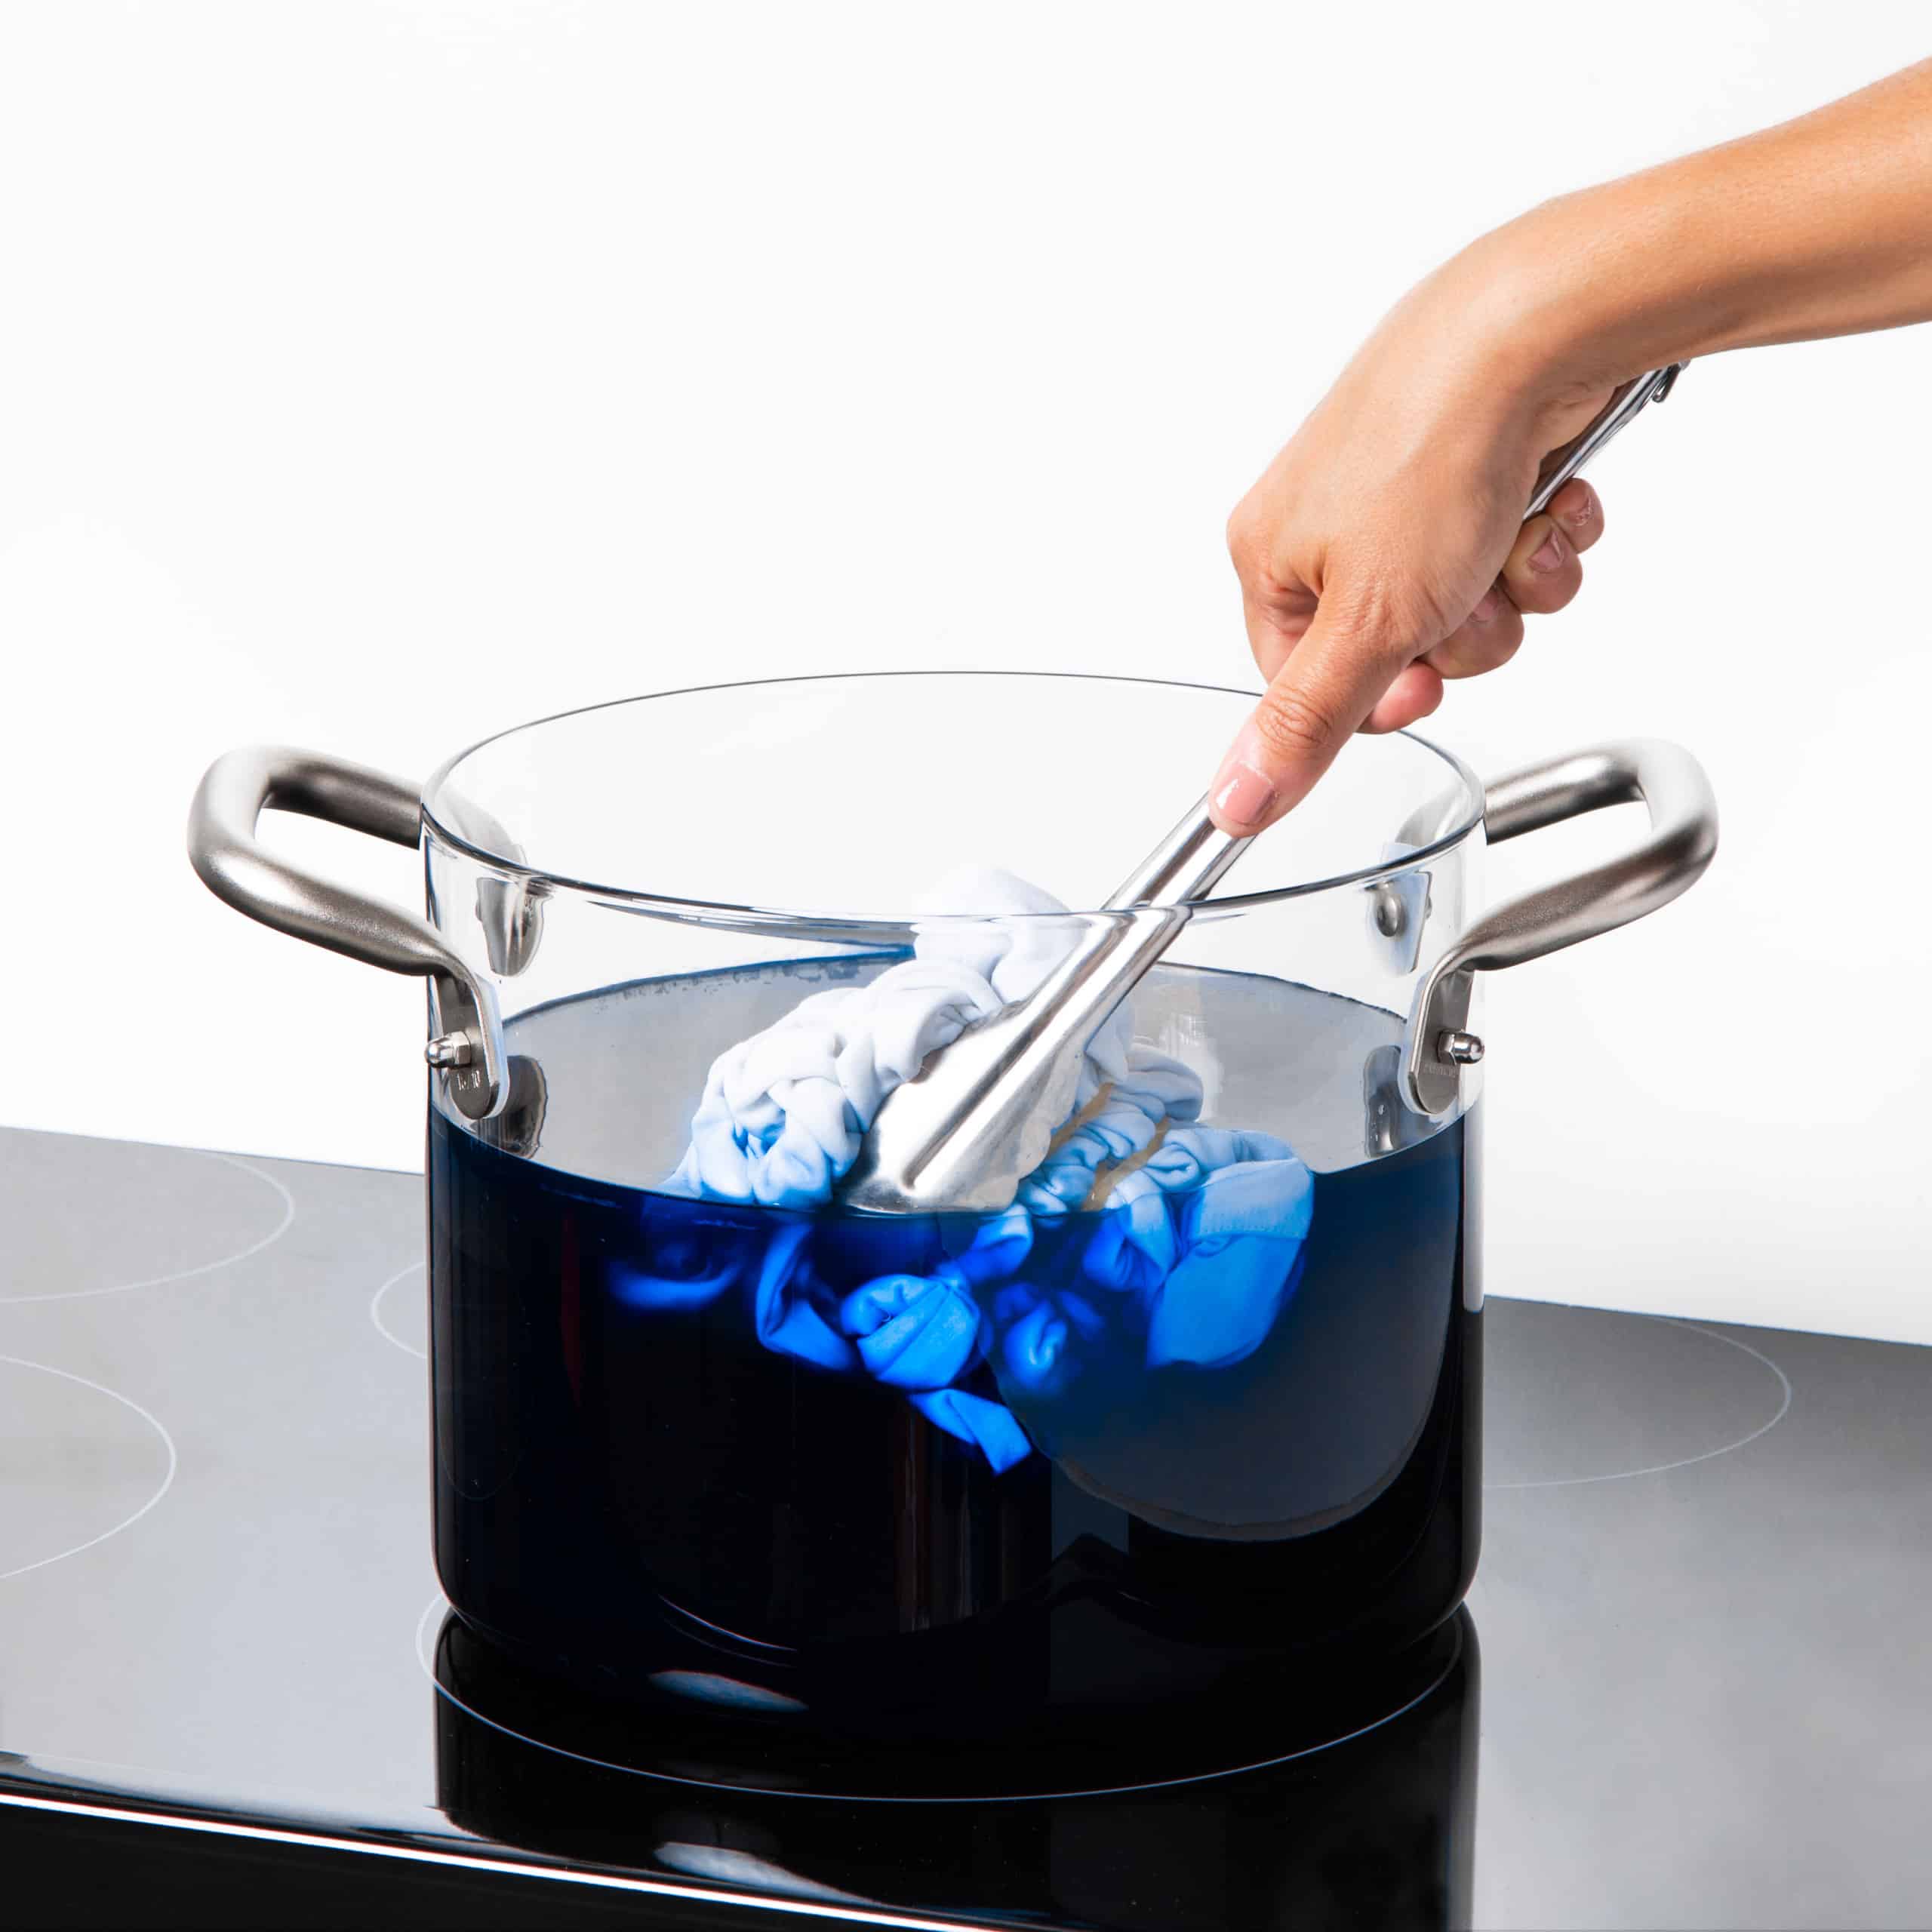
- Immerse your wrapped fabric in the dyebath for 4 to 10 minutes, up to 30 minutes, stirring occasionally. Allow more time if dyeing 100% polyester. The longer the fabric is in the dye bath, the darker the color will be. Please note that fabric will look darker when wet and will dry lighter.

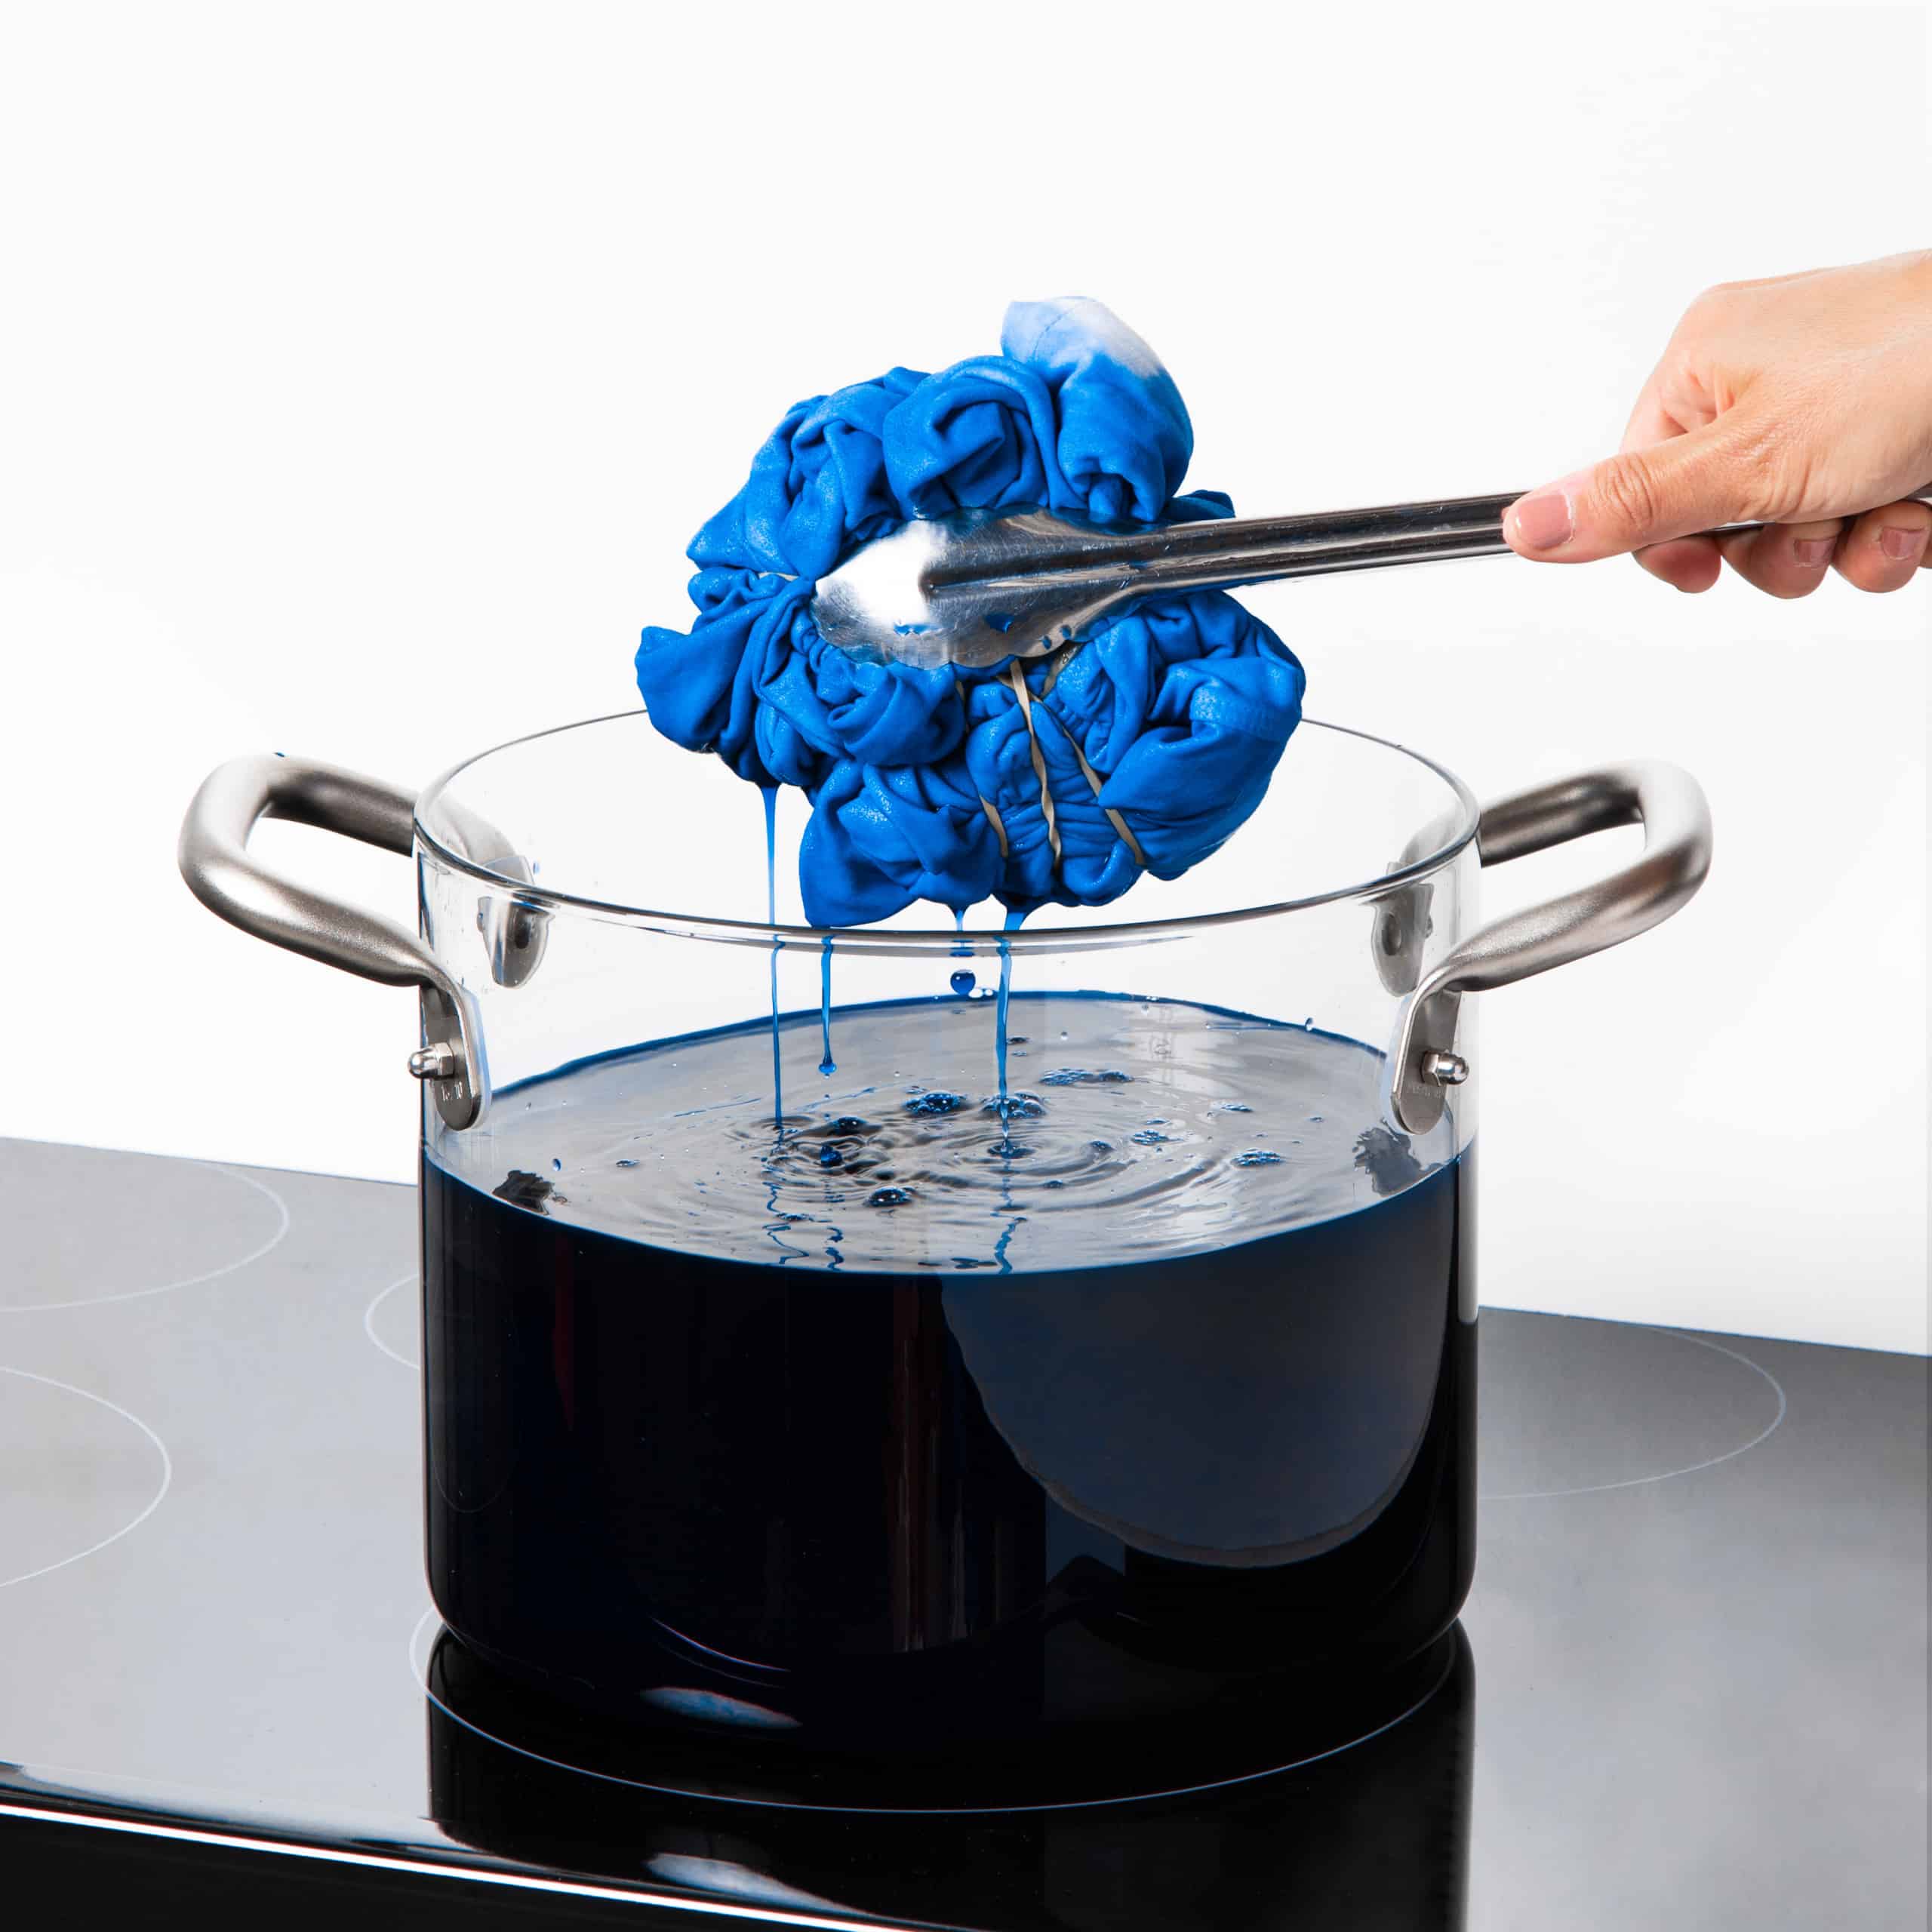
- When desired color is achieved, remove wrapped fabric from the dyebath. Squeeze out excess dye.

- Rinse in warm water and then gradually cool water until rinse water begins to run clear.
- Carefully remove rubber bands with a scissors and unfold the fabric.
- Wash in warm water with a mild detergent, rinse and dry.
- Before dyeing, remove any visibile stains on the fabric. This will help achieve uniform color results when dyeing. Prewash item in warm, soapy water without any fabric softener. This helps to remove any finishes that may interfere with dye absorption.
- Lay damp fabric out on a flat surface.
- Traditional Tie Dye: Pinch, pleat or fold fabric to make a design. Wrap rubber bands tightly around fabric at various points. The rubber bands act as a resist and create white spaces. The more rubber bands you use and the tighter they are wrapped, the more white space there will be.
- Other Designs:
- Swirl: Decide where to place the center of the spiral. Then position your fingers around the center point and slowly begin to twist fabric in a spiral direction. Loosely wrap rubber bands around fabric to hold spiral together.
- Scrunch: Scrunch a section the fabric and secure with rubber bands. The more tightly you secure the scrunch, the more white space you will see in the final result. Repeat scrunching various sections of the fabric. With each section, vary the amount of fabric scrunched. Continue until the majority of the fabric is scrunched. Now shape the fabric into a ball with more rubber bands.
- Sunburst: Pinch a section of the fabric or where you want the center of the circle to be. Pull it up toward you to make a tee-pee shape. Then pull up more of the fabric for a larger circle. Close one hand around the point of the tee-pee and tie it off with a rubber band; then add rubber bands down the length of it.
- Stripes: Fold shirt vertically or diagonally, like an accordion or fan, in 2-3-inch / 5-7.5-cm wide folds. Then wrap with rubber bands every 2-3 inches / 5-7.5 cm or as desired.
- Checks: Accordion pleat fabric in 2-3-inch / 5-7.5-cm wide folds. To achieve a sharp line, press folds with an iron. Then accordion pleat strip into a square. Wrap a rubber band loosely around square fabric in both directions.
- Spirals: Decide where to place the center of the spiral. Then position your fingers around the center point and slowly begin to twist fabric in a spiral direction. Loosely wrap rubber bands around fabric to hold spiral together.
- Swirl: Decide where to place the center of the spiral. Then position your fingers around the center point and slowly begin to twist fabric in a spiral direction. Loosely wrap rubber bands around fabric to hold spiral together.
- Now it is time to create your dyebath.
- Cover work area with plastic table cover and have paper towels handy to protect against any possible spills.
- Fill a plastic container(s) with 3 gal / 11.5 L of hot water. The water should ideally be 140ºF / 60°C. If tap water is not hot enough, heat water on the stove and add to the dyebath.
- To enhance the color: (1) add 1 cup / 240 mL of salt when dyeing fabrics containing cotton, rayon, ramie or linen; (2) add 1 cup / 240 mL of vinegar when dyeing fabrics containing nylon, silk or wool.
- Add 1 teaspoon of dish detergent to help promote level dyeing.
- As a general guideline, one liquid bottle or two powder packages dyes up to two pounds of dry fabric (about 6 to 8 size small t-shirts). If using powder, dissolve powder in 2 cups / 470 mL very of very hot water before adding it to the dyebath.
- Wearing rubber gloves. add well-shaken dye or powder package(s) to dyebath.
- Wet fabric.
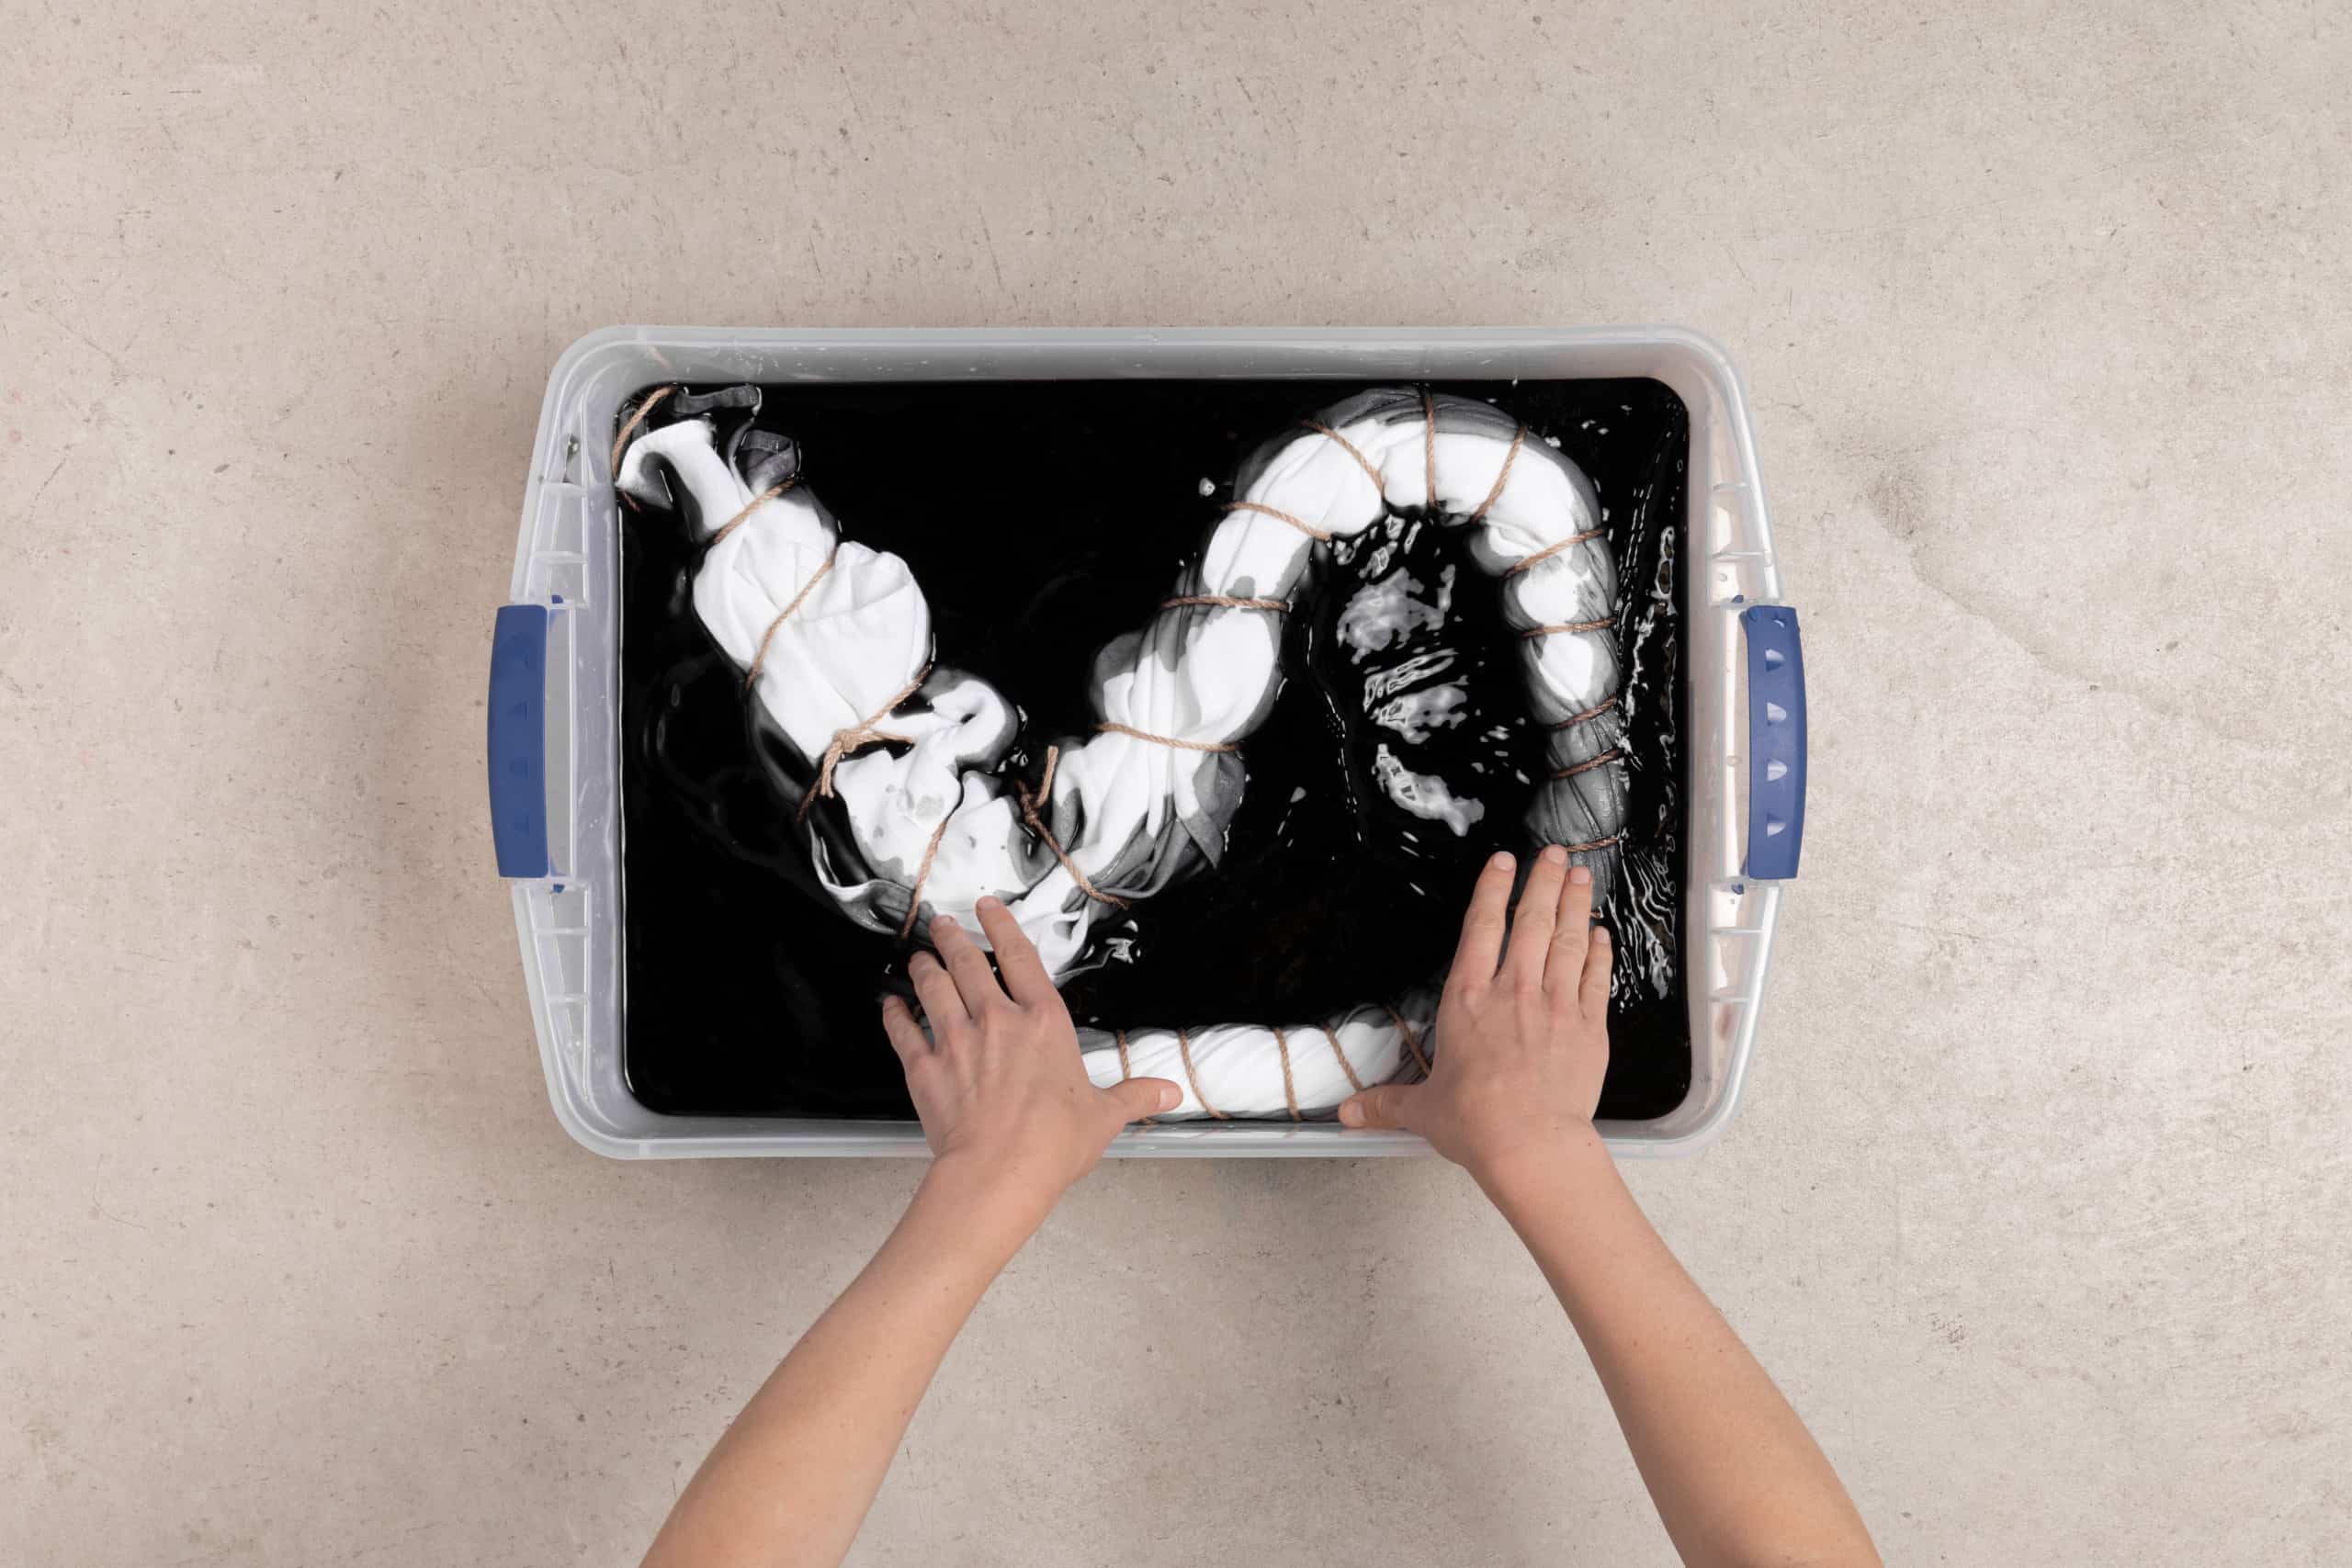
- Immerse your wrapped fabric in the dyebath for 4 to 10 minutes, up to 30 minutes, stirring occasionally. The longer the fabric is in the dye bath, the darker the color will be. Please note that fabric will look darker when wet and will dry lighter.

- When desired color is achieved, remove wrapped fabric from the dyebath. Squeeze out excess dye and rinse in cool water. Do not remove rubber bands.
- We strongly recommend using Rit ColorStay Dye Fixative immediately after dyeing and before washing. It enhances the color, increases color retention and prevents dye from bleeding into white areas. Follow these instructions.
- Rinse in cool water until rinse water begins to run clear.
- Carefully remove rubber bands with a scissors and unfold the fabric.
- Wash in cool water with a mild detergent, rinse and dry.
