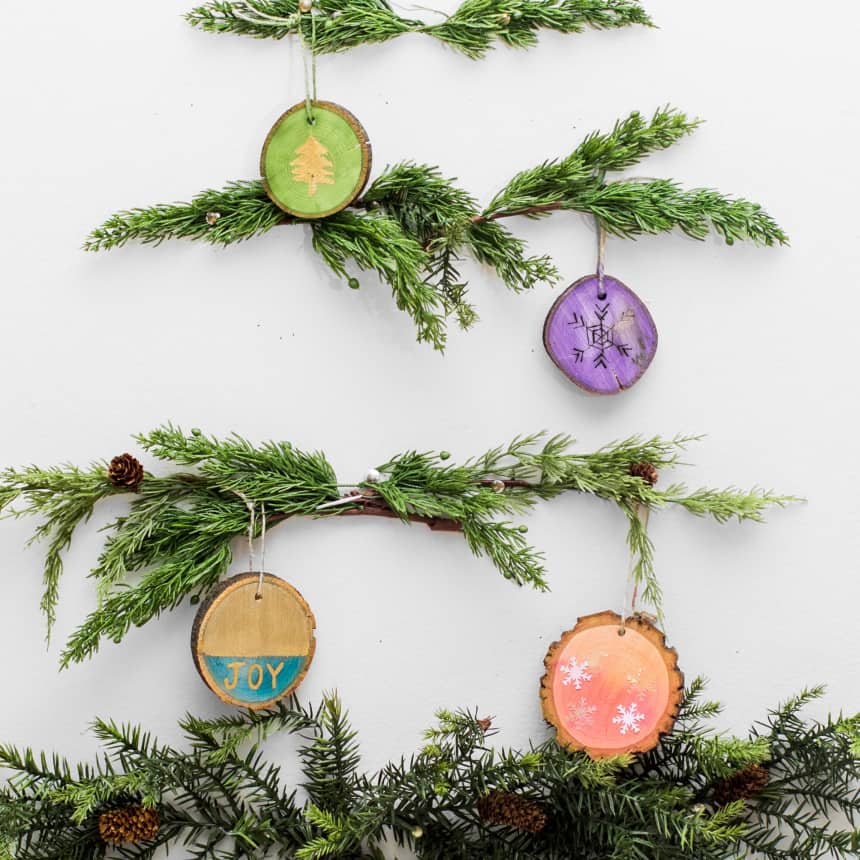
Dyed Wood Slice Ornaments
We’ll never get over how beautifully Rit dyes wood. Because it’s a water-based dye, it allows the natural wood grain to shine through, adding depth and texture that you’ll never get with a paint or stain. When we got our hands on some Walnut Hollow wood slices, we realized we could create dip dyed magic for our tree this holiday. By simply dipping them in a mason jar, we created amazing colorful ornaments you’ll never find in a store. As a bonus, we used Walnut Hollow’s wood burner to engrave some decorative designs!
Supplies
- Rit All-Purpose Liquid Dye (We Used Purple, Kelly Green, Scarlet and Aquamarine)
- Walnut Hollow Slices
- Twine
- Mason Jar
- Gloves
- Plastic Table Cover
- Optional: Wood Burner and Pencil
- Optional: Snowflakes or Other Embellishments
Time
Total: {{ partial.tTQX.total }}
Difficulty
Beginner Total: {{ partial.tFUQ.total }}
Instructions
- Cover work area with plastic table cover and have paper towels handy to protect against any possible spills. Gather supplies.
- If wood burning, do this before dyeing.
- Use a pencil to draw a simple snowflake or other design onto the ornament surface.
- We used the Walnut Hollow Flow Point with a rounded tip to create the designs. It’s helpful for drawing curved lines and making dots on letters. Use the side of the tip for drawing straight lines.
- Heat up your wood burning tool. It’s helpful to watch a Walnut Hollow YouTube video on how to wood burn and then practice on a scrap of wood or the back of an item. If you make a mistake, use sandpaper to remove your error.
- Wood burn letters or designs on ornaments. Then erase any remaining pencil lines with an eraser.
- Now it is time to dye. Wear rubber gloves to protect hands.
- Pour 4 cups of hot water into a container. Add 2 ounces of dye to container. Stir.
- Test dye color by dipping a paper towel or spare slice directly into the dyebath. If color is too light, add more dye; if color is too dark, add more water. Dye will appear lighter when dry.
- Dip slice directly into the dyebath. It will dye within a few seconds. The longer the slice stays in the dye, the darker it will be.
- Try experimenting with dyeing different parts of the ornament for different looks. You could dye just the bottom half, just the top or even tilt it to get a diagonal color line for variation. To achieve an ombré effect, dip the whole ornament in quickly and then pull it out slowly, allowing the bottom portions to spend a few more seconds in the dyebath.
- Remove the ornament from the dye and lay them flat on clean, dry paper towels until completely dry.
- When dry, adhere snowflake embellishments or other designs as desired.
- Tie twine to top of ornament for hanging.
- Add to tree!
Posts You May Like

