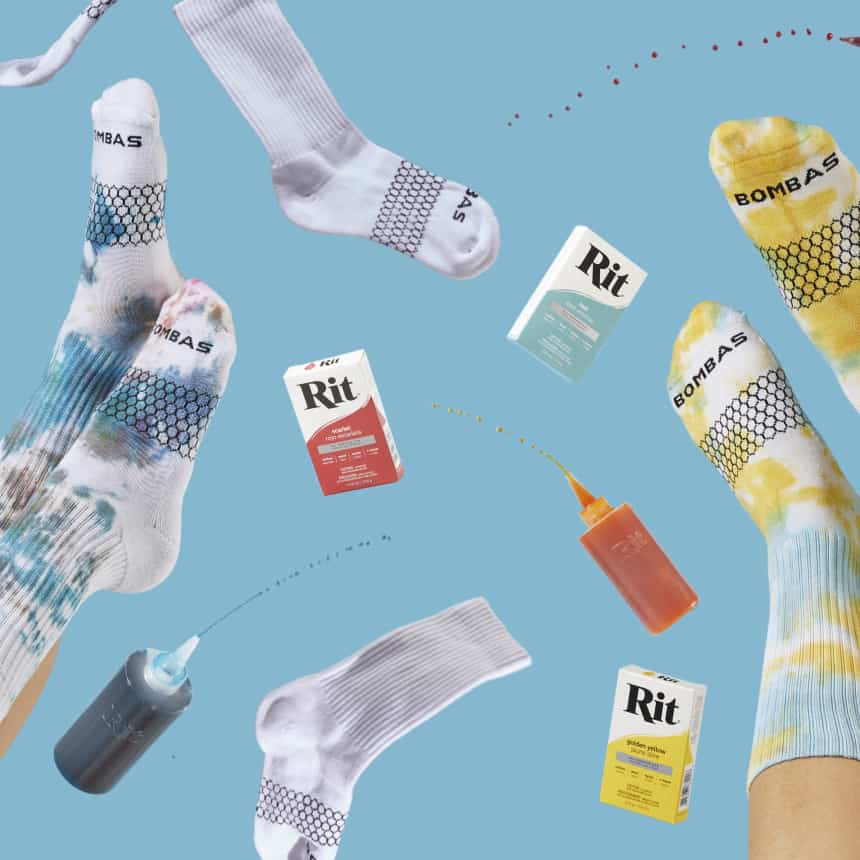
Tie-Dye Your Way
Time to bring back the Summer of Love with our new Tie-Dye Accessory Kit and all your favorite colors. Tap the play button and you’ll be amazed at how easy it is to create something you’ll love forever.
Which Dye Should I Use?
As long as the item you are dyeing contains less than 40% polyester, you can use our All-Purpose Dye. If the item has more than 40% polyester, then use our dye for synthetics, Rit DyeMore.
Dyeing Synthetics?
Don’t worry — you can use our dye for synthetics, Rit DyeMore, to dye fabrics with more than 40% polyester. This tutorial doesn’t cover tie-dyeing synthetics so please head to our step-by-step tutorial on tie-dyeing with Rit DyeMore for Synthetics.
Pick a Color
We have many many colors to choose from. You can also use one of our thousand color formulas. If using our formulas, after you pick a color, select any item in the small category and cut the recipe in half.
{{ partial.tP28.headline }}
Supplies Needed
You don’t need much! You’ll want to use our Tie-Dye Accessory Kit, which contains 3 perfectly-sized squeeze bottles, rubber bands, 2 pairs of protective gloves and a microwavable tray to speed up the dyeing process. You could also source each of these items separately. You’ll also need a baking rack so that the dye doesn’t puddle under the fabric when you apply it. For a complete list of supplies, check out our full tie-dye tutorial here.
Tie Your Fabric
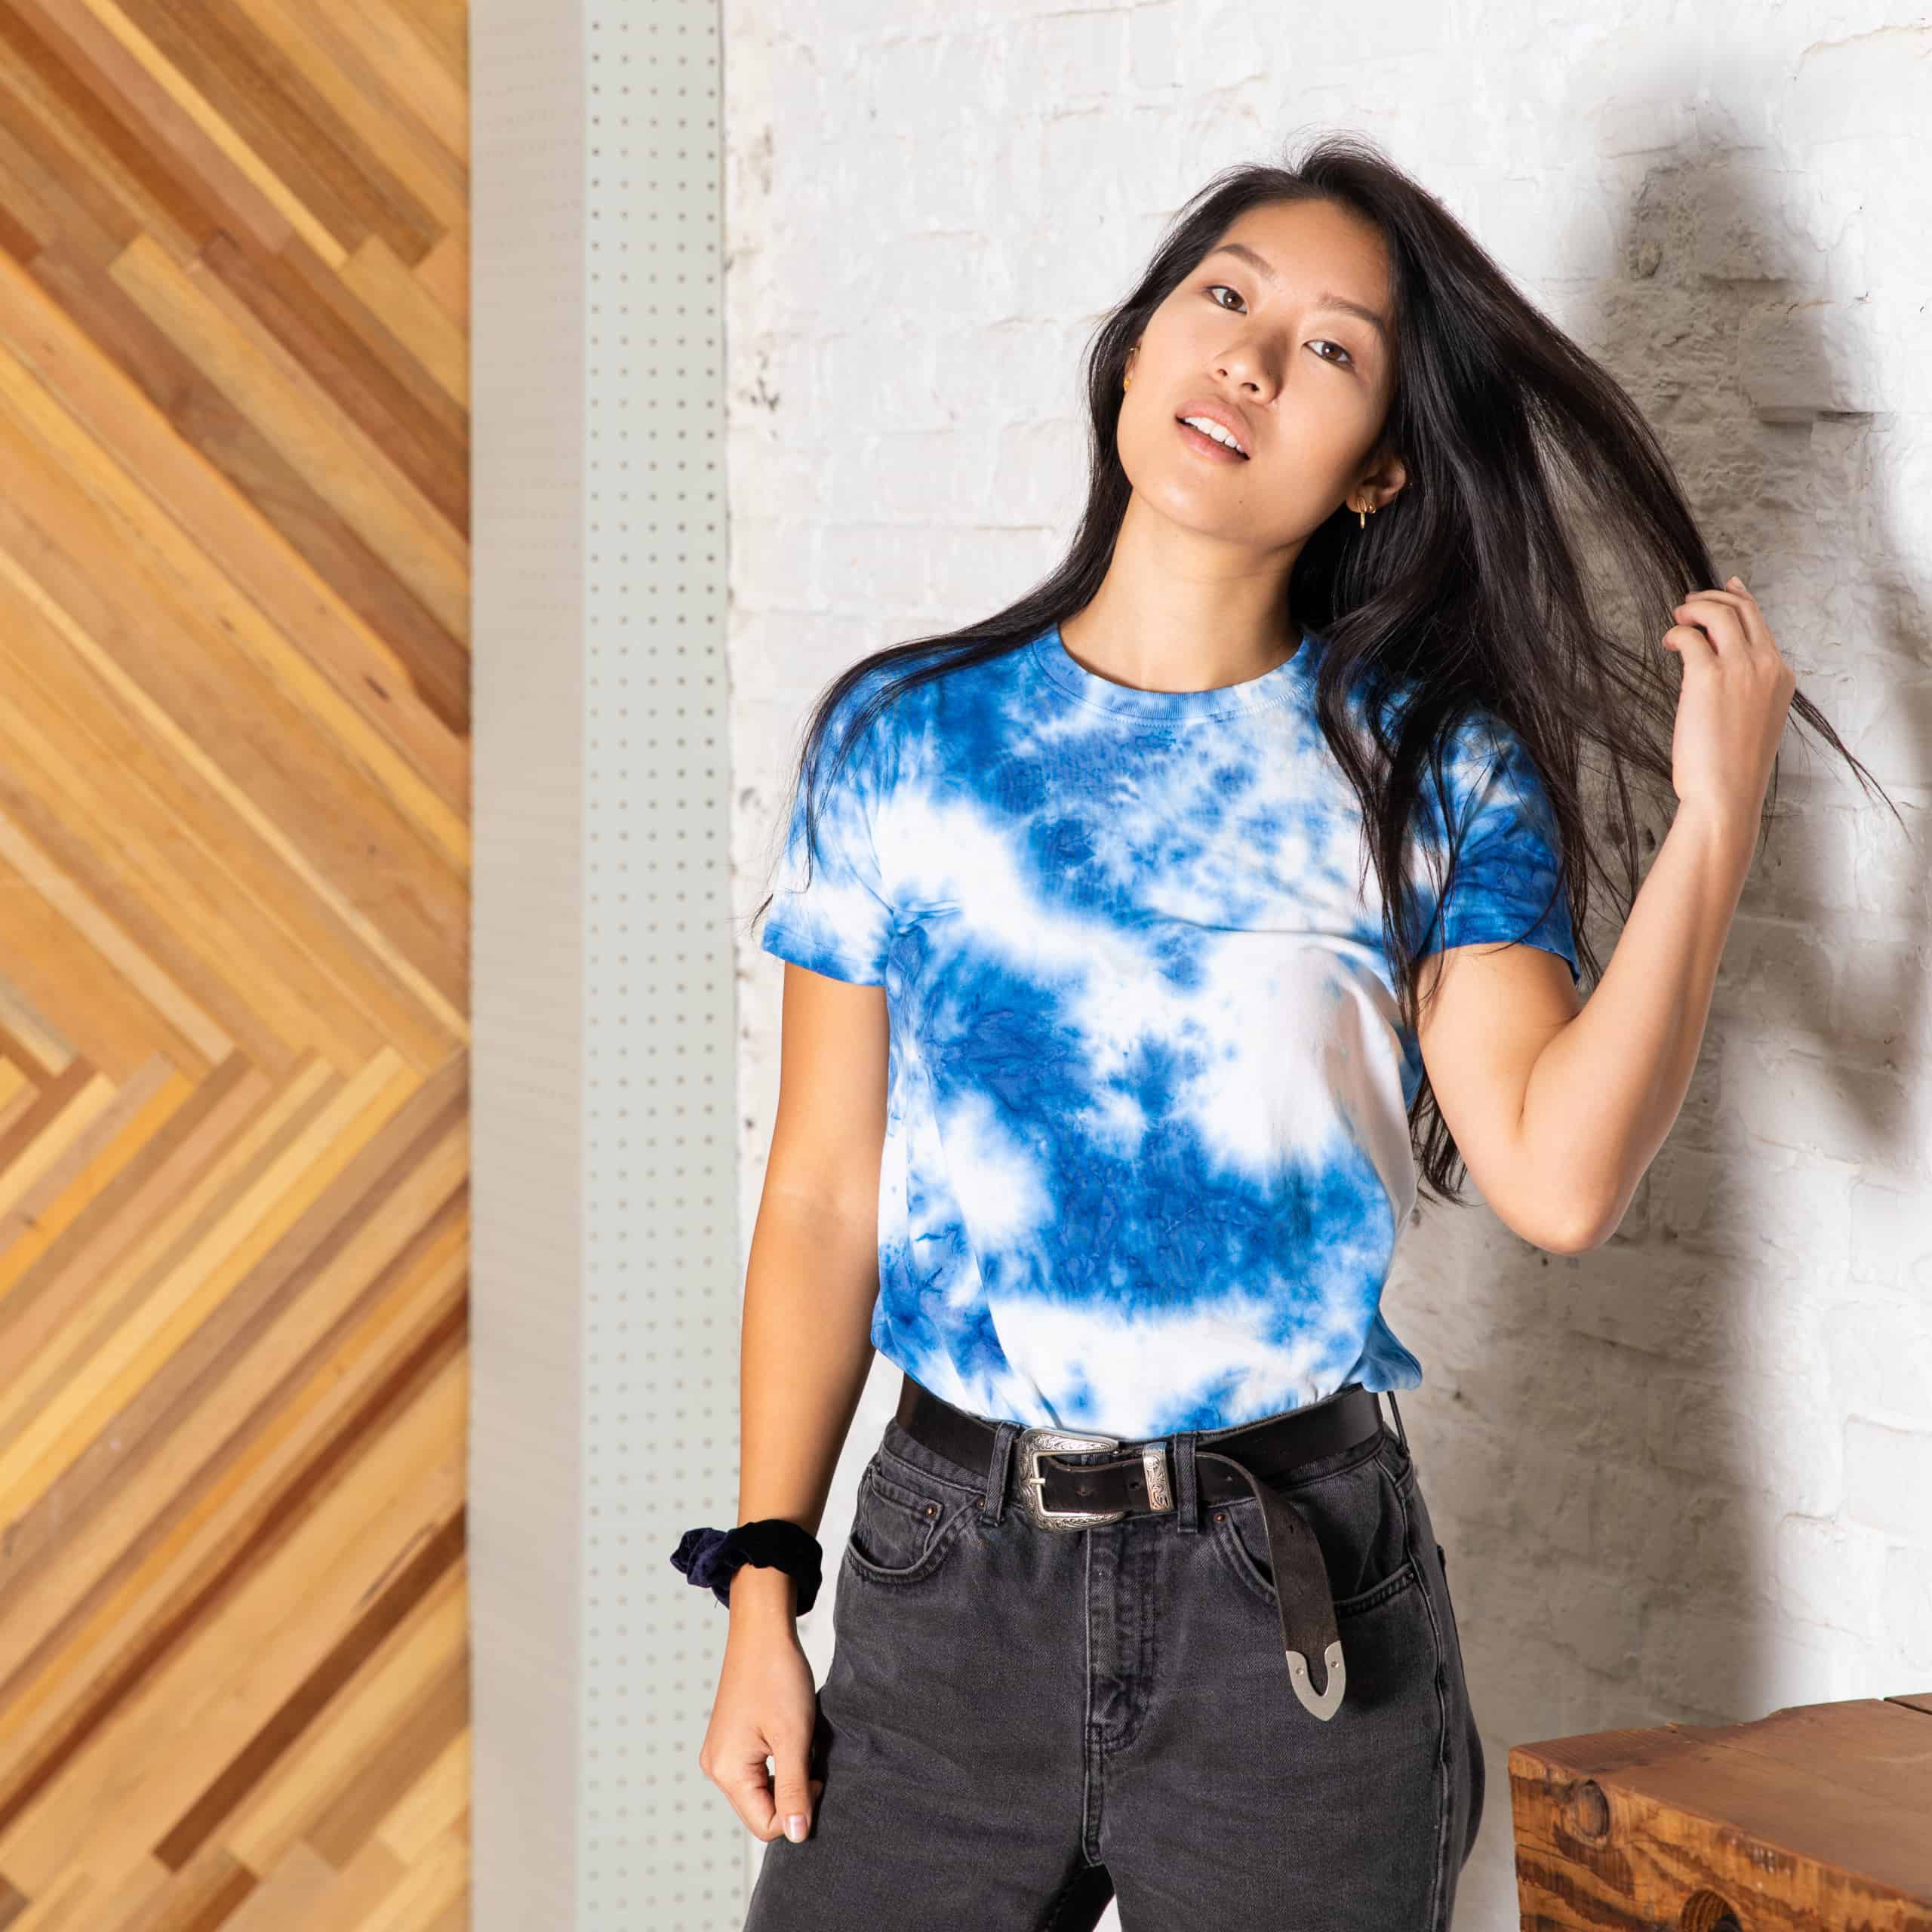
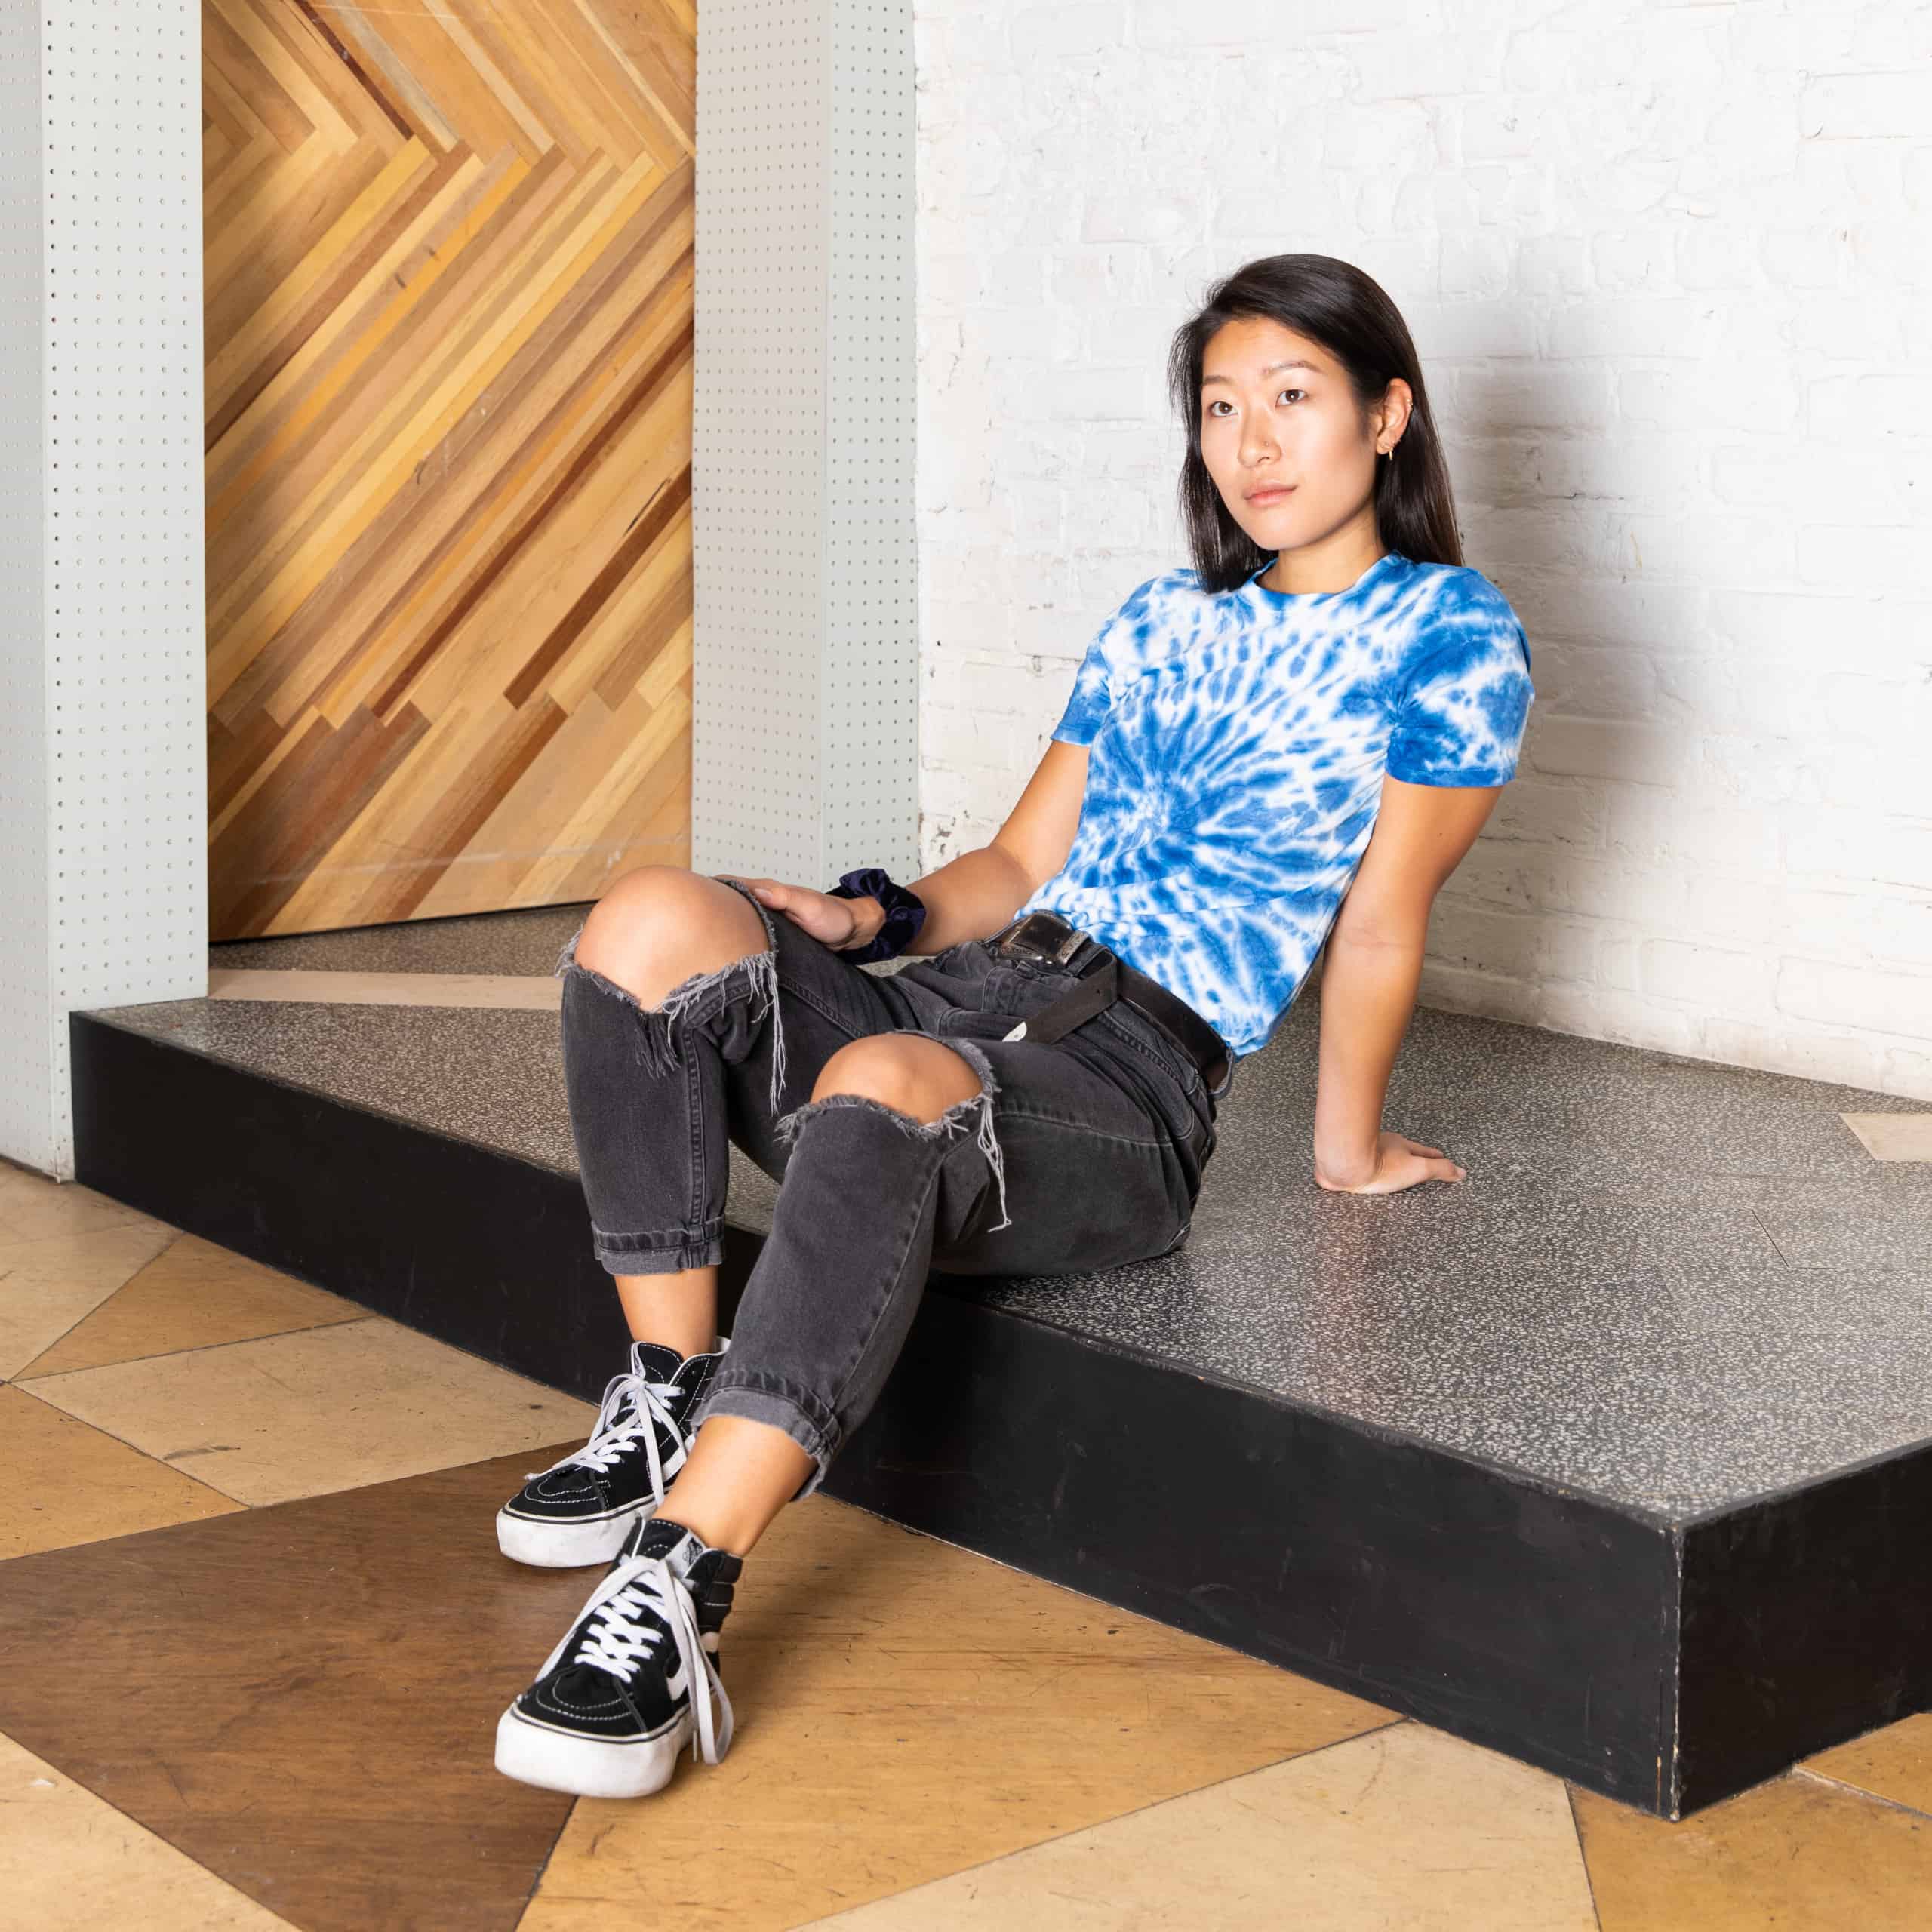
After pre-washing the fabric (to remove any finishes), it’s time to tie the fabric. You can’t really go wrong here. We’re really into the scrunch method right now, where you scrunch random sections of the fabric and hold them together with rubber bands. You could also go old school with the swirl by pinching the center of the fabric and twisting in a spiral direction until you can’t anymore. For more on folding techniques, check out our more in depth tie-dye tutorial here.
Techniques Demoed In Video
How Should I Apply the Dye?
After you tie up your fabric, apply the dye either with a squeeze bottle or by putting it in a dye bath. We are going to focus on the squeeze bottle method here because it gives you the most control when applying the dye and is needed when dyeing with multiple colors. If you are looking for directions on using a dye bath, you can find them here.
Prepare Your Squeeze Bottle(s)
If you are using squeeze bottles from our Tie-Dye Accessory Kit, add 2 teaspoons of dye to the bottle and fill the rest with hot water. If you are using your own squeeze bottle, mix 2 cups of water with 2 tablespoons of dye and pour into your squeeze bottle.
Set the Dye with Your Microwave
No need to wait 24 hours for the reveal anymore. By microwaving your item for two minutes, you can set the dye so that it can be revealed in a matter of minutes. The heat from the microwave opens up the fibers in the fabric to absorb the dye, ensuring that you get long lasting and vibrant color. You can use the microwavable tray that comes in our Tie-Dye Accessory Kit or wrap the item in plastic wrap. If the item has any metal parts on it, then this cannot be done. Instead, leave the fabric out in the sun for a couple of hours or apply heat with a hair dryer.
Rinse and Reveal!
After the item has cooled down, rinse it for a good amount of time to get rid of any unabsorbed dye. This might be the most important step as it removes any unabsorbed dye that might come off in the wash. If you are trying to keep some part of the fabric undyed, rinse it flat so that the unabsorbed dye doesn’t bleed into the white areas. Once rinsed, undo the rubber bands and reveal your tie-dyed creation!
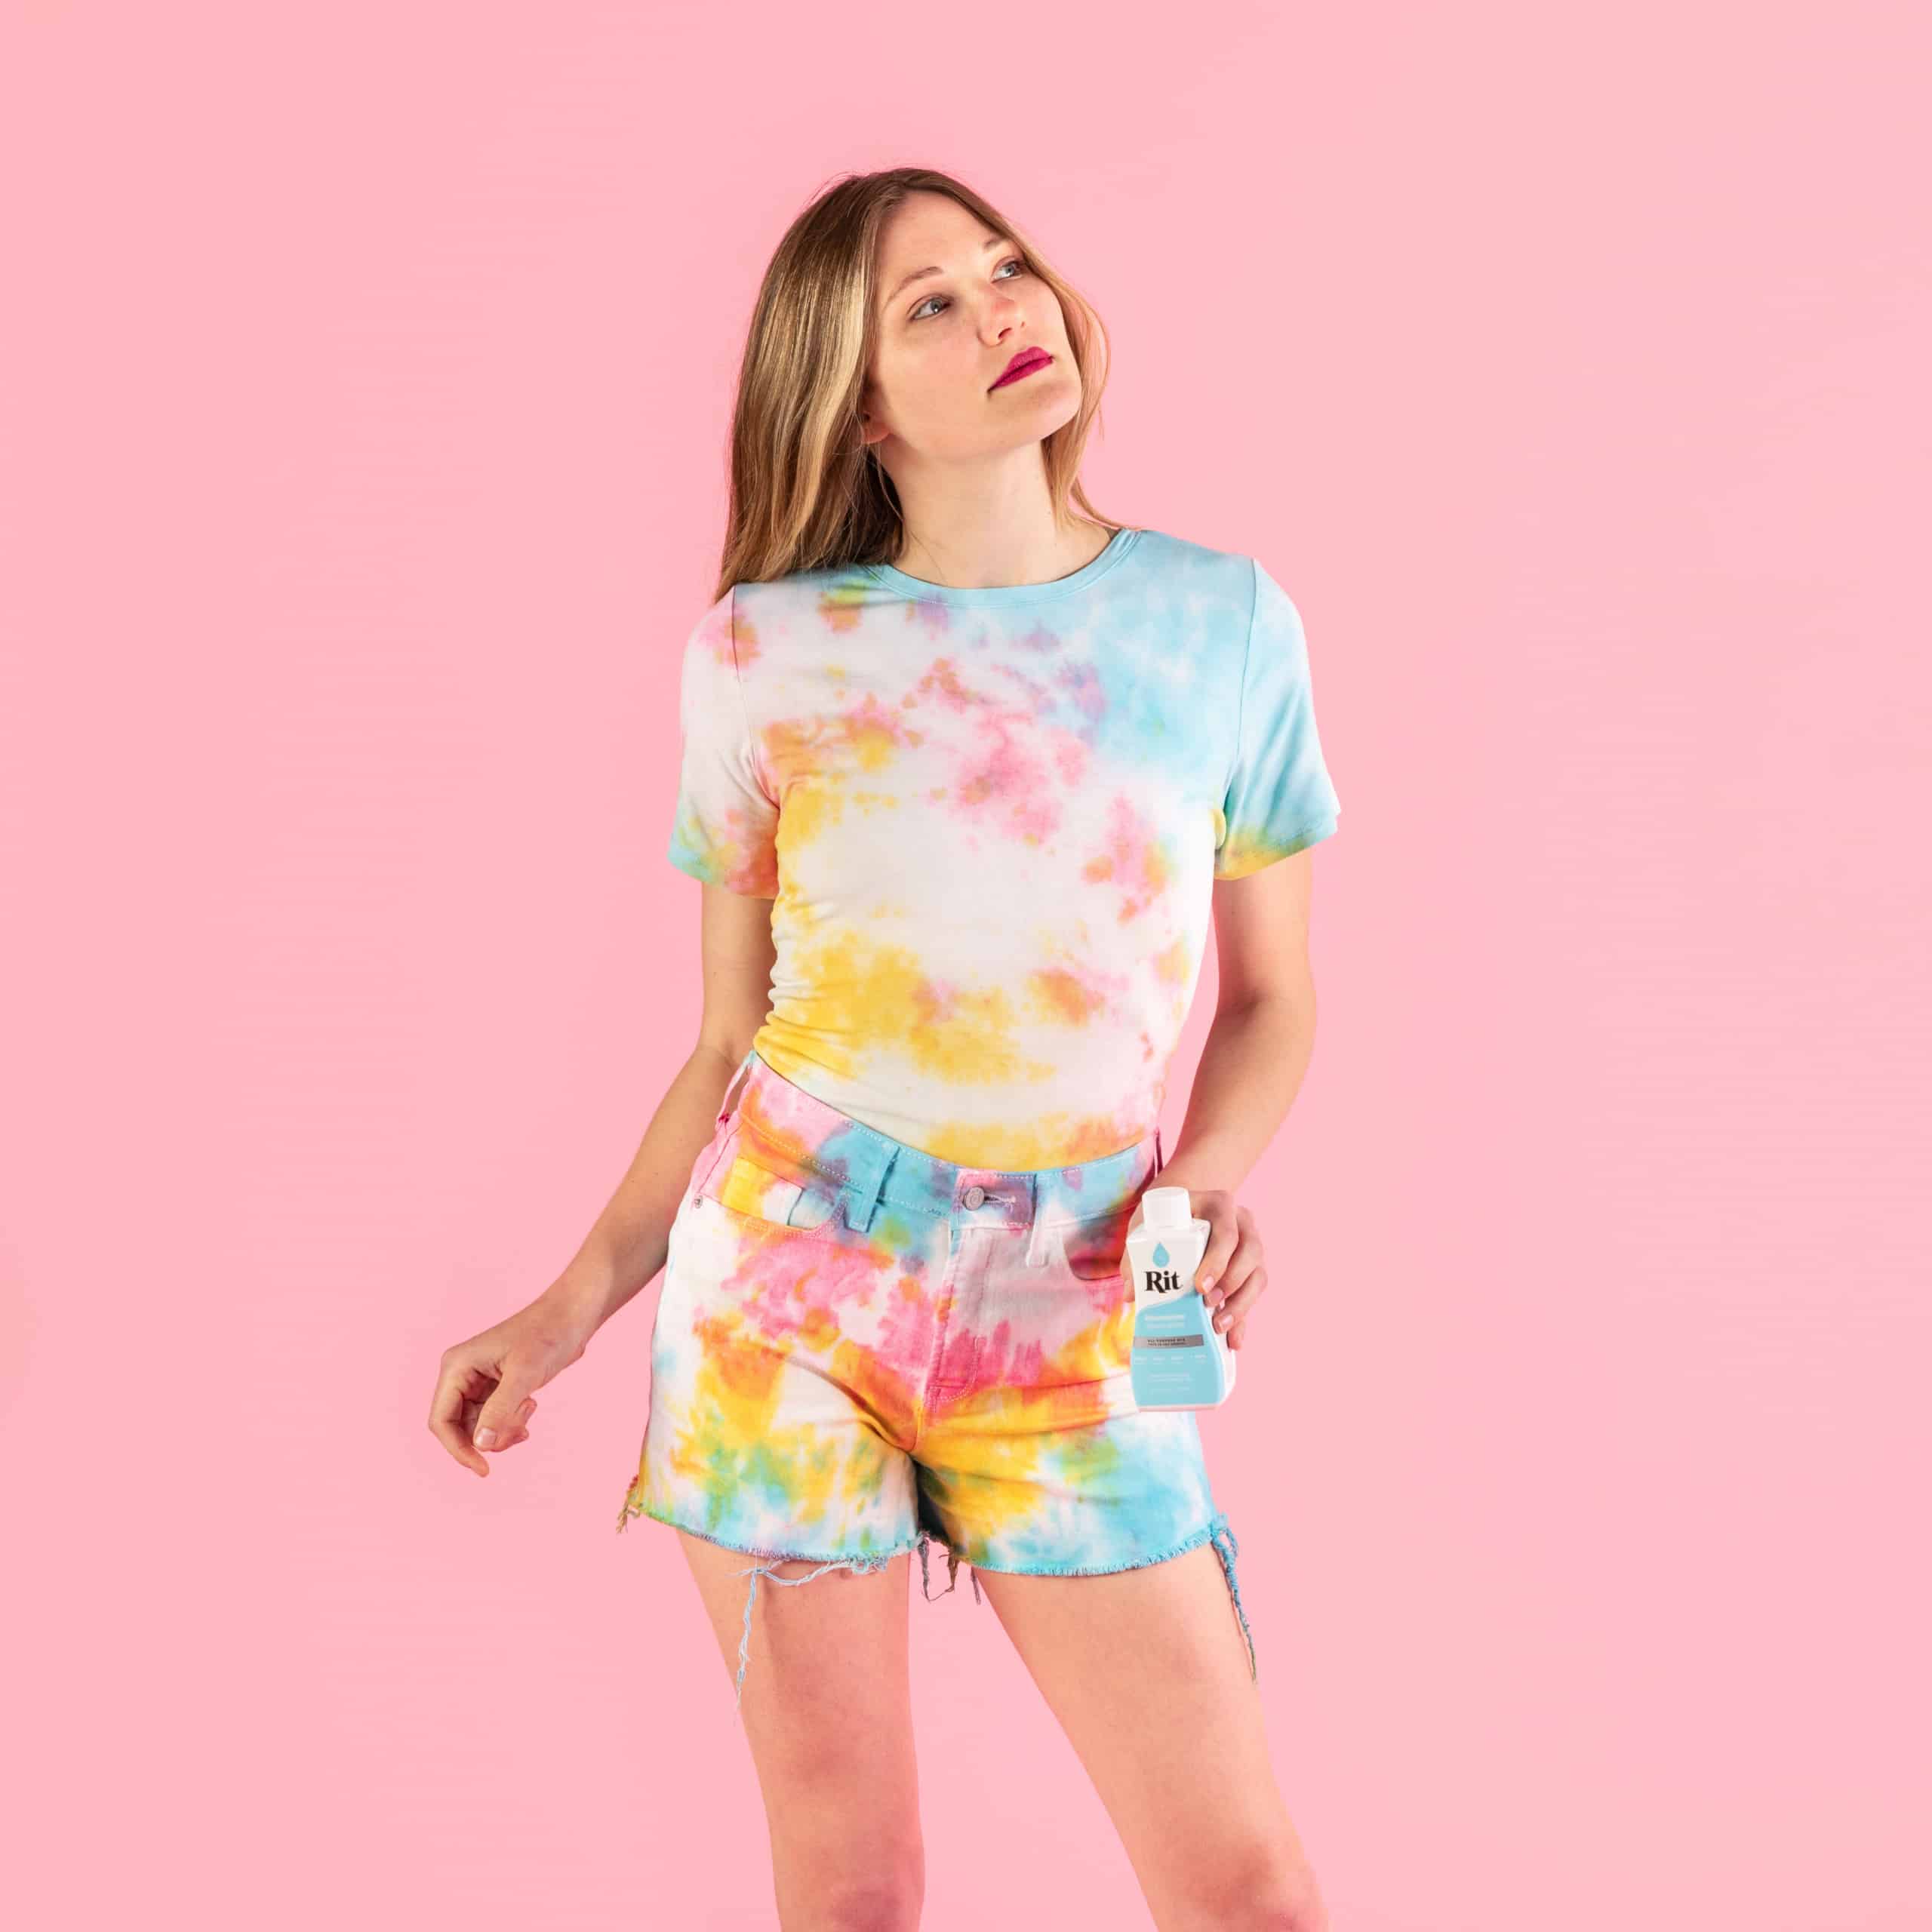
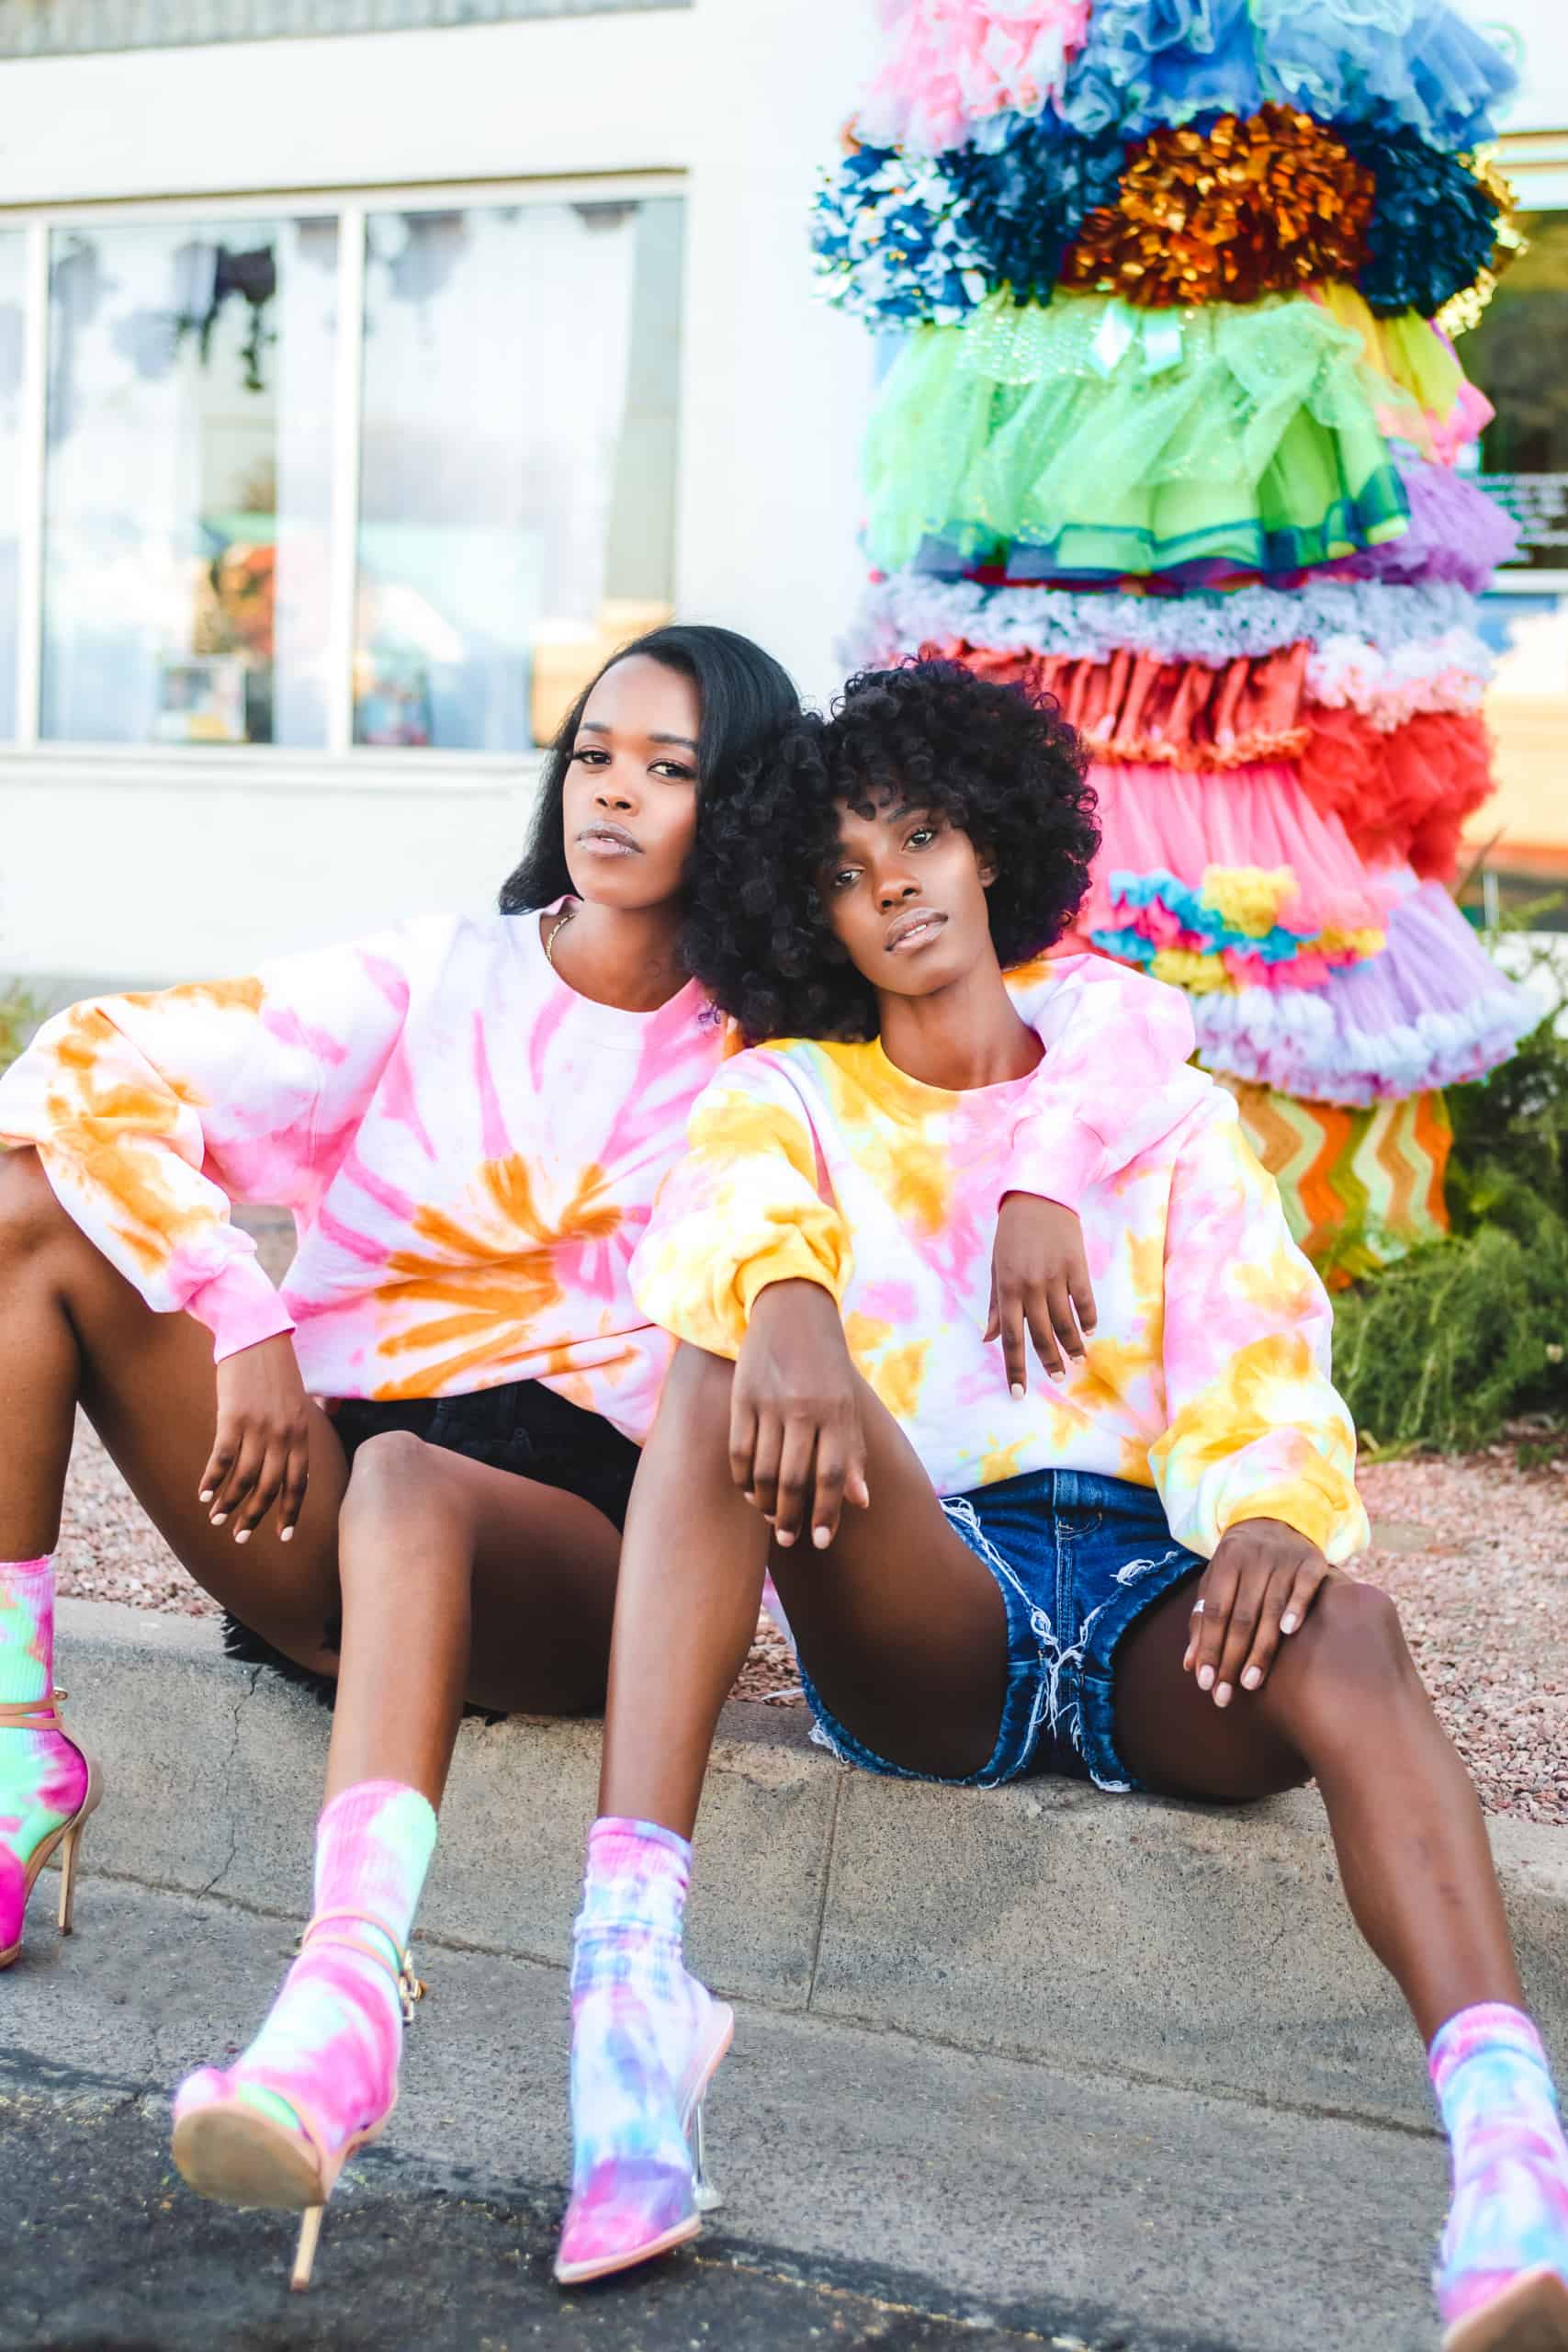
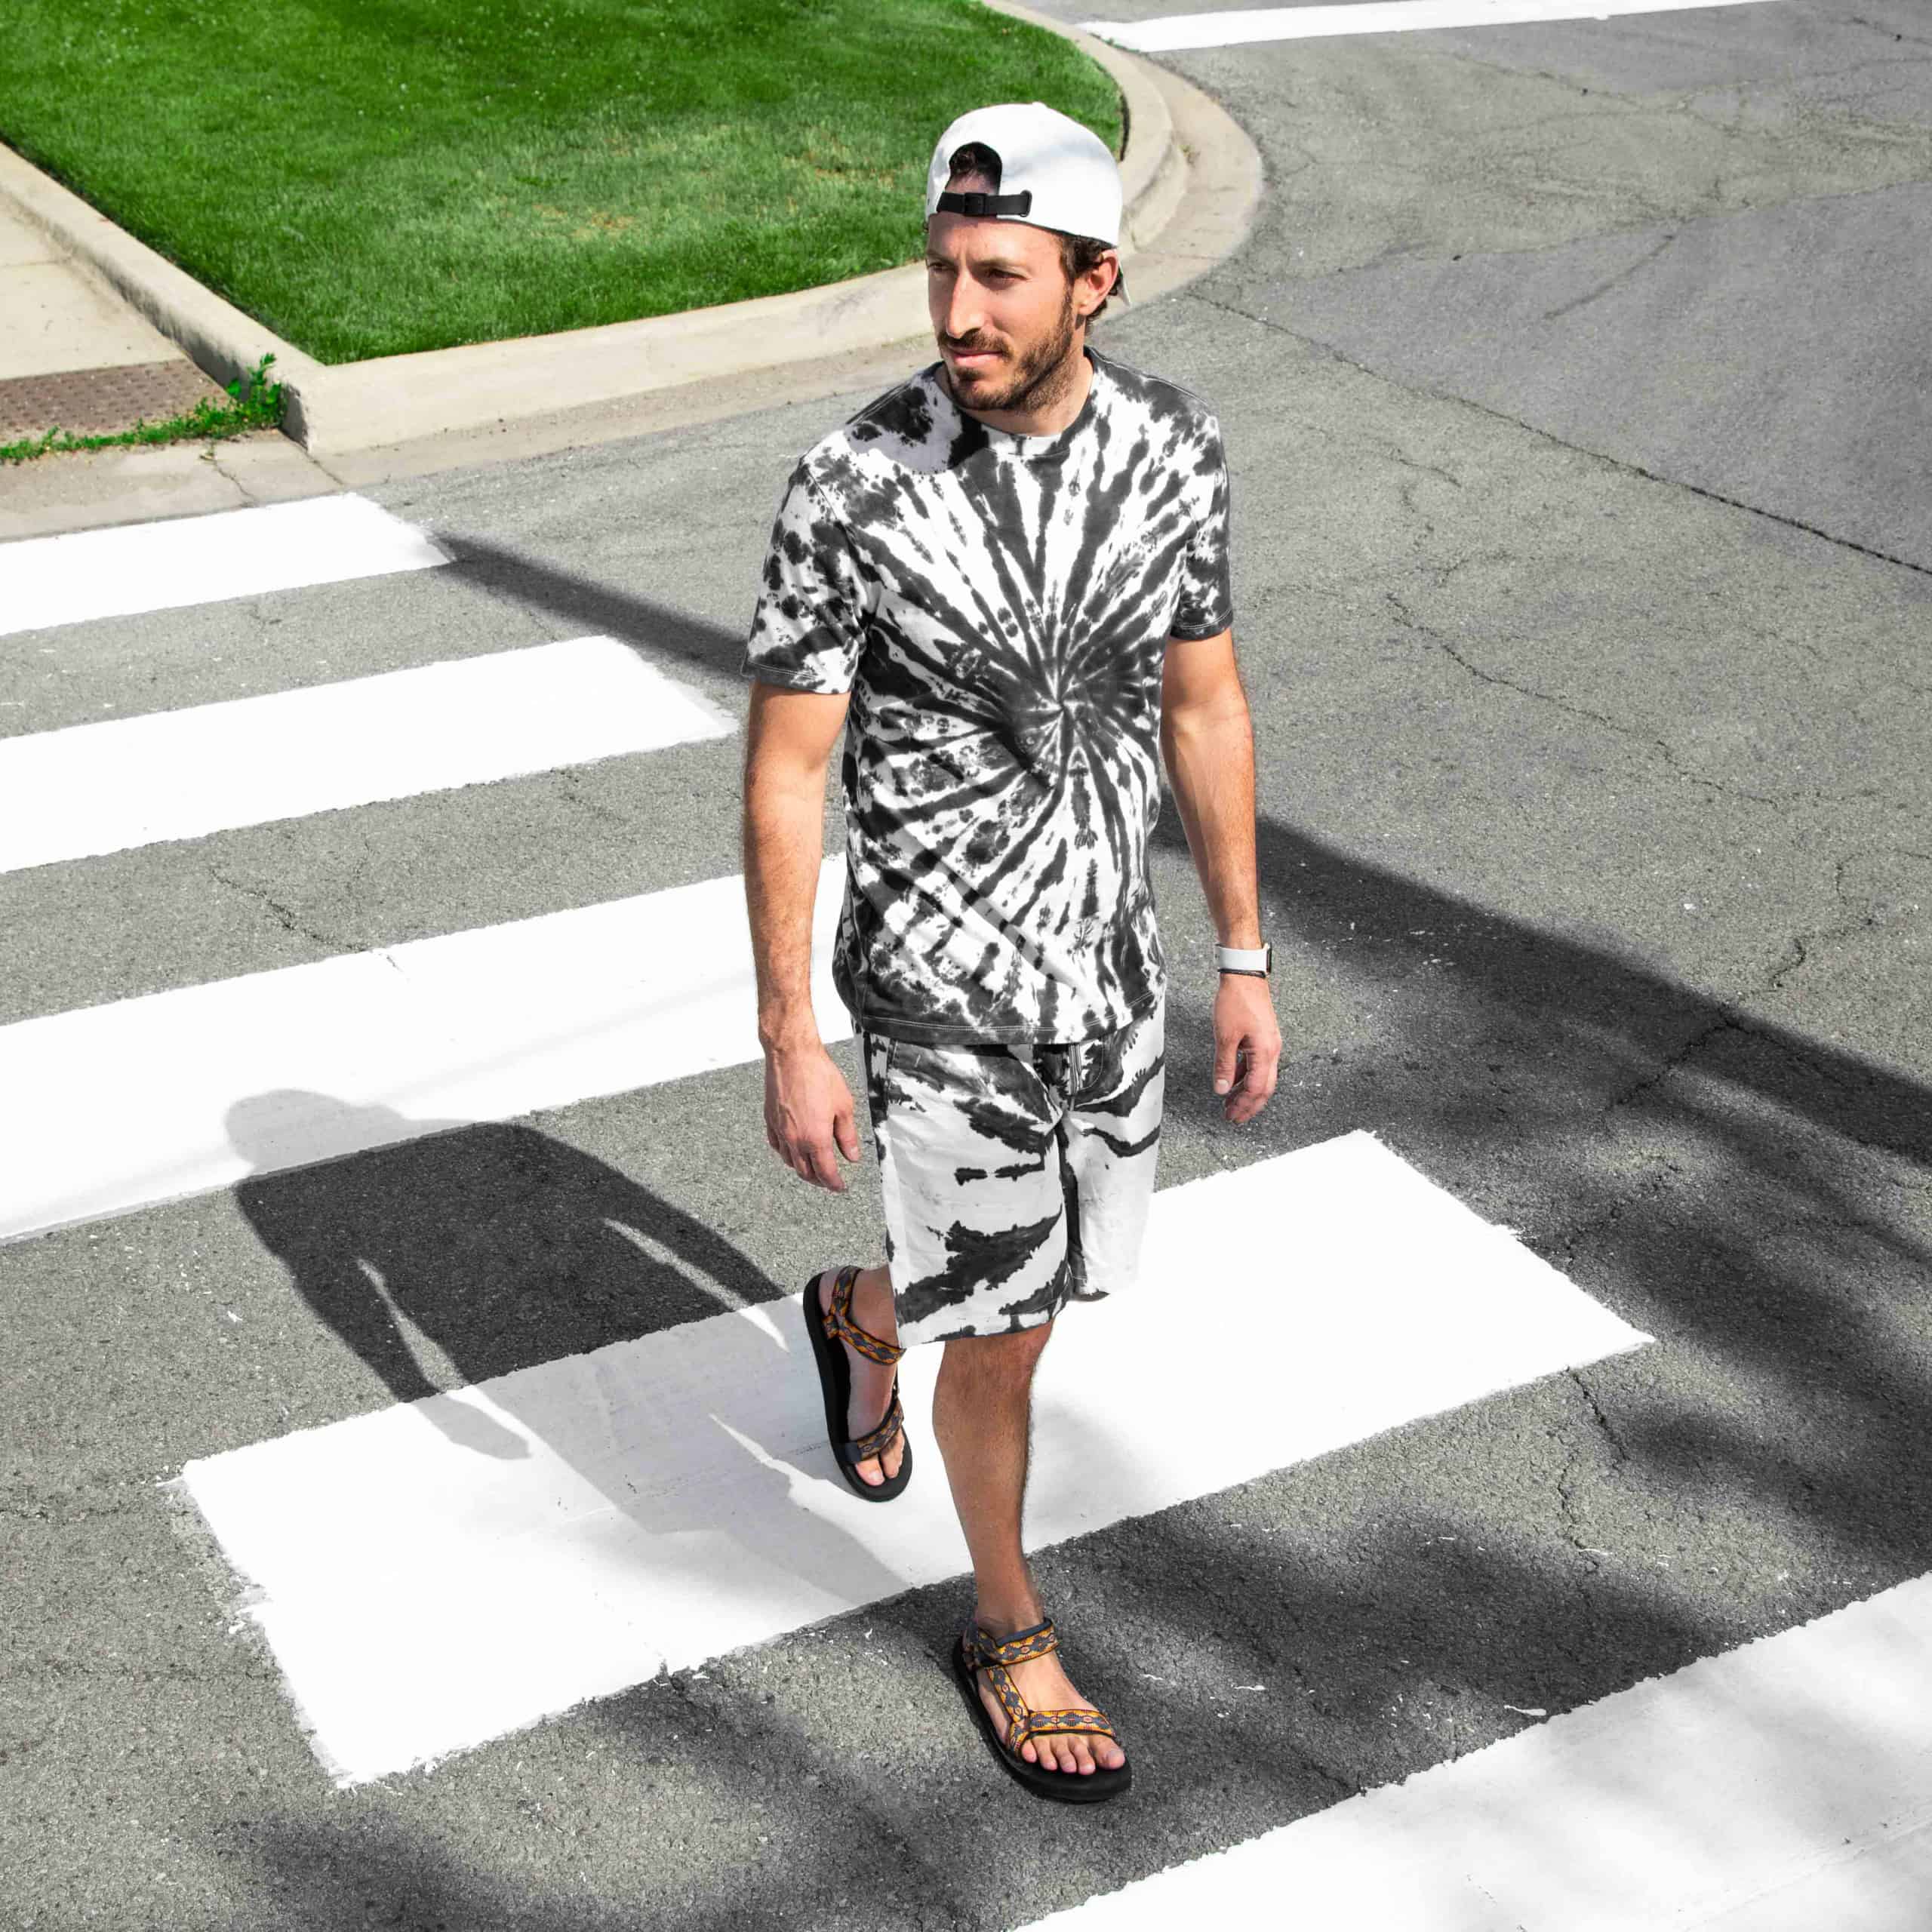
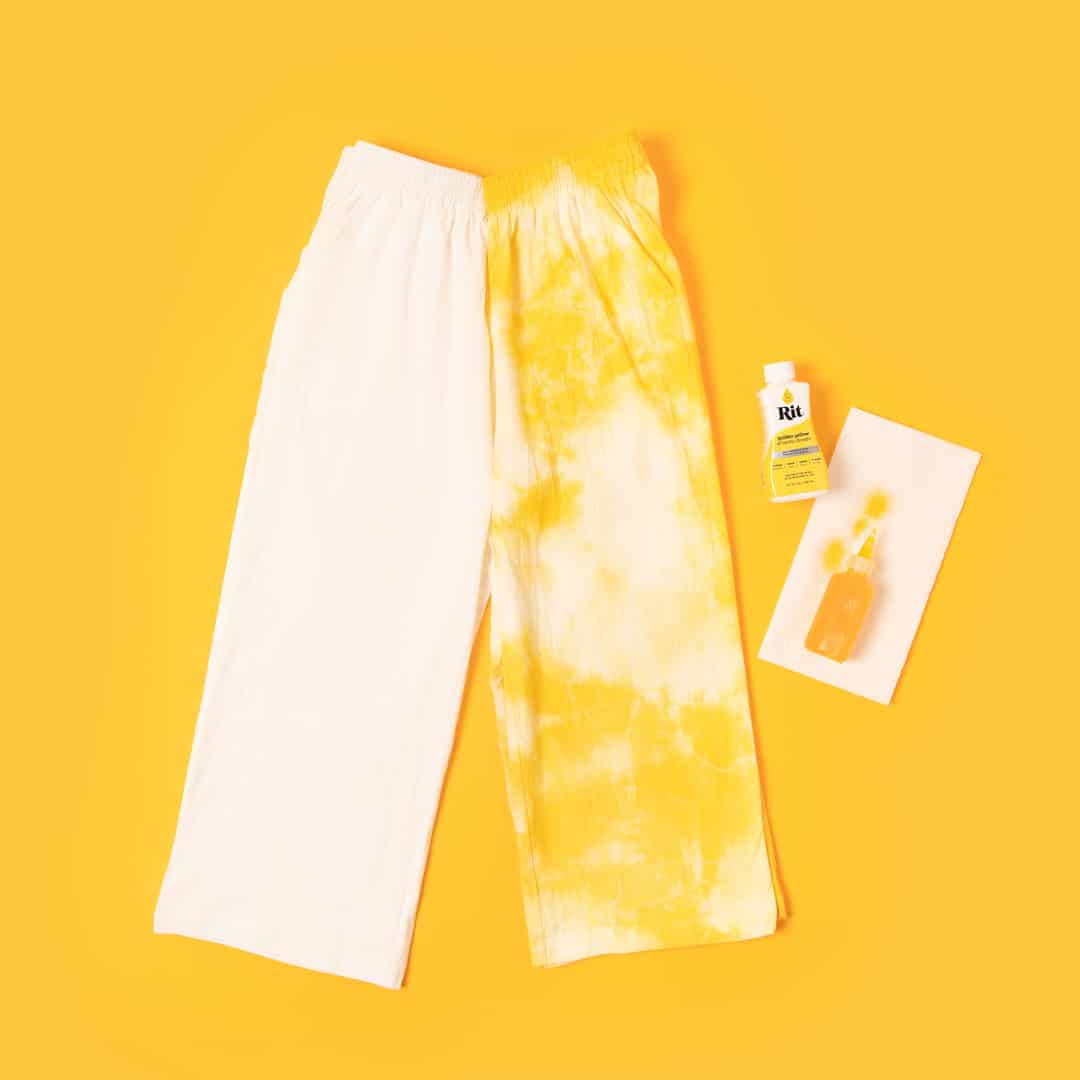
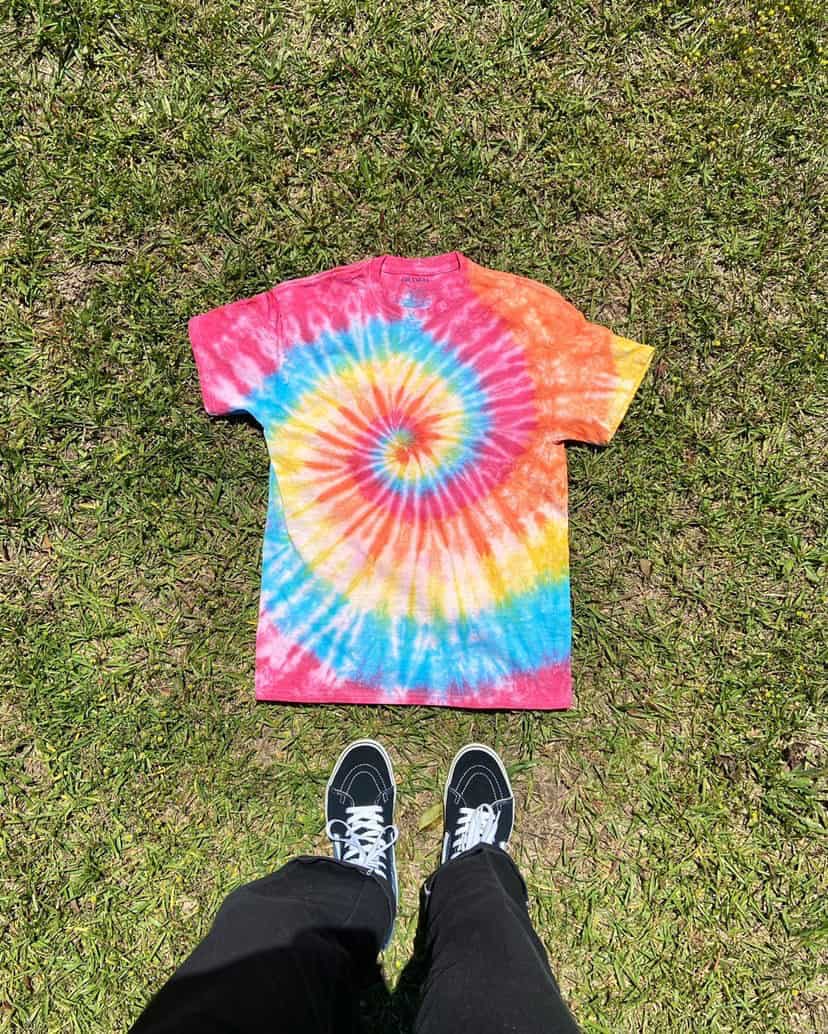
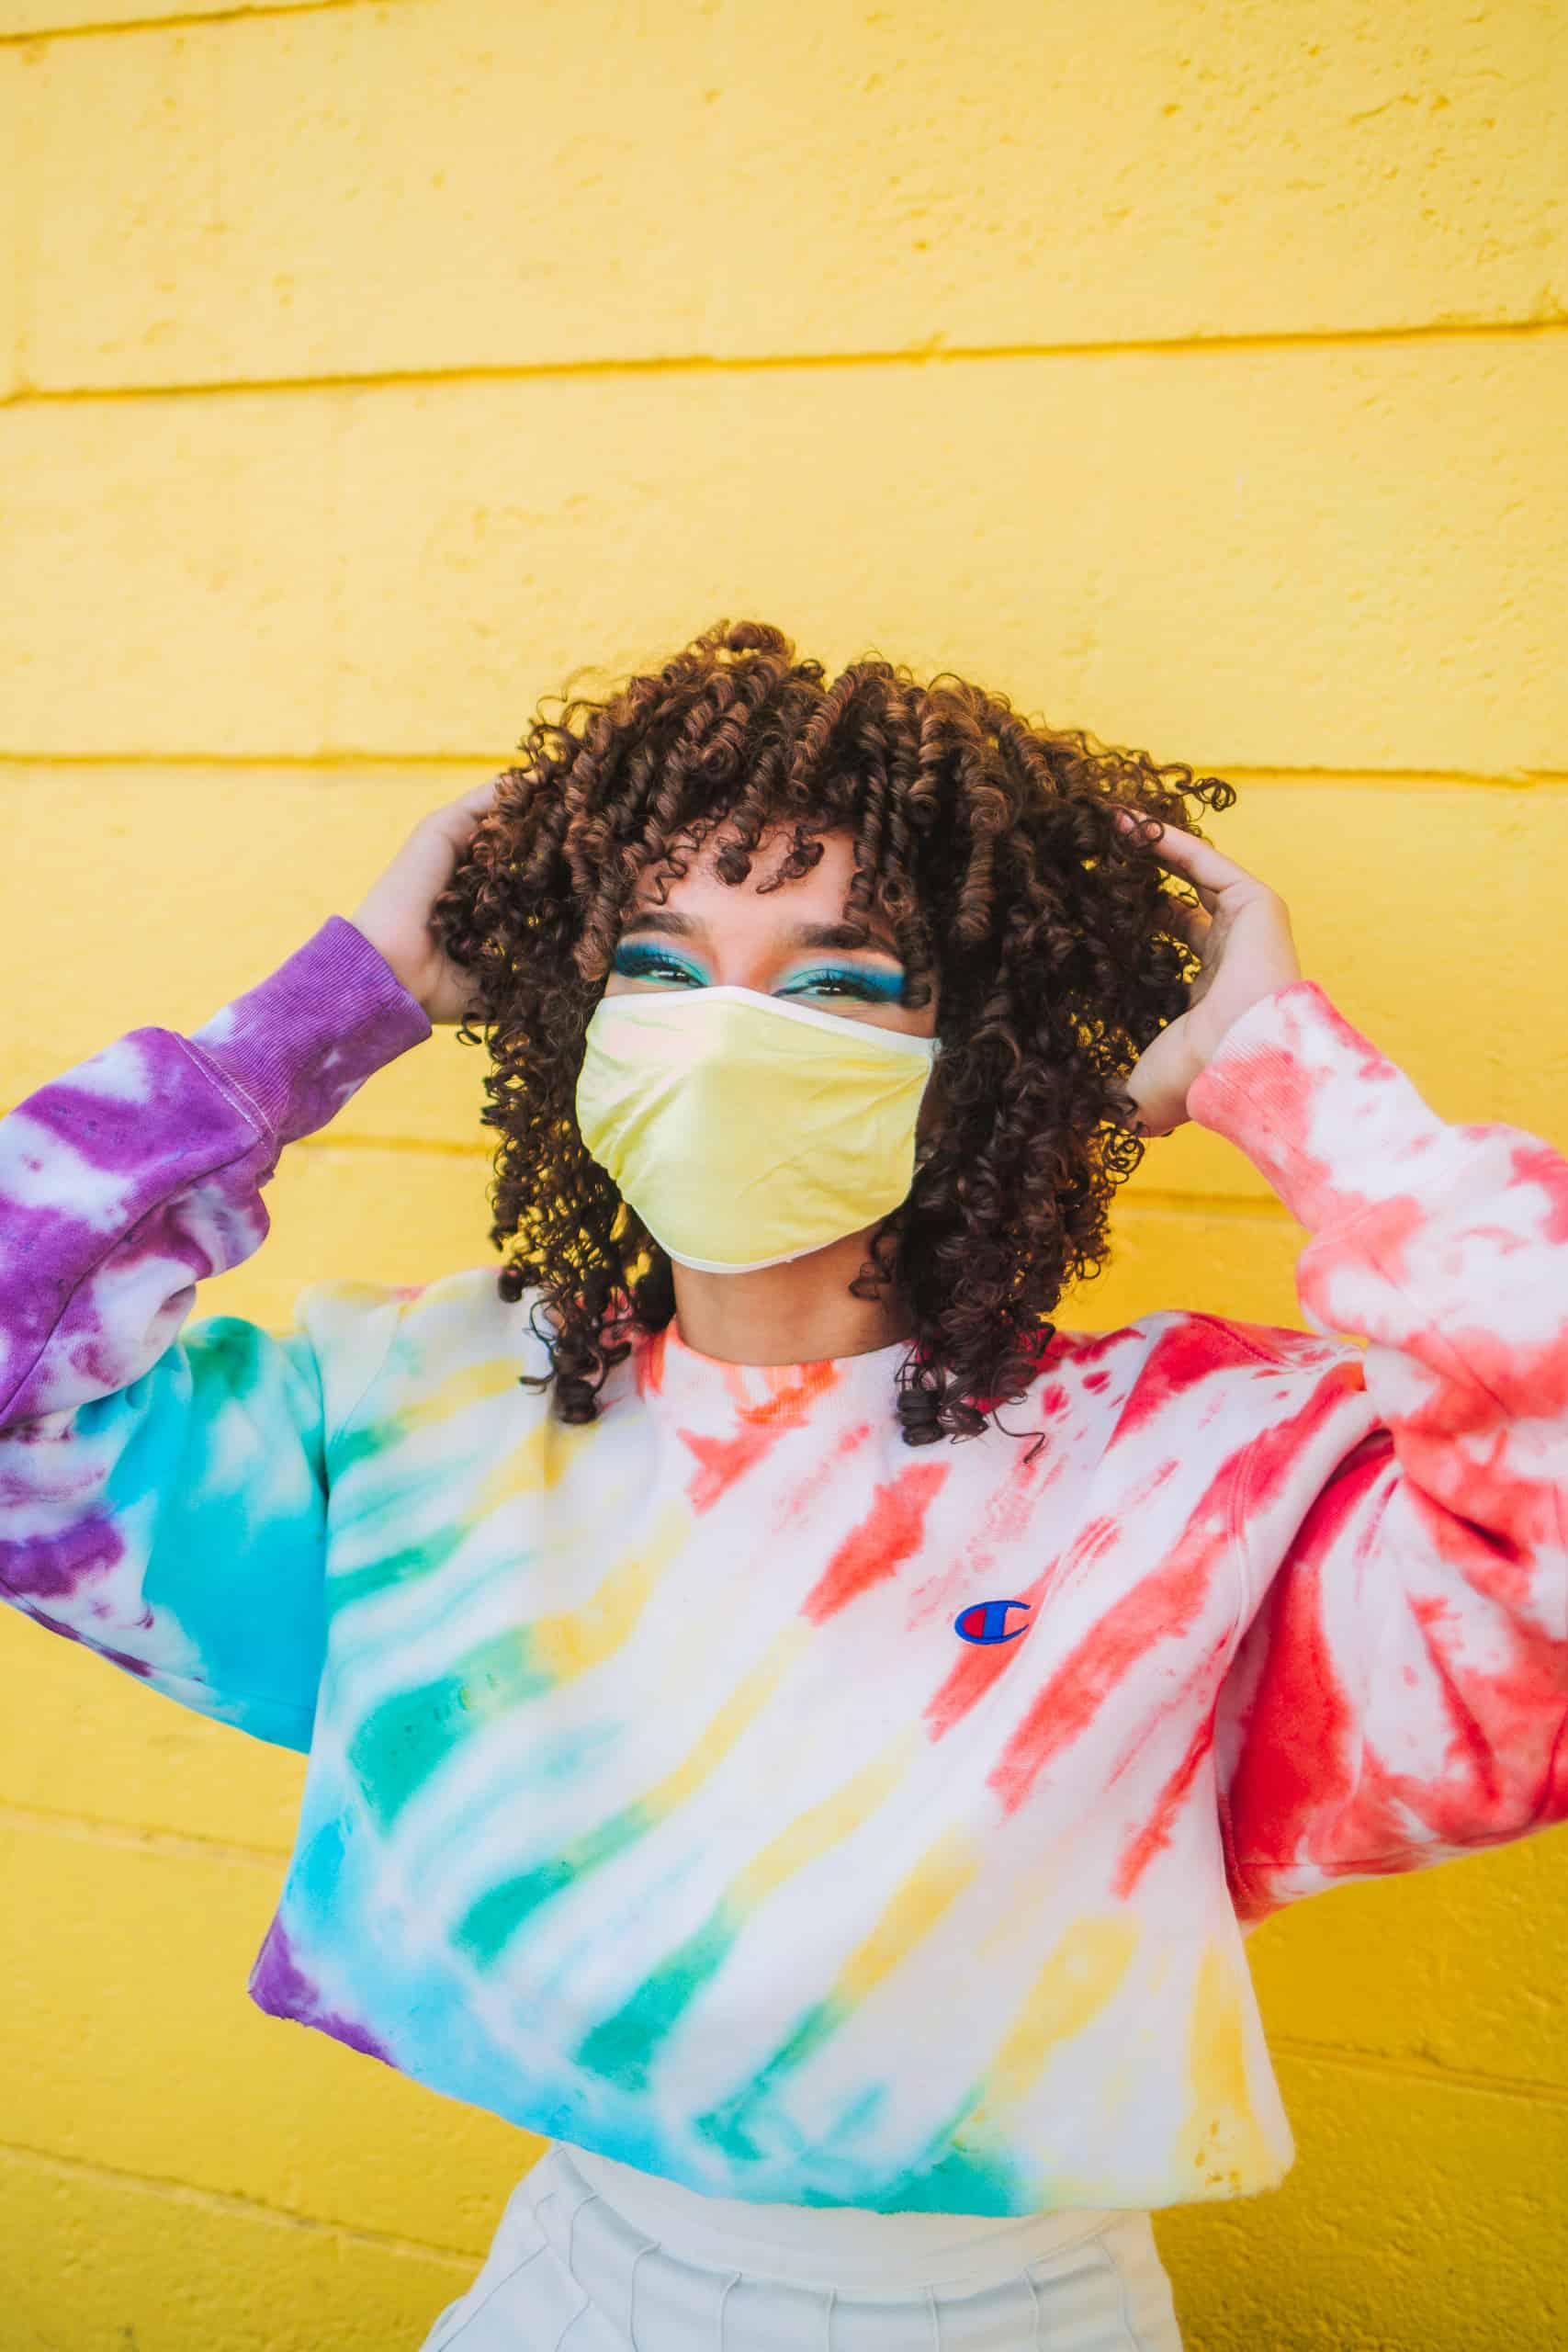
Some Inspiration






Find Us Now!
Rit products are available at most major retailers. Or, you can buy them online.
